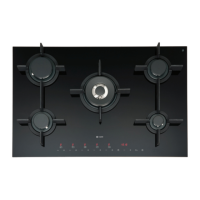
34 Instruction manual C981G & C1081G Please keep this instruction manual for future reference
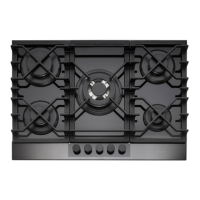
MINIMUM FLOW ADJUSTMENT (C1081G)
The minimum flow is correctly adjusted when the flame remains lit without a pot on the pan
support in position 1 of the burner control.
To adjust the minimum flow of each burner, proceed as follows:
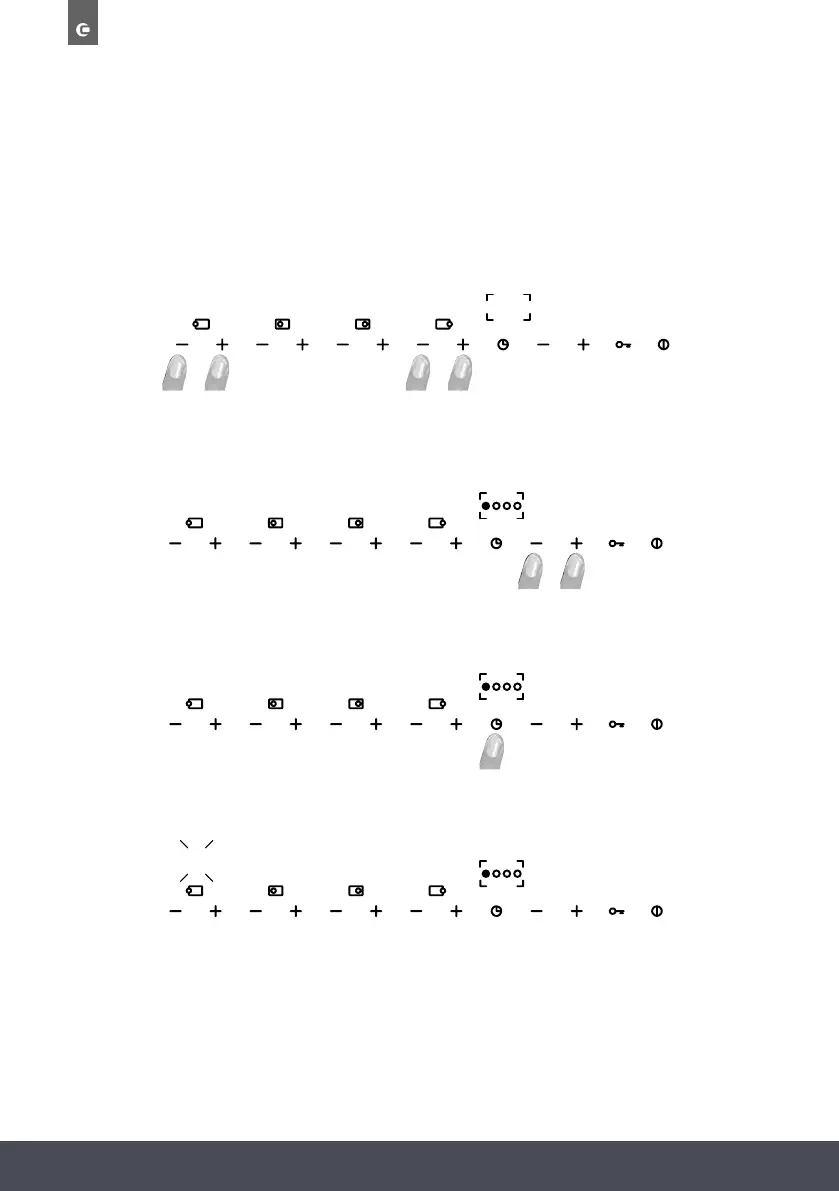
MINIMUM FLOW ADJUSTMENT (C1081G )
The minimum flow is correctly adjusted when the flame remains lit without a pot on the pan
support in position 1 of the burner control.
To adjust the minimum flow of each burner, proceed as follows:
Press the “+” and “-” buttons simultaneously for approx. 3 seconds as shown in the figure above.
“MIN” will appear on the display indicating the activation of the adjustment procedure.
At this stage, select the burner to be adjusted using the “+” and “-” buttons. By pressing these
buttons repeatedly, a LED will light up showing the selected burner
To confirm the selected burner, press the timer button.
The selected burner will light on the maximum setting. It will automatically start a test and it is not
possible to take action now. The test ends at postion 1.
min
9
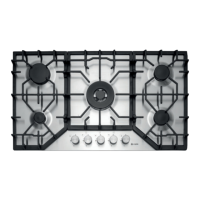
Press the “+” and “-” buttons simultaneously for approx. 3 seconds as shown in the figure above.
“MIN” will appear on the display indicating the activation of the adjustment procedure.
At this stage, select the burner to be adjusted using the “+” and “-” buttons. By pressing these
buttons repeatedly, a LED will light up showing the selected burner.
The selected burner will light on the maximum setting. It will automatically start a test and it is not
possible to take action now. The test ends at position 1.
To confirm the selected burner, press the timer button.
 Loading...