33
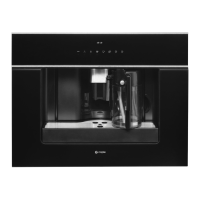
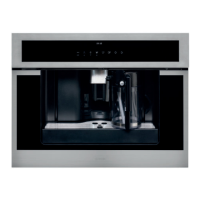
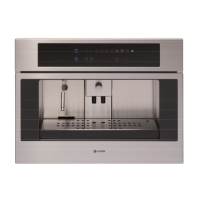
Please keep this instruction manual for future reference Instruction manual CM465 / CM465SS / CM465GM
EN 29
MAINTENANCE
Cleaning the inside of the coffee maker
• Check regularly (about once a week) that the inside of the appliance
is not dirty. If necessary, remove coffee deposits with a sponge.
• Remove the residues with a vacuum cleaner.
Cleaning the brewing unit
The brewing unit must be cleaned regularly to avoid the build-up of
coffee encrustations which could cause malfunction.
The brewing unit can only be taken out when the appliance is
switched off by pressing the on/off button under the control
panel. Otherwise, the coffee machine may be seriously
damaged
Proceed as follows:
1. T urn the appliance off by pressing the on/off button (do not switch
off the main switch or unplug) and wait for the display to go off.
2. Open the service door.
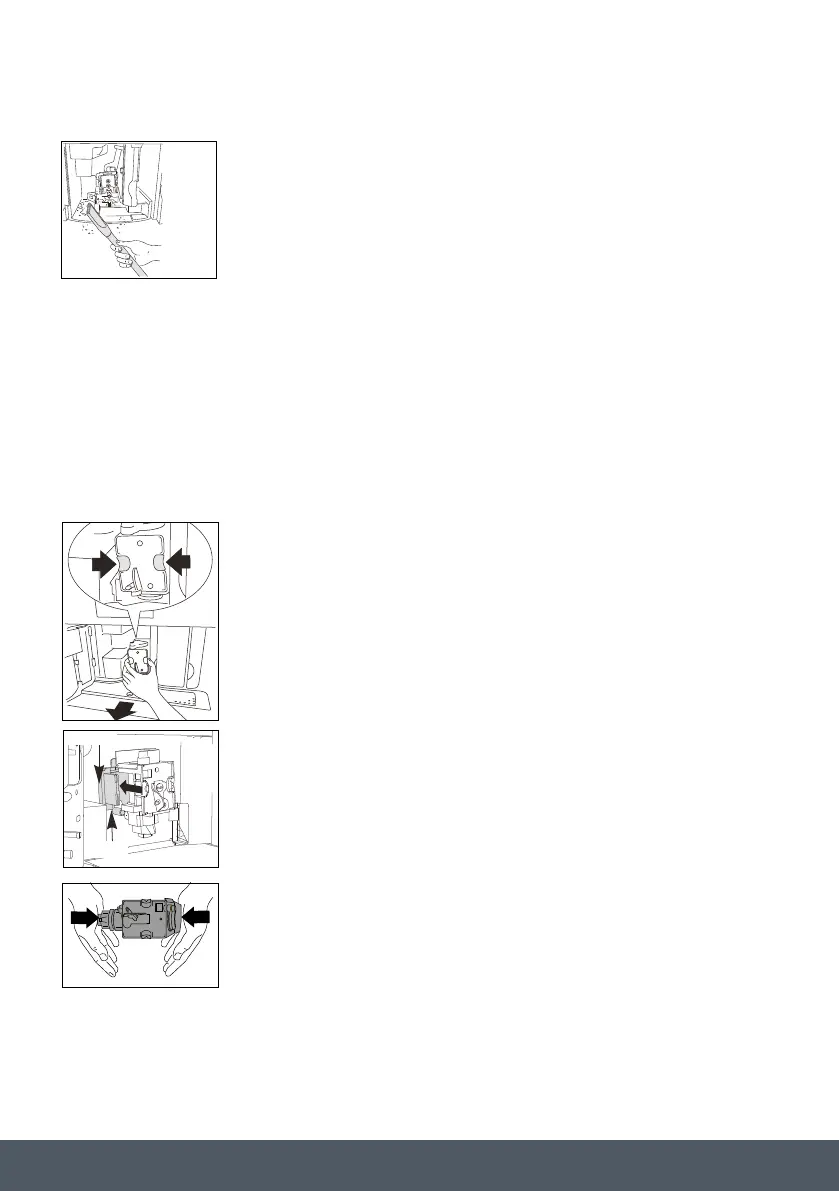
3. Remove the drip tray and the waste coffee container.
4. Press the two red release buttons inwards and at the same time pull
the brewing unit outwards
Clean the brewing unit under running tap water without using
detergent. Never clean the brewing unit in the dishwasher.
Do not use washing up liquid to clean the brewing unit. It would
remove the lubricant applied to the inside of the piston.
5. Soak the brewing unit in water for about 5 minutes, then rinse.
6. After cleaning, replace the brewing unit by sliding it onto the
internal support (S) and pin (P) at the bottom, then push the PUSH
symbol fully in until it clicks into place.
Note: If the brewing unit is difficult to insert, you must first adapt
it to the right dimensions by pressing it forcefully from the bottom
and top.
P
S
EN 29
MAINTENANCE
Cleaning the inside of the coffee maker
• Check regularly (about once a week) that the inside of the appliance
is not dirty. If necessary, remove coffee deposits with a sponge.
• Remove the residues with a vacuum cleaner.
Cleaning the brewing unit
The brewing unit must be cleaned regularly to avoid the build-up of
coffee encrustations which could cause malfunction.
The brewing unit can only be taken out when the appliance is
switched off by pressing the on/off button under the control
panel. Otherwise, the coffee machine may be seriously
damaged
Proceed as follows:
1. T urn the appliance off by pressing the on/off button (do not switch
off the main switch or unplug) and wait for the display to go off.
2. Open the service door.
3. Remove the drip tray and the waste coffee container.
4. Press the two red release buttons inwards and at the same time pull
the brewing unit outwards
Clean the brewing unit under running tap water without using
detergent. Never clean the brewing unit in the dishwasher.
Do not use washing up liquid to clean the brewing unit. It would
remove the lubricant applied to the inside of the piston.
5. Soak the brewing unit in water for about 5 minutes, then rinse.
6. After cleaning, replace the brewing unit by sliding it onto the
internal support (S) and pin (P) at the bottom, then push the PUSH
symbol fully in until it clicks into place.
Note: If the brewing unit is difficult to insert, you must first adapt
it to the right dimensions by pressing it forcefully from the bottom
and top.
P
S
CLEANING THE INSIDE OF THE COFFEE MAKER
› Check regularly (about once a week) that the inside of the appliance
is not dirty. If necessary, remove coffee deposits with a sponge.
› Remove the residues with a vacuum cleaner.
CLEANING THE BREWING UNIT
The brewing unit must be cleaned regularly to avoid the build-up of
coffee encrustations which could cause malfunction.
The brewing unit can only be taken out when the appliance
is switched off by pressing the on/off button under the
control panel. Otherwise, the coffee machine may be seriously
damaged.
Proceed as follows:
1. Turn the appliance off by pressing the on/off button (do not switch
off the main switch or unplug) and wait for the display to go off.
2. Open the service door.
3. Remove the drip tray and the waste coffee container.
4. Press the two red release buttons inwards and at the same time pull
the brewing unit outwards.
Clean the brewing unit under running tap water without using
detergent. Never clean the brewing unit in the dishwasher.
Do not use washing up liquid to clean the brewing unit. It
would remove the lubricant applied to the inside of the piston.
5. Soak the brewing unit in water for about 5 minutes, then rinse.
6. After cleaning, replace the brewing unit by sliding it onto the internal
support (S) and pin (P) at the bottom, then push the PUSH symbol
fully in until it clicks into place.
NOTE:
If the brewing unit is difficult to insert, you must first adapt it to the right
dimensions by pressing it forcefully from the bottom and top.
 Loading...