16 Instruction manual WMi3001 & WMi3006 Please keep this instruction manual for future reference
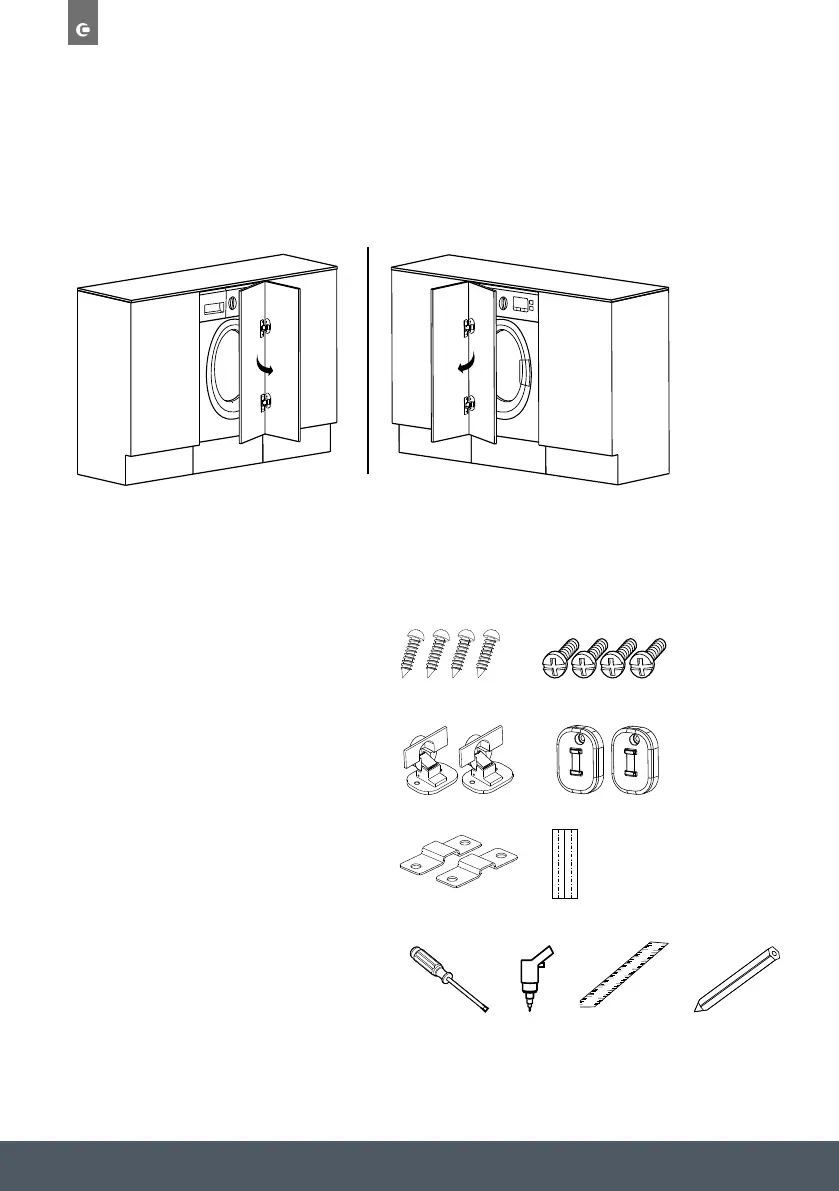
Door opening from left to right
PREPARATION AND ASSEMBLY OF THE DOOR
The appliance is prearranged for the assembly of a door opening from right to left or from left
to right.
APPENDIX
1. Self-tapping screws (ST4*12)
2. Self-tapping screws (M5*12)
3. Hinges
4. Counter magnet
5. Spacer
6. Door template
TOOLS
1. Screw Driver
2. Automatic Driver
3. Ruler
4. Pencil
Appendix
Self-tapping
screws
(ST4*12)
Self-tapping
screws
(M5*12)
Hinges
Counter magnet Spacer
Fixed position
paper
Tool
Screw driver
Automatic driver Ruler Pencil
Built-in installation
Install Steps
Overview
1
825mm
600mm
540mm
595mm
152.5mm
580mm
825mm
Preparation and assembly of the door
The door is open from right to leftThe door is open from left to right
10
28
MAINTENANCE
Door opening from right to left
1.
1. 2. 3. 4.
3.
5.
2.
4.
6.
 Loading...