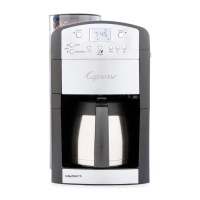
8.1 Turning the Machine On
Make sure that the selector switch is in
the coffee position (see fig. 2a).
When you turn the machine on in the
morning, the red ON light will illumi-
nate and the green READY light will
begin blinking, indicating that the
machine is heating up. This will take
approximately 30 seconds.
• The green hot-water light will
illuminate.
• Place an empty cup underneath the
coffee spout and push the hot-water
button. The machine will run one
hot water rinse cycle and will stop
automatically.
• The green READY light stops
blinking and is on. You are now ready
to make your first cup of coffee.
8.2 Coffee Strength: Regular, Strong,
Extra Strong
The intensity of your coffee beverage
depends on how much water is used
and how much coffee is ground per cup.
With the 1-cup button you can
choose between three different
amounts of coffee to be ground. All
measurements are based on tests with
medium mild roast and medium grinder
settings; darker roasts and other grind
settings will influence the amount of
ground coffee slightly.
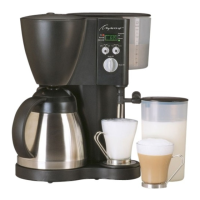
Place one or two cups underneath the
coffee spout. The spout is height-
adjustable and can be moved up and
down manually to accommodate your
cup size (see fig. 9).
• Regular: Push the 1-cup button
shortly and the green READY light
will begin blinking. The machine grinds
approximately 9 grams of coffee.
• Strong: Push and hold the 1-cup
button until the green coffee-
strength light lights up with the
light blinking. The machine now grinds
approximately 11 grams of coffee for a
stronger cup.
• Extra Strong: Push and hold the
1-cup button until both lights
blink. The machine now grinds
approximately 13 grams of coffee for an
extra strong cup.
Note: When you push the 2-cup button
the machine will always grind
approximately 15 grams of coffee. Only
the green READY light blinks.
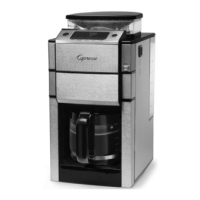
8.3 Adjusting the Grinder
You can adjust the grinder to grind finer
or coarser (see fig. 10). For darker
beans, we recommend grinding some-
what coarser (turn the selector to the
thicker bars, clockwise); for lighter
beans, we recommend grinding some-
what finer (turn to finer bars, counter-
clockwise).
Important: You can only adjust the fine-
ness during the actual grinding process.
Note: If coffee drips very slowly through
the coffee spout, the coffee was ground
too fine, adjust to a coarser grind. If
coffee flows too fast through the coffee
spout, adjust to a finer grind.
8.4 Using Ground Coffee
You can operate the machine with
ground coffee (e.g. decaf, flavored
coffee):
• Press the ground-coffee button .
The green ground-coffee light will
turn on.
• Open the cover lid for the ground
coffee funnel (see fig. 1 call out #8) and
fill one or two measuring scoops of
ground coffee into the funnel (see fig.
11).
• Place one or two cups underneath the
coffee spout and press the 1-cup
button or 2-cup button . The
machine will now tamp and brew the
coffee.
• Important: NEVER
use instant coffee;
it could severely damage the brewing
chamber.
• NEVER fill
the funnel with more than 2
scoops of coffee. The funnel is not a
storage container.
• NEVER fill beans or anything else into
12