Step 5: Install a Collet
All Machines
1.
Turn the collet nut counterclockwise to remove it from the VFD spindle shaft.
2.
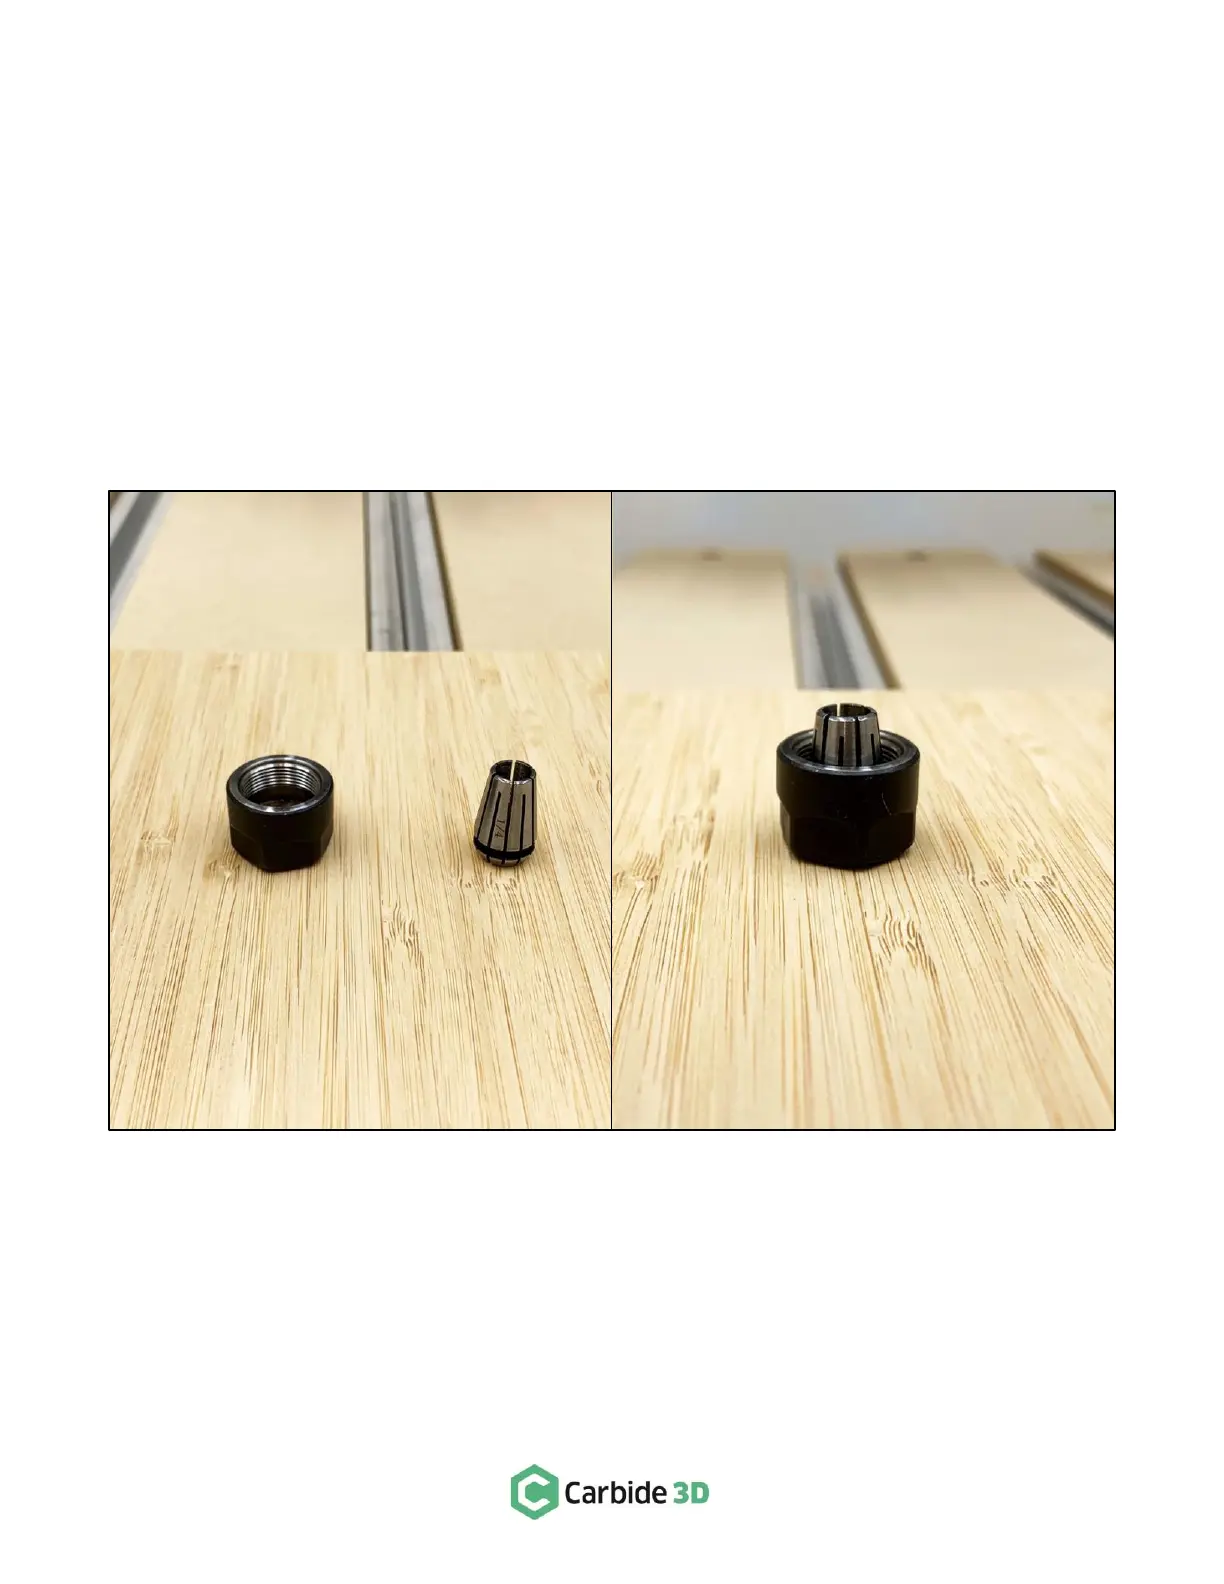
Place the collet nut and one of the ER11 collets right-side up on a flat surface. See Fig. 14.
3.
Place the grooved base of the collet into the nut and use your thumb to press the top of the collet
down. You will hear a “click” as the base snaps into the eccentric ring inside the nut. See Fig. 14.
4.
Re-install the collet nut onto the spindle shaft. Never fully tighten the collet nut without first inserting
a tool or you can damage the collet.
To remove an ER11 collet from the collet nut:
1. Use your thumb to apply sideways pressure in several places around the top of the collet to loosen it.
2. Remove it from the nut.