18” CHIPPER SERVICE
CUTTER SYSTEM
70
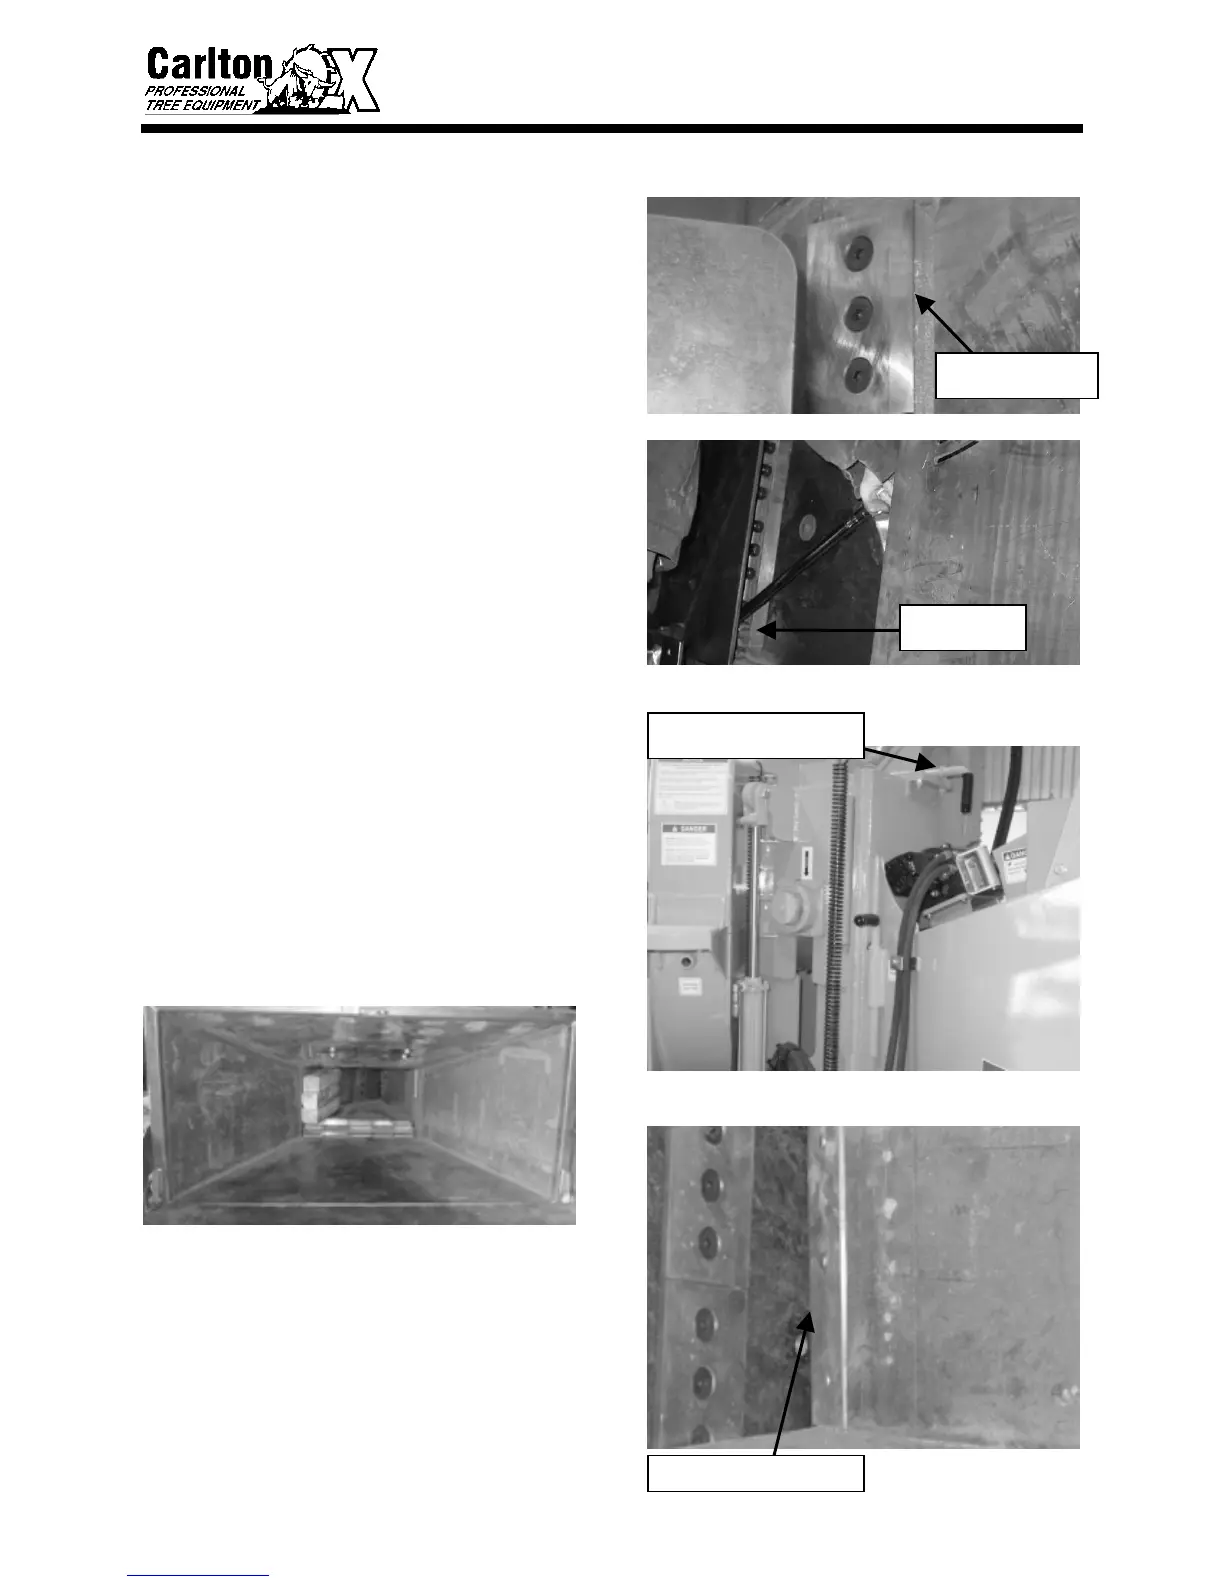
• Reassemble knives in the pocket making
sure they seat flat.
• Tighten knife bolts and torque the nuts
to 180 ft. lbs.
• Do not over tighten knife bolts. Torque
only to the recommended amount.
Knives that are overly tight can crack or
bow around the hole. This could cause
chipped material to pack between the
knife and cutter disk causing knife
failure. Check knife for distortion using
a straight edge and a light, replace the
knife if distorted.
CHECK/ADJUST CLEARANCE
ALWAYS CHECK AND SET KNIFE TO
ANVIL CLEARANCE AFTER
REMOVING AND REPLACING
KNIVES OR ANVIL.
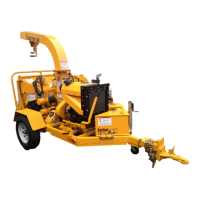
• Raise and block upper feed wheel. Use
the hydraulic lift, if equipped, to raise
the upper feed wheel. Insert the yoke
lock pin into the yoke lock tube.
• Place a block of wood 4” x 18” x 16”
between the feed wheels.
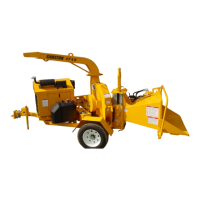
• Inspect the anvil working edge for wear
or damage before you check the
clearance. If the anvil needs to be
changed to a new work surface or to be
replaced, follow the instructions in Anvil
Replacement later in this section. The
anvil has four working edges that can be
used before replacing.
FEED WHEEL RAISED &
LOCK PIN INSERTED
KNIFE SEATS FLAT
IN POCKET
ANVIL WORKING EDGE
TORQUE TO
180 FT. LBS.