Hang the air-in grill to the panel, then connect
the lead terminator of the swing motor and that
of the control box with corresponding
terminators on the body respectively.
Note: The panel shall be installed after the
wiring connected.
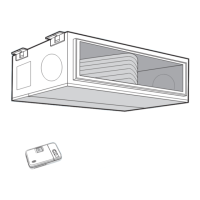
13.2.3 Ceiling-floor unit installation
13.2.3.1 Service space for indoor unit
13.2.3.2 Bolt pitch
① Ceiling installation
② Wall-mounted installation
13.2.3.3 Install the pendant bolt
① Ceiling installation
Select the position of installation hooks
according to the hook holes positions showed
in upper picture.
Drill four holes of Ø12mm, 45~50mm deep at
the selected positions on the ceiling. Then
embed the expansible hooks (fittings).
② Wall-mounted installation
Install the tapping screws onto the wall.(Refer
to picture below)
13.2.3.4 Install the main body
① Ceiling installation (The only installation
method for the unit with drain pump)
Remove the side board and the grille.
 Loading...