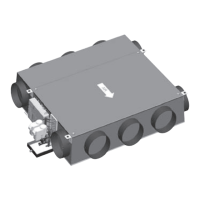
ZS duct sensors
ZS Sensors Carrier Proprietary and Confidential CARRIER CORPORATION ©2017
Installation Guide All rights reserved
19
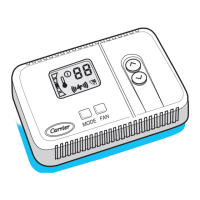
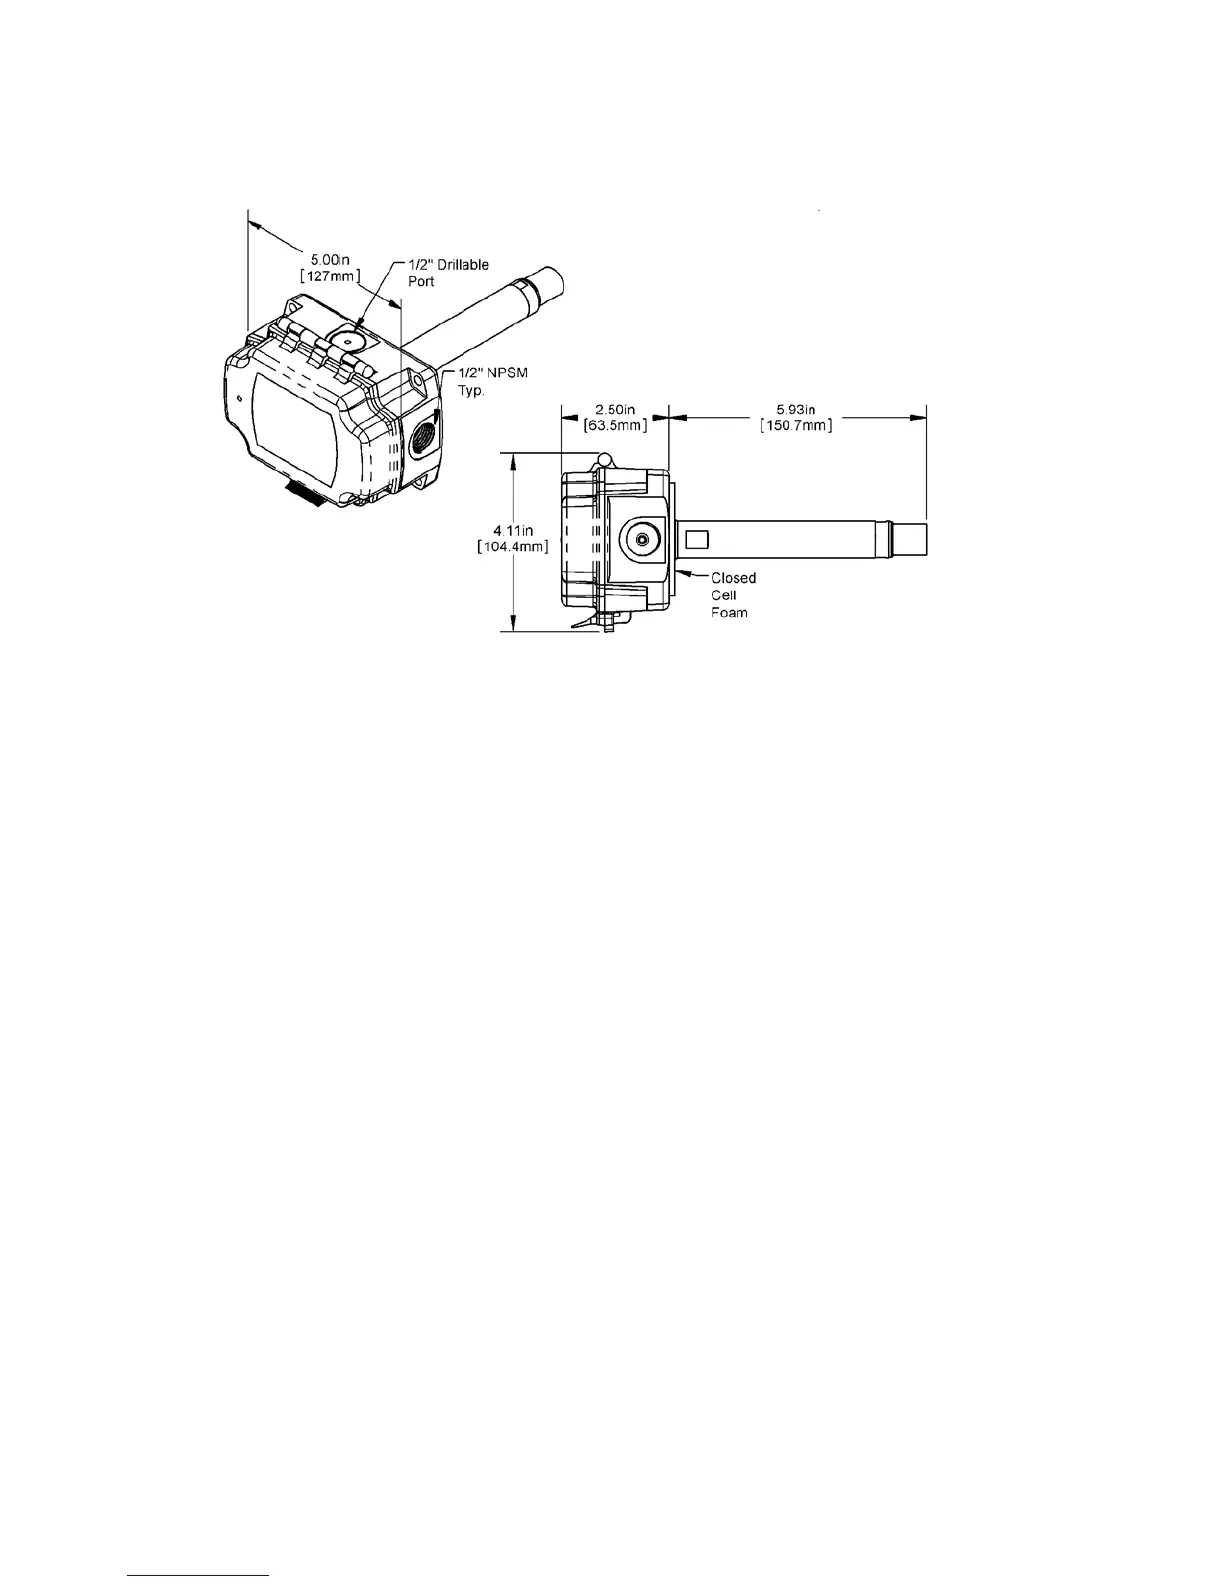
Temperature/Humidity sensor
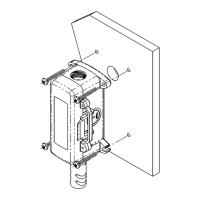
1 Determine the best location on the duct for the sensor. Mount the sensor:
• In the middle of the duct away from temperature stratified air, coils, or humidifiers
• At least 3 duct diameters away from humidifiers.
2 Unlatch and open the hinged door on the sensor's enclosure.
3 Remove the sensor's knockout that is appropriate for your application. When you wire the sensor, you will pull
the Rnet communication cable through this hole. See To wire a ZS duct sensor (page 22).
4 Close the enclosure door until it latches.
5 If mounting the sensor to the outside of the duct, drill a hole in the duct for the probe, and then insert the
probe into the hole.
• Temperature probe - Drill a .38 in. (.96 cm) hole
• Temperature/humidity probe - Drill a 1 in. (2.54 cm) hole
6 Push the sensor enclosure against the duct and mark the location of each screw hole in the 4 corners of the
enclosure.
7 Remove the sensor, and a drill 1/8 inch pilot screw hole where you made each mark in the previous step.
 Loading...