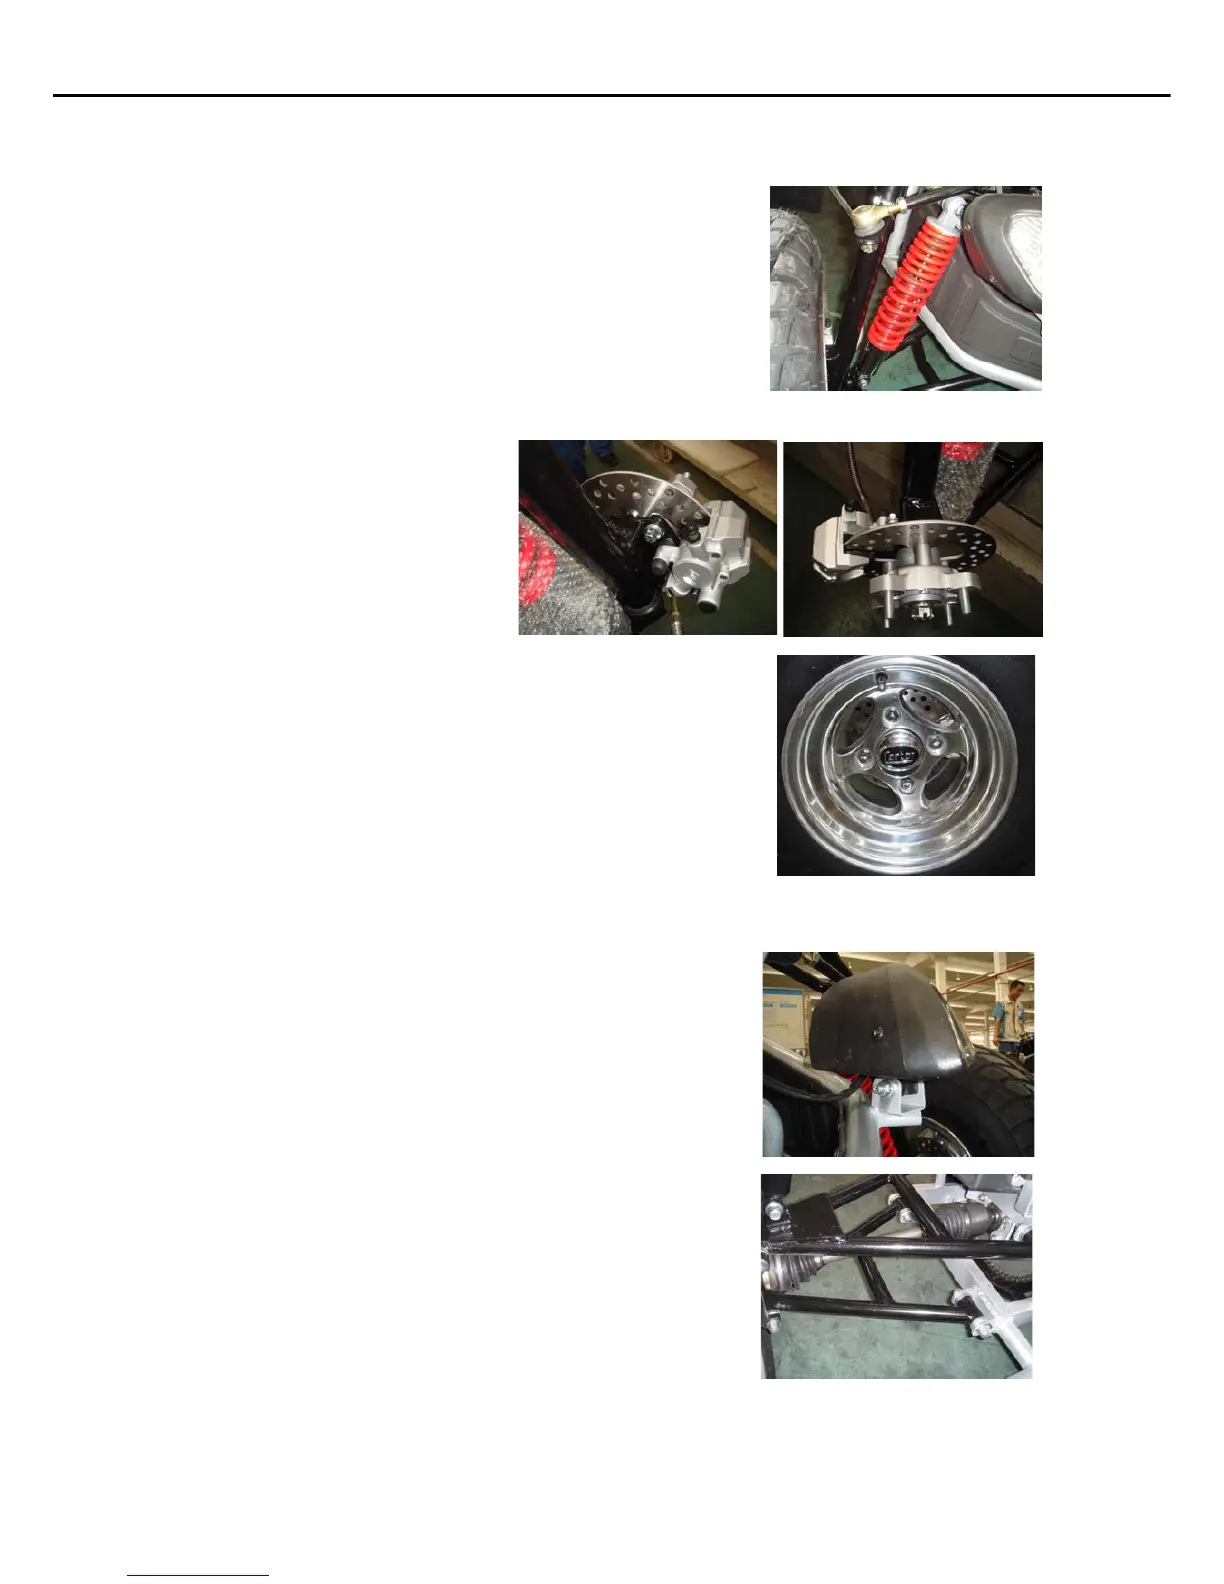
6. STEERING LINKAGE
a. Attach each tie-rod end to the struts by inserting the
ball joint studs into the steering arm of each strut.
b. On each stud place flat washer, lock washer, tighten
with 17mm wrench and lock with cotter pin and needle
nose pliers.
7. FRONT BRAKE CALIPER
a. Slide each brake caliper over the brake discs and align the mounting holes with those of
each strut.
b. Tighten bolts with a 10mm
wrench.
8. FRONT WHEEL AND CAP
a. In the hardware box you will find 4 chrome wheel
caps. The smaller set will be used on the front. Also
get out 8 acorn shaped lug nuts.
b. Slide the wheel cap into the center hole of the wheel
from the back.
c. Place the wheel assembly into position by aligning
the holes in the wheel with the lugs on the front hubs.
d. Tighten the lug nuts with a 15mm socket. With the wheels off the ground you may not be
able to tighten the lugs completely. Lower the kart and tighten the lug nuts completely.
9. HEAD LIGHT
a. Place the front head lights in their mounts. Each
mount is on either side of the front hood.
b. Tighten with 10mm and 12mm wrench.
10. REAR BOTTOM A-ARMS
a. Place the floor jack under the rear of the unit and lift
off the ground.
b. The rear bottom a-arm is the large a-arm without
shock mounts.
c. Insert bottom a-arms into bottom rear suspension
mounts with the grease fittings pointing downwards.
Finger tighten only.
It is easier to assemble the rear suspension
without the bolts tight.
47
SET-UP INSTRUCTIONS
INTERCEPTOR GTR 250