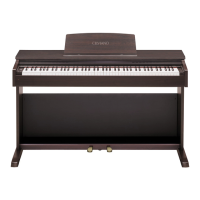
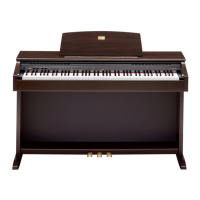
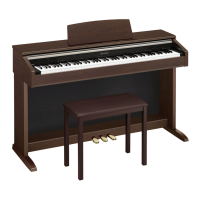
Assembling the Stand
E-57
3.
Slide the back panel
into the grooves
of
the side panels.
• Be sure to check that the back panel
bracket
engages correctly with the side panel
bracket as
shown in the nearby illustration marked “O”.
Assembling the stand while these brackets are not
engaged correctly (as shown in the illustration
marked “X”) creates the risk of damage to stand
components.
4.
Attach the right side of the back panel
to
the bracket
of the side panel
.
• Secure the back panel in place with a screw
.
5.
Pull the side panel
slightly outwards in the
direction marked with
in the illustration
below.
• Check to make sure that the relative positions of the
back panel
bracket and the side panel
bracket
are as shown in the illustration A. This step creates a
slight gap between the side panels
and
, which
makes it easier to mount the Digital Piano onto the
stand in step 6 below.
Back panel
bracket
Side panel
bracket
5
A
I
C
B
C

 Loading...