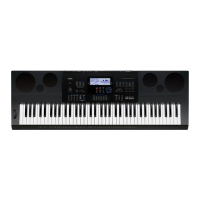
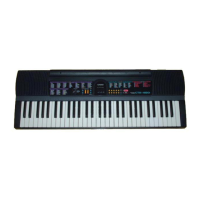
Using Auto Accompaniment
E-27
There are six different Auto Accompaniment patterns, shown
below. You can switch between patterns during
accompaniment play and even modify patterns. Use buttons
L-12 through L-15 to select the pattern you want.
One-Touch Preset gives you one-touch access to tone and
tempo settings that go well with the currently selected Auto
Accompaniment rhythm pattern.
1.
If rhythm is playing, press the L-16 (START/
STOP) button to stop it.
2.
Select the rhythm (excluding user rhythms) you
want to use.
3.
While holding down the L-7 ([E] PIANO
RHYTHMS) button, press the L-8 ([F] USER
RHYTHMS) button.
• Settings for the following items are configured
appropriately for the rhythm you selected in step 1.
• Also, the F indicator flashes on the display to
indicate that the normal Auto Accompaniment pattern is
standing by.
4.
Start playing something on the keyboard.
• Perform the procedure starting from step 7 under
“Playing an Auto Accompaniment” on page E-24 and
E-27.
• One-Touch Presets are not supported for user rhythms
(F:001 through F:010).
• You can recall one-touch preset settings even if a rhythm is
already playing when you perform step 3 of the above
procedure. In this case, rhythm play will continue without
going into synchro standby.
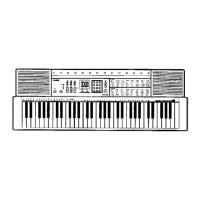
Modifying Auto Accompaniment
Patterns
*1 Press at the beginning of a song. Accompaniment play
proceeds with the normal pattern after the intro pattern is
complete. Pressing the L-14 (VARIATION/FILL-IN) button
before pressing this button will proceed with the variation
pattern after the intro pattern is complete.
*2 Press while a normal pattern is playing to insert a fill-in
pattern.
*3 Press while a variation pattern is playing to insert a fill-in
variation pattern.
*4 Press at the end of a song. This will play an ending pattern
and then stop Auto Accompaniment.
L-12L-12 L-13L-13 L-14L-14 L-15L-15
Intro *
1
Normal Variation Ending *
4
Normal fill-in *
2
Variation fill-in *
3
Using One-Touch Presets
To perform using a one-touch preset
– Tones for the UPPER 1, UPPER 2, and LOWER
parts
– Octave shift for the UPPER 1, UPPER 2, and
LOWER parts
– Layer and split on/off
– Accompaniment on/off
– Reverb on/off and type
– Chorus type
– Auto harmonize or Arpeggiator on/off and type
– Tempo