85
Recording Movies
1. Align the mode dial with [F] (Time Lapse).
2. Press [SET].
3. Use [8] and [2] to select the (Time Lapse) Control Panel option,
and then press [SET].
This displays a menu of Time Lapse scenes.
4. Select the scene you want to use and then press [SET].
• A scene that can be used for time lapse recording is indicated by ».
5. Press [SET], use [8] and [2] to select the (Time Lapse Settings)
Control Panel option, and then press [SET].
6. Use [8] and [2] to select “ Interval” or “ Total Time”, press [6],
and then use [8] and [2] to change the setting.
Each scene is initially configured with unique “ Interval” and “ Total Time”
default settings. Change these settings, if you want.
7. Press [SET].
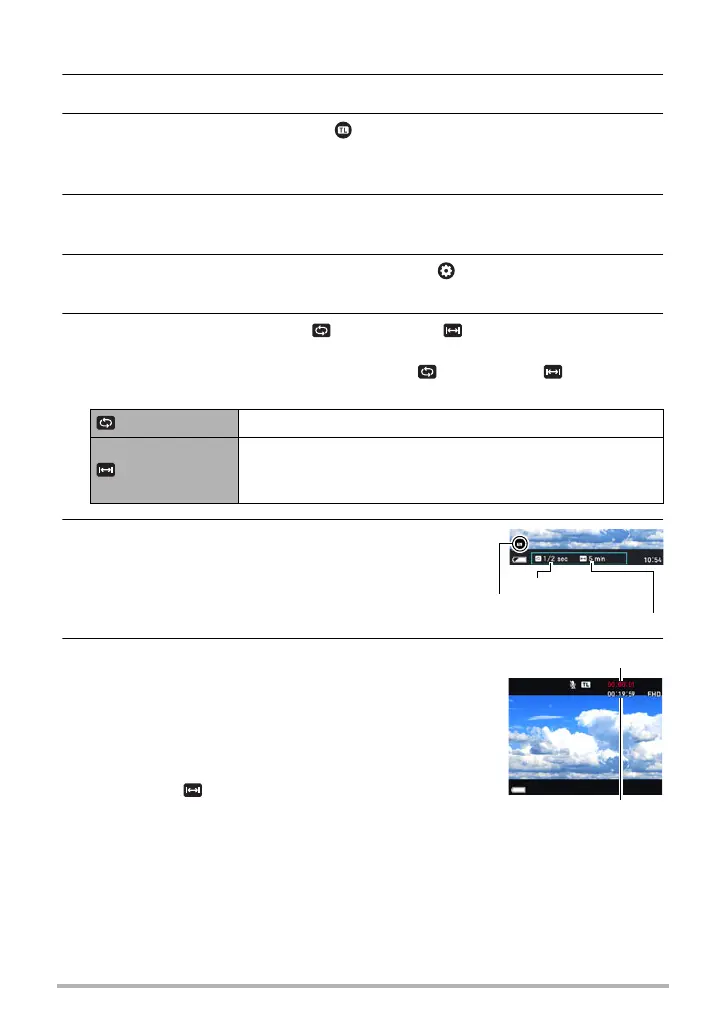
• Time Lapse settings are shown at the bottom of
the screen.
8. Press the shutter button to start recording.
• Shooting is repeated at the interval specified in
step 6.
• Recording stops when the recording time
specified in step 6 elapses or when the shutter
button is pressed again.
• Remaining recording time is not displayed
when the “ Total Time” setting is “Off”.
Interval Specifies the number of seconds between shots.
Total Time
Specifies the recording time. Selecting “Off” causes
recording to continue until the shutter button is pressed
again.
Remaining recording time
Recording time
 Loading...