— 27 —
6. OPTION INSTALLATION
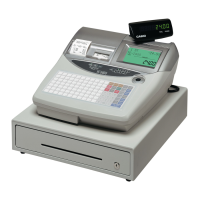
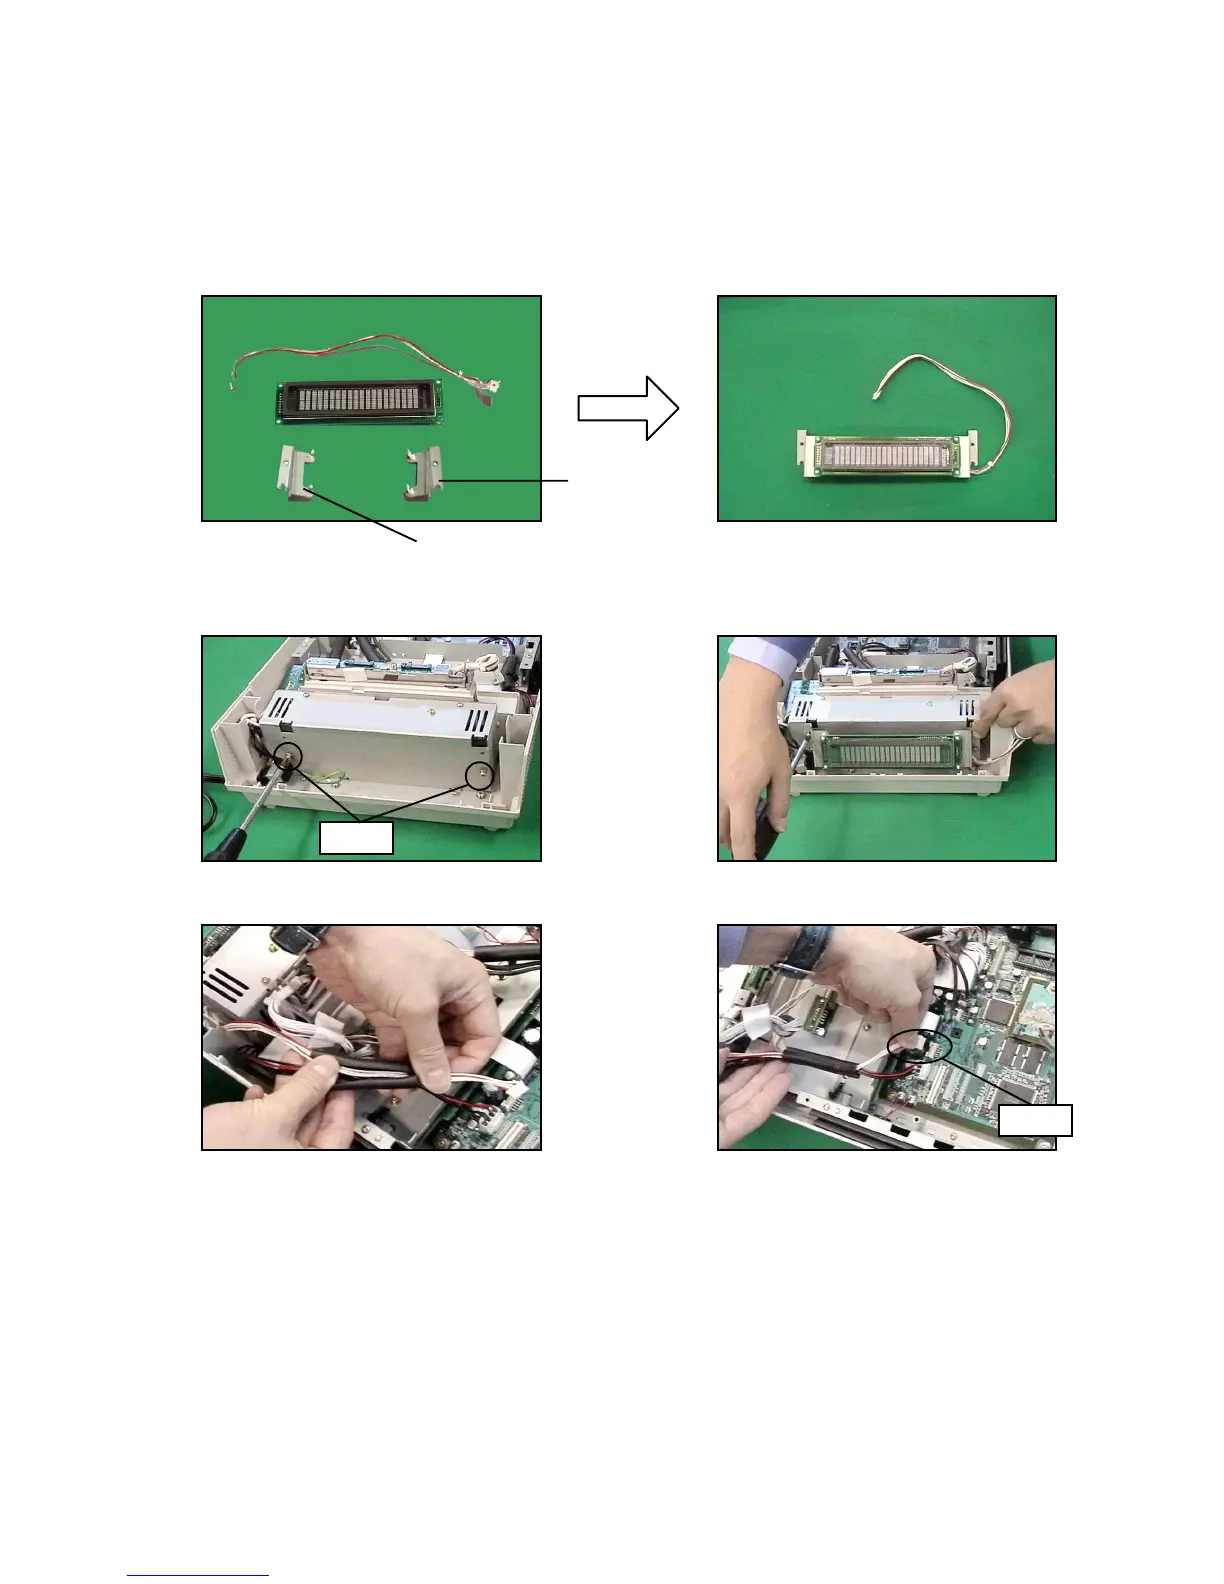
6-1. REAR DISPLAY
Note: The REMOTE DISPLAY and the REAR DISPLAY cannot be fixed at the same time.
1. Assemble the REAR DISPLAY.
Note: Be careful with the direction (left/right) of the frame.
2. Remove the upper cover as shown in steps 1 to 2 of page 9.
3. Fix two screws temporarily to the POWER UNIT.
4. Attach the REAR DISPLAY and fix it with two screws.
5. Let the connector through the tube and connect it to the MAIN PCB (CN15).
6. Fix the UPPER COVER and REAR COVER.
Screws
CN15
Right frame
Left frame
 Loading...