I-8
System Installation
1-2. How to install QT-2100 system
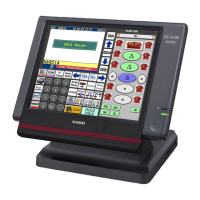
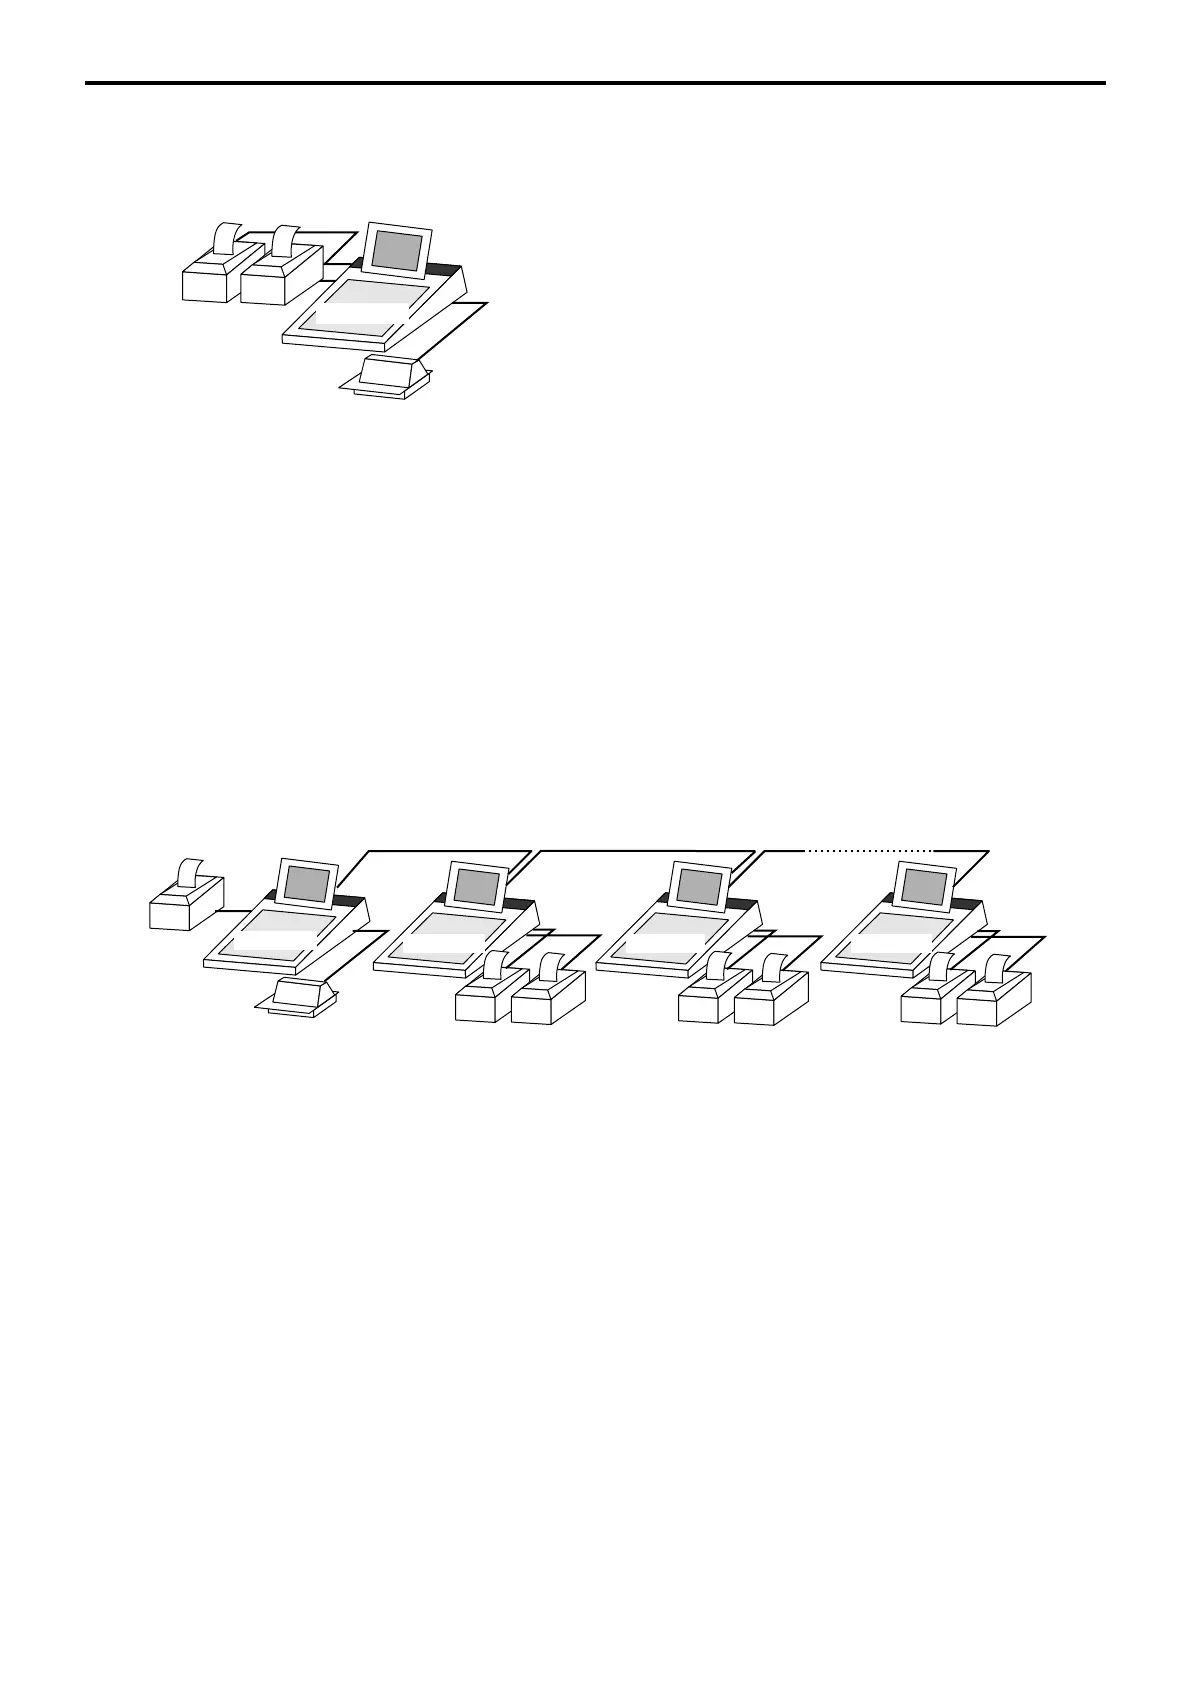
1-2-1. QT-2100 stand alone system (with printer)
1. Set up the system (refer to the left figure).
2. Initialize the QT-2100 (refer to the Initialization chapter of
QT-2100 Programming manual page 8.)
Note 1:
If the QT-2100 cannot recognize the printer(s) correctly,
check the dip switches on the printer or printer cable and
try initialization operation again. Casio printer cable (PRT-
CB-8A/-8B) is required for proper recognition of the local
printer.
Note 2:
If the Slip printer is connected to COM 4, 5, or 6 port,
automatic printer detection during initialization is not
made. In this case, program the I/O parameter file manu-
ally and flag clear the machine.
3. Complete the initialize operation.
1-2-2. QT-2100 master/satellite system (with local printer)
1. Set up the system (refer to the figure below).
2. Initialize the master QT-2100 (refer to the Initialization chap-
ter of QT-2100 Programming manual page 8.)
Note 1:
1. Do not turn on other QT-2100.
2. If the QT-2100 cannot recognize the local printer(s) cor-
rectly, check the dip switches on the printer or printer
cable and try initialization operation again. Casio printer
cable (PRT-CB-8A/-8B) is required for proper recognition
of the local printer.
Note 2:
If the Slip printer is connected to COM 4, 5, or 6 port,
automatic printer detection during initialization is not
made. In this case, program the I/O parameter file manu-
ally and flag clear the machine.
QT2100
R/J
Slip
In-line (CASIO original cable/CAT5 TUP cable)
QT2100QT2100QT2100
R/J
R/J
R/J
R/J
R/J
R/J
PRN (1)... PRN (3)
PRN (1)...PRN (3) PRN (1)...PRN (3)
PRN (1)
QT2100
R/J
Slip
R/J
PRN (1)...PRN (3)
 Loading...