Do you have a question about the Casio WK210ES1A and is the answer not in the manual?
Use number buttons and +/- buttons for setting adjustments.
Access various operations like reverb, data deletion, etc.
Instructions for setting up the music stand.
Information on using AC adaptor or batteries for power.
Guidance on loading and using D-size batteries.
Steps to power on the keyboard and start playing.
Connect and use headphones for private practice.
Adjusts how key press speed affects volume.
How to change the contrast of the LCD display.
Use voice pads for sound effects or sampled sounds.
Use the metronome for tempo practice.
Instructions on selecting different instrument tones.
Combine two different tones for simultaneous play.
Assigns different tones to left/right keyboard ranges.
Adds reverberation effect to sounds.
Adds depth and breadth to sounds.
Connect and select effects for an optional pedal.
Adjusts pitch via transpose, fine tuning, and octave shift.
Steps for connecting external devices for sampling.
How to sample and play a melody sound.
How to sample sounds for drum sets.
Procedures to copy, change pitch, or delete drum sounds.
How to delete sampled sound data.
How to protect sampled sounds from accidental deletion.
How to play the pre-loaded demo songs.
Steps to play back specific songs from the song bank.
Set start/end measures for practice loops.
Adjusts tempo for practicing difficult passages.
Balances keyboard play volume with song playback volume.
Disables right/left hand parts for practice.
Songs are divided into phrases for learning.
Overview of the step-by-step lesson process.
How to choose specific parts of a song for practice.
Detailed instructions for the three lesson modes.
Adjusts the length of practice phrases.
Automatic progression through lessons.
Game testing reaction speed based on on-screen indicators.
Play just the rhythm section of accompaniment.
Play with rhythm, bass, and harmony parts.
Options for how chords are recognized for accompaniment.
Adds harmony to melodies automatically.
Customizing rhythm patterns and instrument parts.
Storing and recalling custom keyboard configurations.
How to record and play back keyboard performances.
Recording multiple parts onto separate tracks.
Recording and managing multiple songs in memory.
Recording performances along with built-in songs.
Transferring recorded data to a computer.
Adjusting tuning systems for different musical styles.
Applying pre-configured song setups.
Automatically plays arpeggio patterns.
How to remove user-added songs.
Erasing all user data from the keyboard memory.
Steps to connect the keyboard to a computer via USB.
Configuring MIDI channels and settings.
Disables keyboard sound output for computer control.
Sends Auto Accompaniment data to a computer.
Solutions for common keyboard issues.
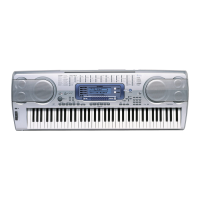
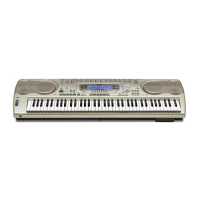
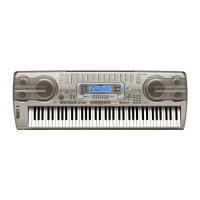
Technical details and features of the WK-210.
Important guidelines for product usage and maintenance.
Explanations and actions for system error messages.
| Sound Source | AHL |
|---|---|
| Display | LCD |
| Maximum Polyphony | 48 notes |
| Digital Effects | 10 types |
| Built-in Songs | 110 |
| Metronome | Yes |
| Key Transpose | Yes |
| Tuning Control | Yes |
| Power Requirements | AC Adaptor or Batteries |