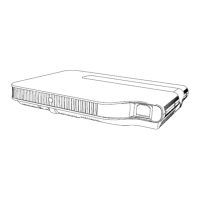
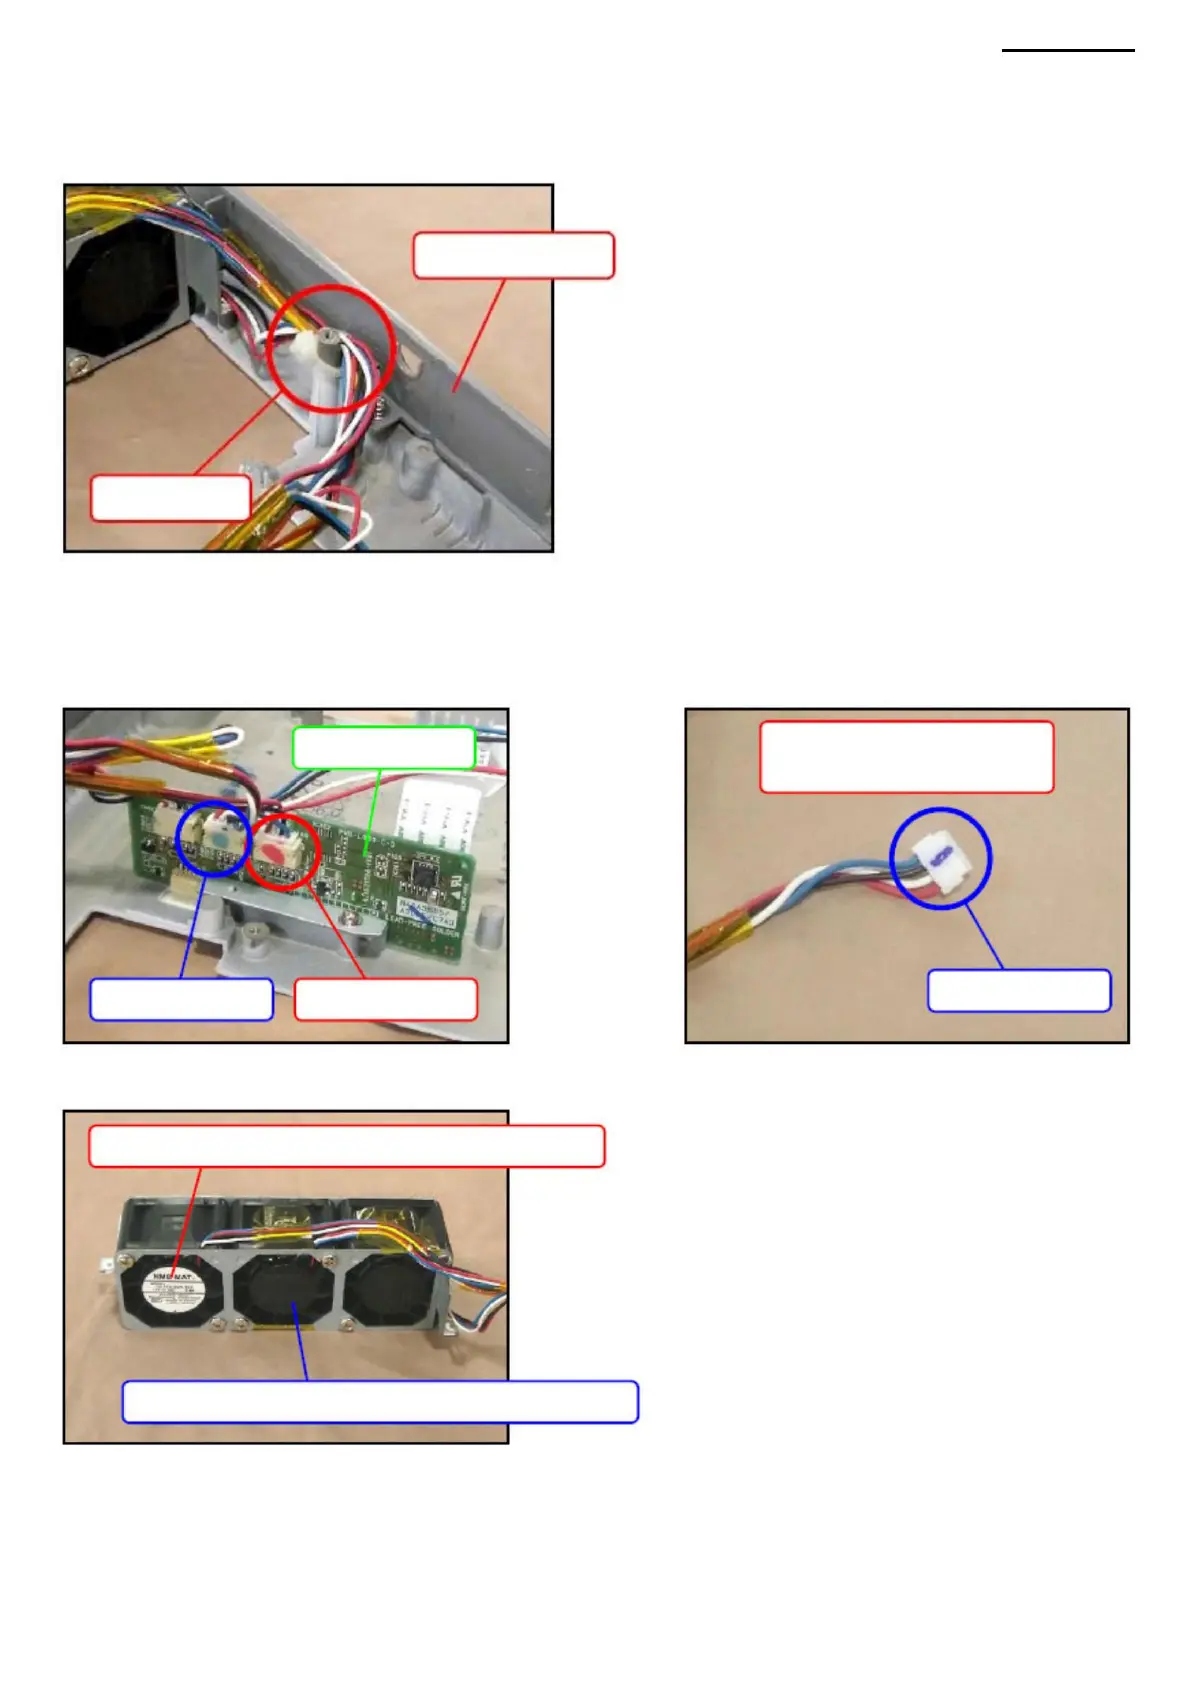
<ASSEMBLY NOTES: FAN MODULE A> • When assembling the
fan module A, make sure that the cables are arranged as shown in the figure below, and fix the cables on the stop with a
cable tie.
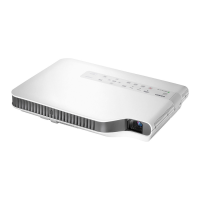
NOTE: There are color markings on the PWB-3 board and on the fan side. Connect the fan connectors and PWB-3 board
connectors that have the same color.
Connect the connector with the blue label
Back panel
red label
Example of a label
on a fan connector
Strainer
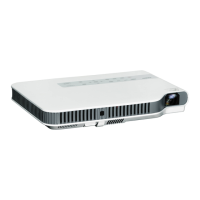
• When connecting connectors to the PWB-3 board, make sure that it is connected to the appropriate
Salary PWB-3
XJ-A240/A245
blue label
connector.
Connect the connector with the red mark
blue label
-30-
Machine Translated by Google
 Loading...