52
Projecting the Screen Image of a
Graphing Calculator
You can connect a CASIO graphing calculator to the Data Projector using a USB cable and project the
calculator’s screen image with the Data Projector. USB connection of the following CASIO graphing
calculators is supported.
z fx-9860G Series
z fx-9860GII Series
z fx-CG10, fx-CG20
z ClassPad 330 PLUS
The procedure below uses a CASIO fx-9860G Series graphing calculator. When using any other
CASIO graphing calculator model, see the chapter titled “Data Communication” in its User’s Guide.
To project the screen image of a graphing calculator
1.
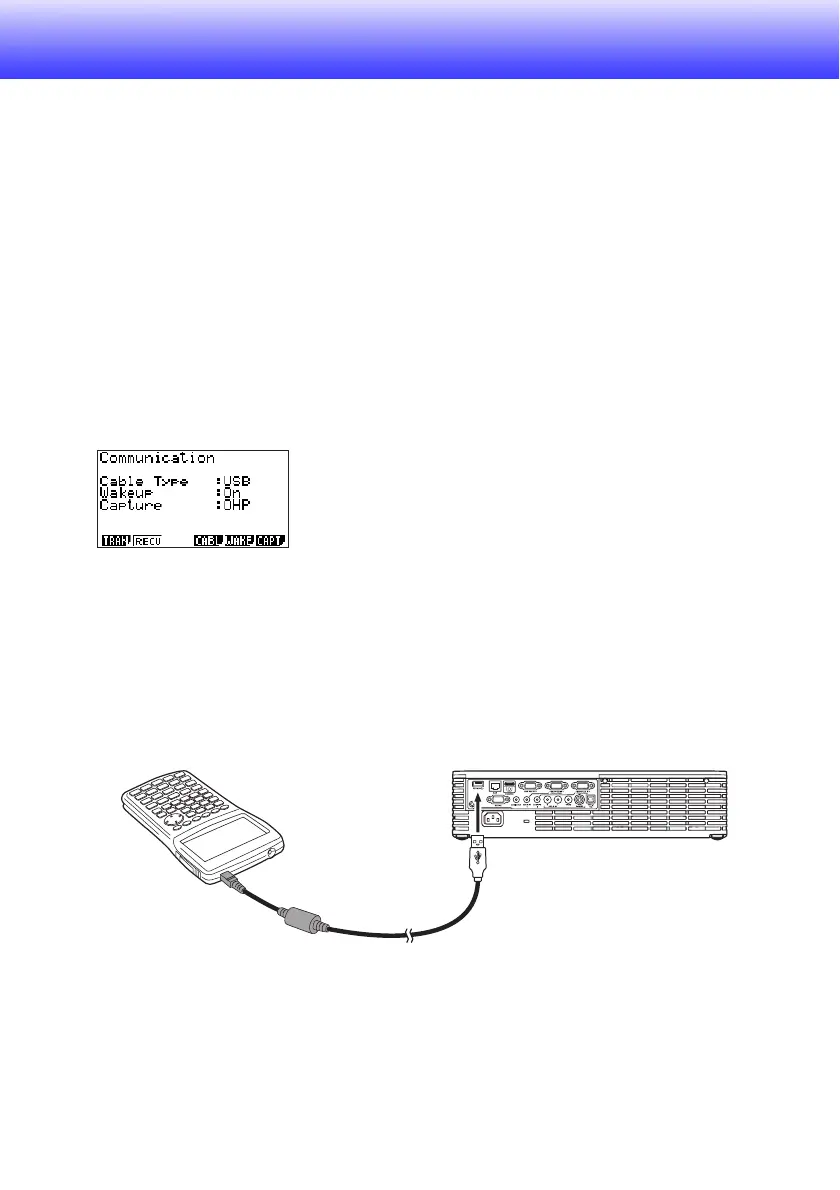
Set the graphing calculator up for data communication.
Enter the LINK Mode, and configure the “Wakeup” and “Capture” settings as shown below.
z Be sure to configure these communication settings before you connect the calculator to the
Data Projector.
z See the user documentation that comes with your calculator for details about configuring
these settings.
2.
Turn on the Data Projector.
3.
Use the USB cable that came with the graphing calculator to connect it to the
Data Projector as illustrated below.
z This will project an image of the graphing calculator from the Data Projector.
* The illustration shows the fx-9860G as an example.
USB Cable

 Loading...