CassidaPRO Zeus: Service Manual
2018 Cassida Corporation. All rights reserved.
Rev: 09/05/2018
cassidapro.com/partner/
RS-232 - SERIAL CONNECTION
2) CONNECTION WITH A PRINTER
• The Zeus interfaces with many printers, and has customizable options for the serial port
data output setup. Due to the large variety of supported devices, the below pin-out
is given for the Rx, Tx, and GND pins. All other pins are not connected (NC). Custom
cables may be created or ordered using the below pin-out.
The RS232 Port Pin-out is as follows:
1. NC
2. Tx (Zeus -> Printer)
3. Rx (Printer -> Zeus)
4. NC
5. GND
6. NC
7. NC
8. NC
9. NC
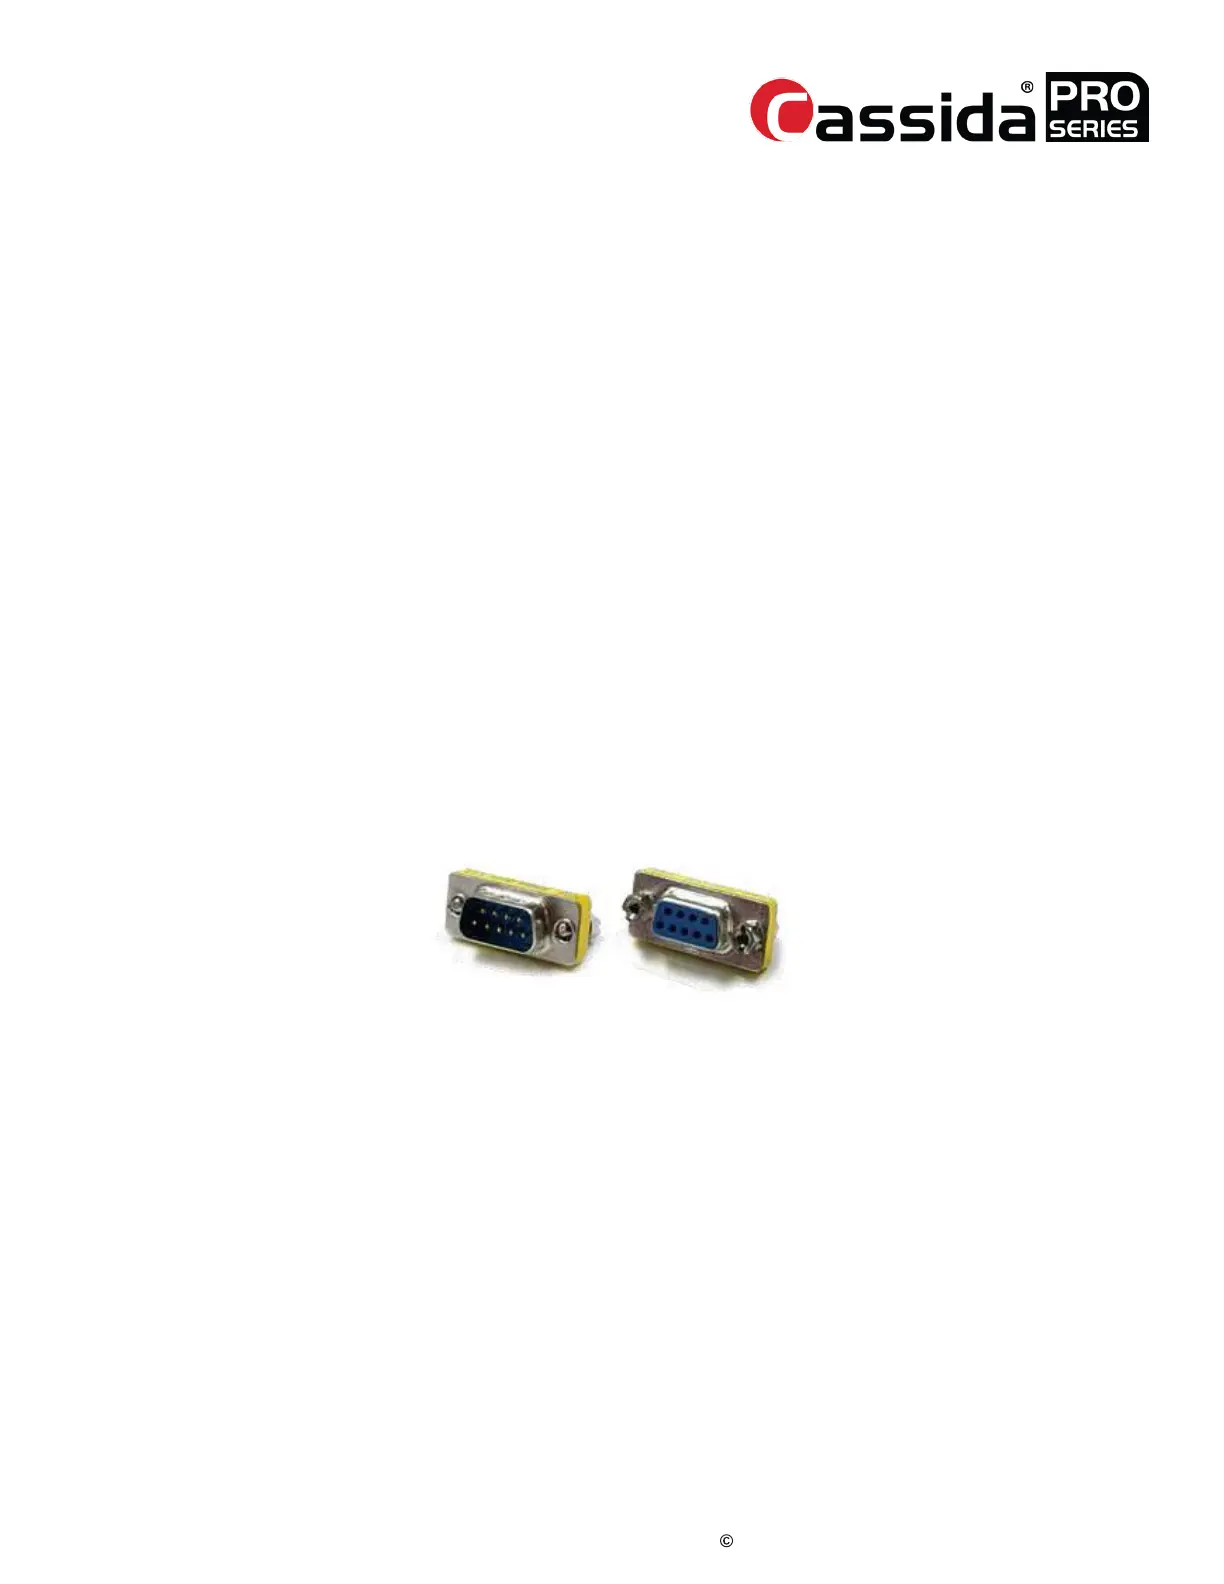
• You may also elect to use a standard RS232 cable, which requires a Null Modem
adapter (female to male converter) at the end of RS232 male – RS232 female cable.
Null modem adapters are available from most electronics retailers.
Example of RS232 female to male converter:
RJ11
1) CONNECTION WITH A CUSTOMER DISPLAY (remote display)
Required cable: RJ11 to RJ11 cable
2) CONNECTION WITH A PC
Required cable: RJ11 to RS232 female (RS232 PC Port)
• The RJ11 to RS232 female cable is a custom cable.
• Please contact Cassida PRO for pricing and availability.
1.4.1.
1.4.2.