L mm
4. Set the sensor ID
Set the heart rate sensor ID and the speed sensor ID.
* This unit requires the sensor ID in order for the computer to receive signal from
the sensors.
* To check the sensor ID, heart rate sensor must be worn properly (page 9), and be
within 5 m from the bicycle with a speed sensor mounted (page 7).
* When performing ID Synch, make sure there is no other similar sensors in the
surrounding area. (It may pick up other sensor's ID)
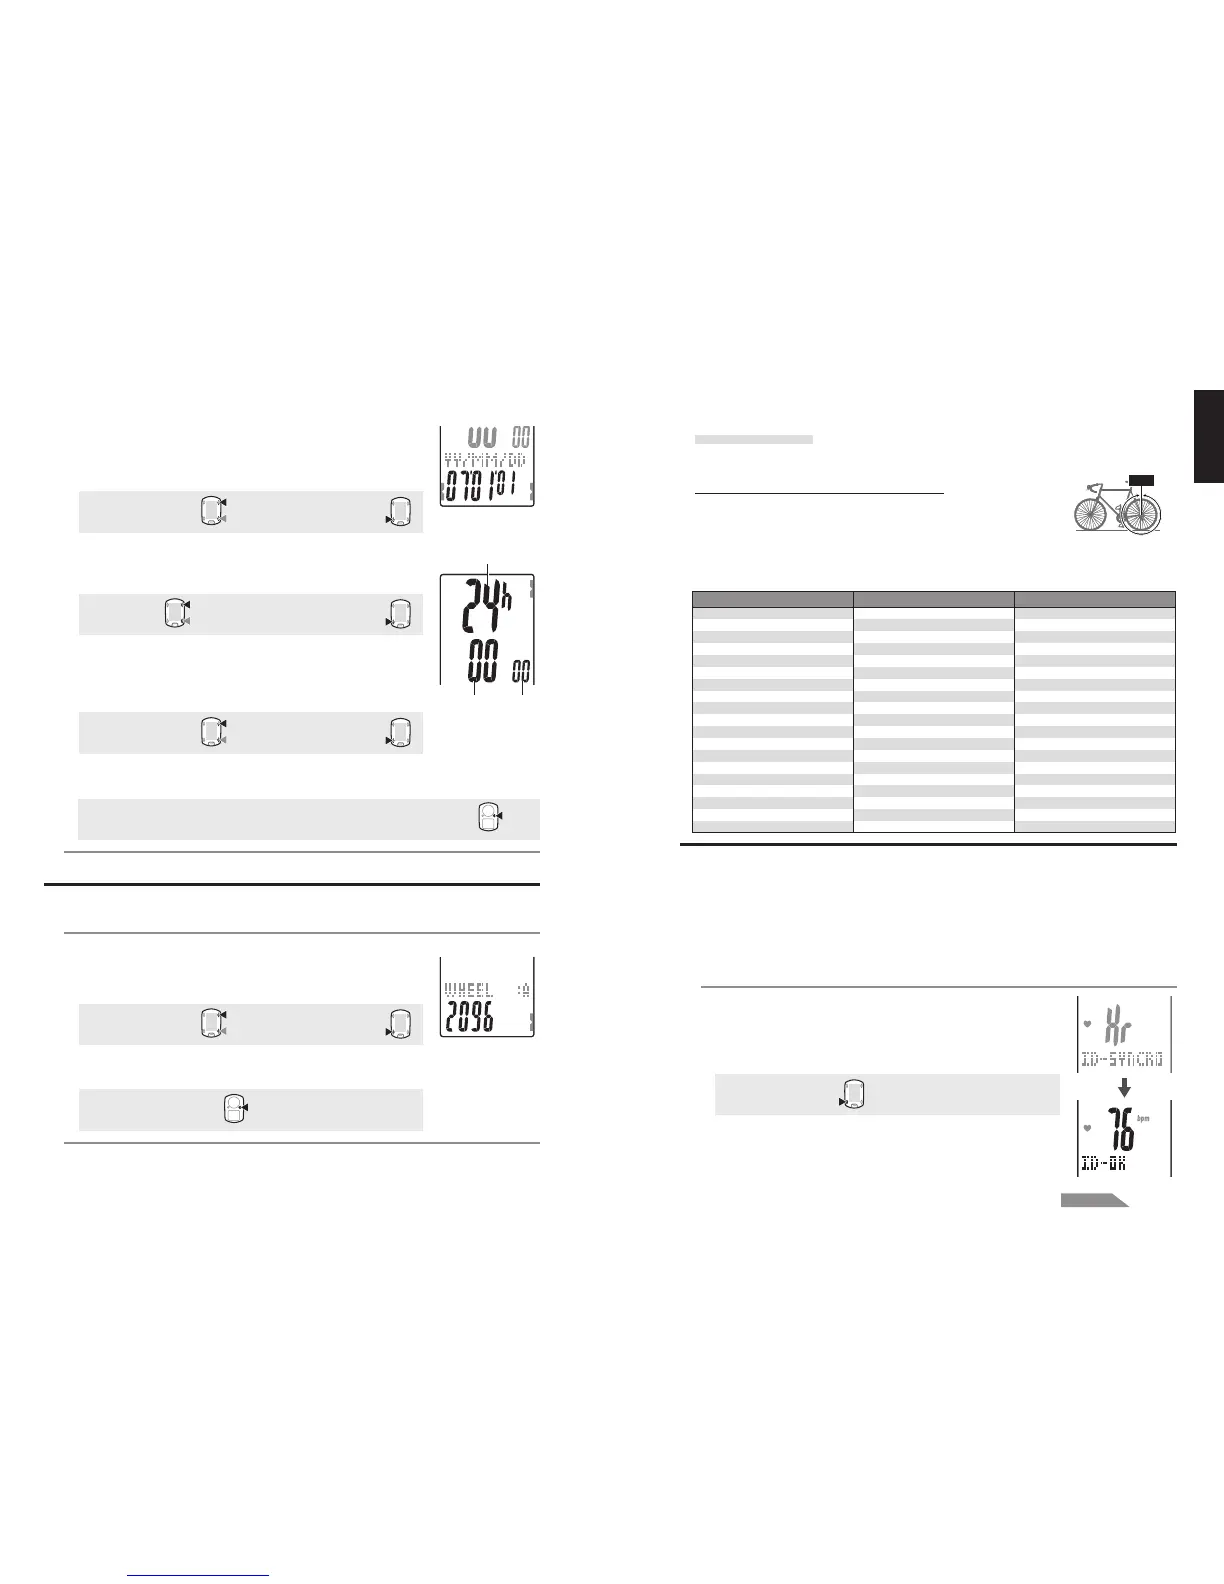
1. Wear the heart rate sensor.
2. Press the SSE button to start searching for the heart rate
sensor ID.
When the heart rate is displayed as “ID-OK” on the screen,
searching is completed.
Start searching:
SSE
MENU
2. Enter the “Year”, “Month” and “Day.”
Enter the “Year”, “Month” and “Day” in the display order
selected in Step 1 using the M1/+ and M2/- buttons, and
confirm with the SSE button. Enter the last 2 digits of the year.
Increase/decrease:
M1/+
M2/-
Confirm:
SSE
3. Select the clock display format.
Select “24h (24 hour)” or “12h (12 hour)” using the M1/+ and
M2/- buttons, and confirm with the SSE button.
24h
↔↔
↔↔
↔ 12h:
M1/+
M2/-
Confirm:
SSE
4. Enter the “Hour” and “Minute.”
Enter the “Hour” using the M1/+ and M2/- buttons, confirm
with the SSE button, and then enter the “Minute” in the
same way.
Increase/decrease:
M1/+
M2/-
Confirm:
SSE
5. After you set the date/clock, press the MENU button to
proceed to the next set up item.
For the formatting operation: To the “Tire circumference input” screen below
For the restarting operation: To the measurement screen and ready for use
3. Tire circumference input
Enter the tire circumference of the bicycle wheel in millimeter.
1. Enter the last 2 digits of the tire circumference.
Enter using the M1/+ and M2/- buttons, and move digits
using the SSE button. Then, enter the first 2 digits in the
same way.
Increase/decrease:
M1/+
M2/-
Move digits:
SSE
2. After completed, press the MENU button to proceed to “Set
the sensor ID” below.
To “Set the sensor ID”:
MENU
(or)
(or)
(or)
(Back)
(Back)
(or)
Hour Minute
Display format
How to measure the tire circumference (L)
For the most accurate measurement, do a wheel roll out. With the tires
under proper pressure, place the valve stem at the bottom. Mark the
spot on the floor and with the rider's weight on the bike, roll exactly one
wheel revolution in a straight line (until the valve comes around again to the bottom). Mark
where the valve stem is and measure the distance in millimeter.
* For your reference, use the tire circumference chart below.