12
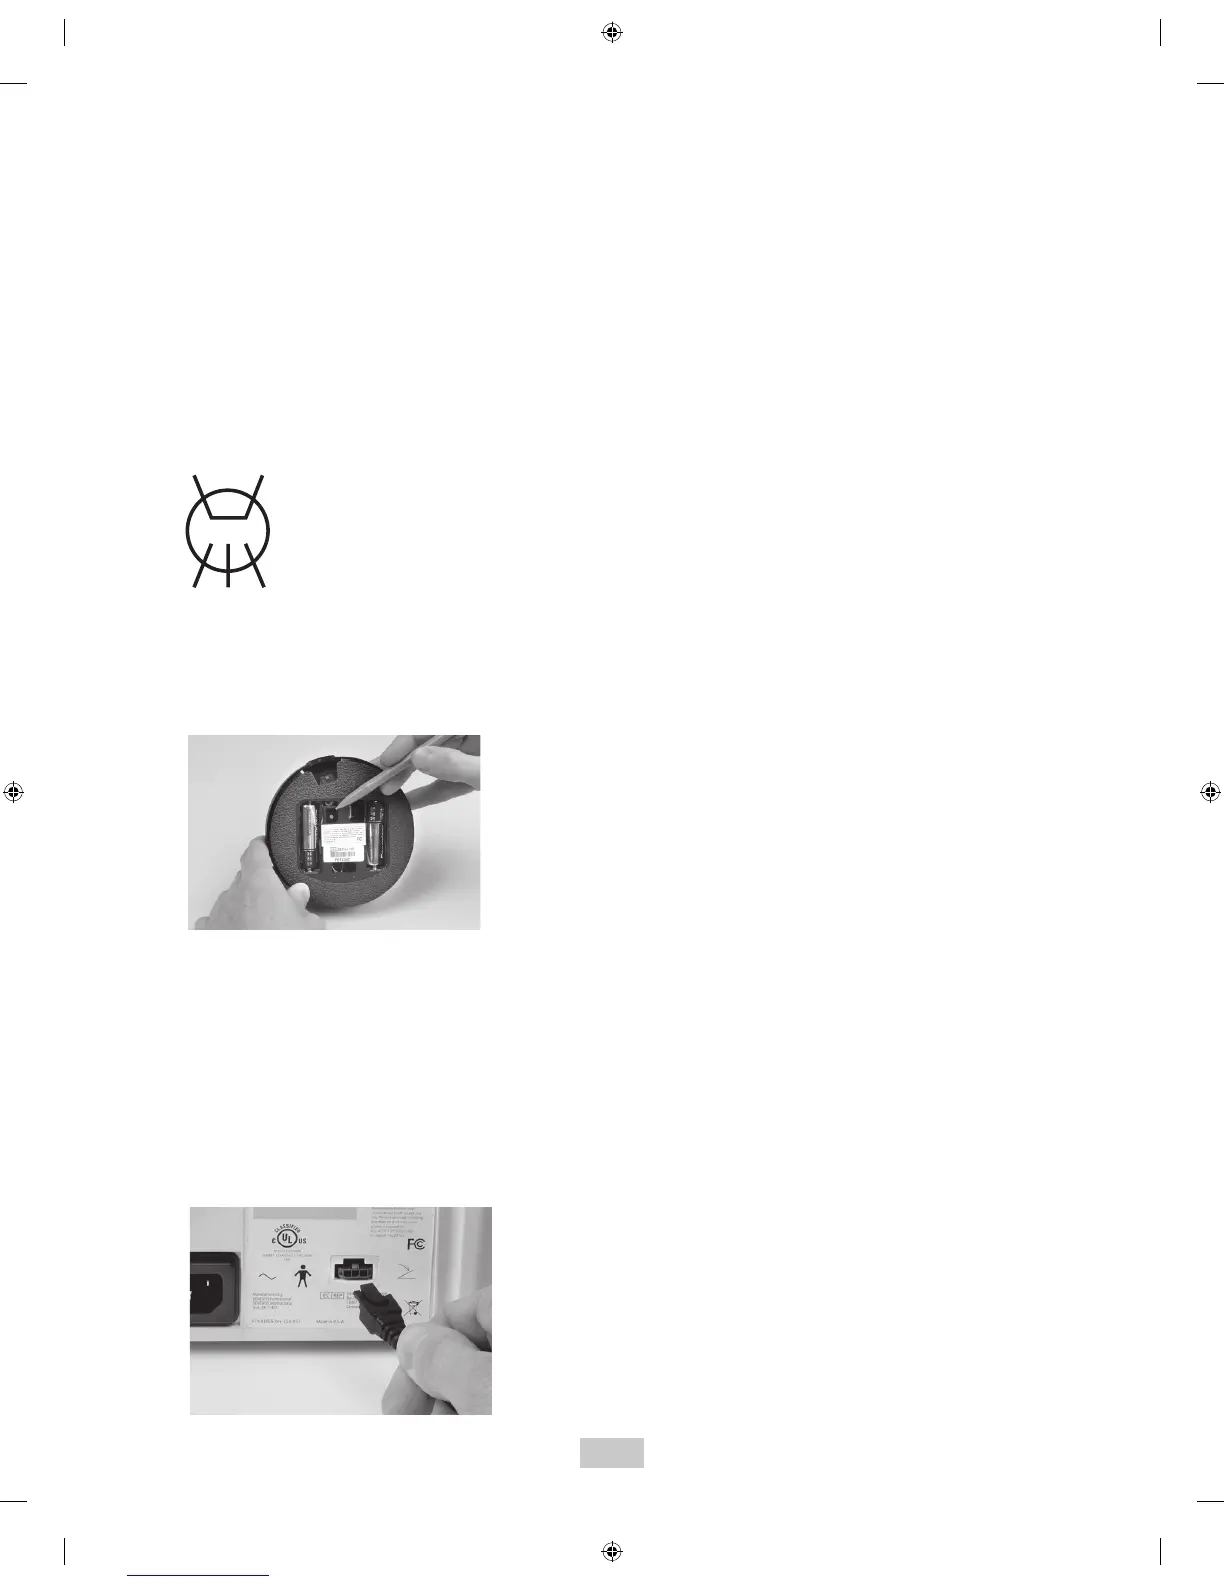
2. Install a new set of “AA” batteries into the foot
control (see section 7.9). Leave the battery cover of
the Tap-On
TM
Foot Pedal open so the red push button
is accessible.
3. Maintain a distance of no more than 10 feet (3
meters) between the base unit and Tap-On
TM
Foot
Pedal during the synchronization process.
4. Remove any inserts from the handpiece and adjust
the Power Level Control out of Rinse Mode. Turn the
Main Power switch to the ON (I) position and wait for
the Diagnostic Display graphics to light (refer to
Section 8.2).
5. While all graphics are lit, press the Purge button,
located on the Diagnostic Display.
The graphics will begin to blink in a sequential
pattern, representing the synchronization mode.
This mode will last 5 to 6 seconds.
6. During this mode, press the red button located in the
battery compartment of the Tap-On
TM
Foot Pedal. This
will complete the synchronization process.
7. Synchronization is successful when all graphic lights
blink at the same time.
8. To verify proper communication, press the foot
control to the Boost position (Tap-On
TM
Foot Pedal
fully depressed – 2
nd
position) and ensure the Boost
graphic on base unit illuminates.
9. Attach battery cover and tighten the screw.
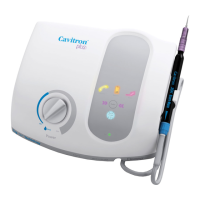
10. In the event communication cannot be established,
temporarily use the supplied Auxillary Tap-On
TM
Foot
Pedal Cable to connect the Tap-On
TM
Foot Pedal
directly to the unit.
PURGE