8
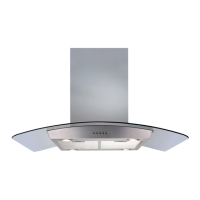
Fig. 7
5. Place the chimney section over the body assembly, as shown in fig 7.
6. With the help of another individual, raise the whole assembly to the
ceiling and fix securely in place using four screws appropriate for the
wall plugs inserted in step 2. Ensure that the supporting ceiling is strong
enough to take the weight before releasing the extractor.
7. Connect the ducting to the extractor vent outlet, securing it in place with
a cable tie, duct tape or other suitable means.
8. Finally, raise the inner section of the chimney to the ceiling and secure in
place using the two small screws supplied
9. Note that the electrical connection to the extractor should not be
located inside the boundaries of the chimney. This is especially important
if the extractor is to be used as a recycling device. There should be an
isolation switch so that the extractor can be disconnected from the mains
electrical supply after installation.
Fig. 7

 Loading...