CD42 Pipeline Pig Location & Tracking System
Page 23
File Menu
Selecting a Recording File
Before a recorded PICture file can be accessed, it must first be selected. To select a file, first press
the FILES button on the main menu. Refer to Figure 25. If there are any files saved in memory,
then a list of those files will appear (shown in Figure 26). If there are many files (the CD42-R has
the ability to store up to 99 PICs, or pig passages) , then they will fill the screen. If there are no
recorded files saved in memory, then the FILES button will not activate.
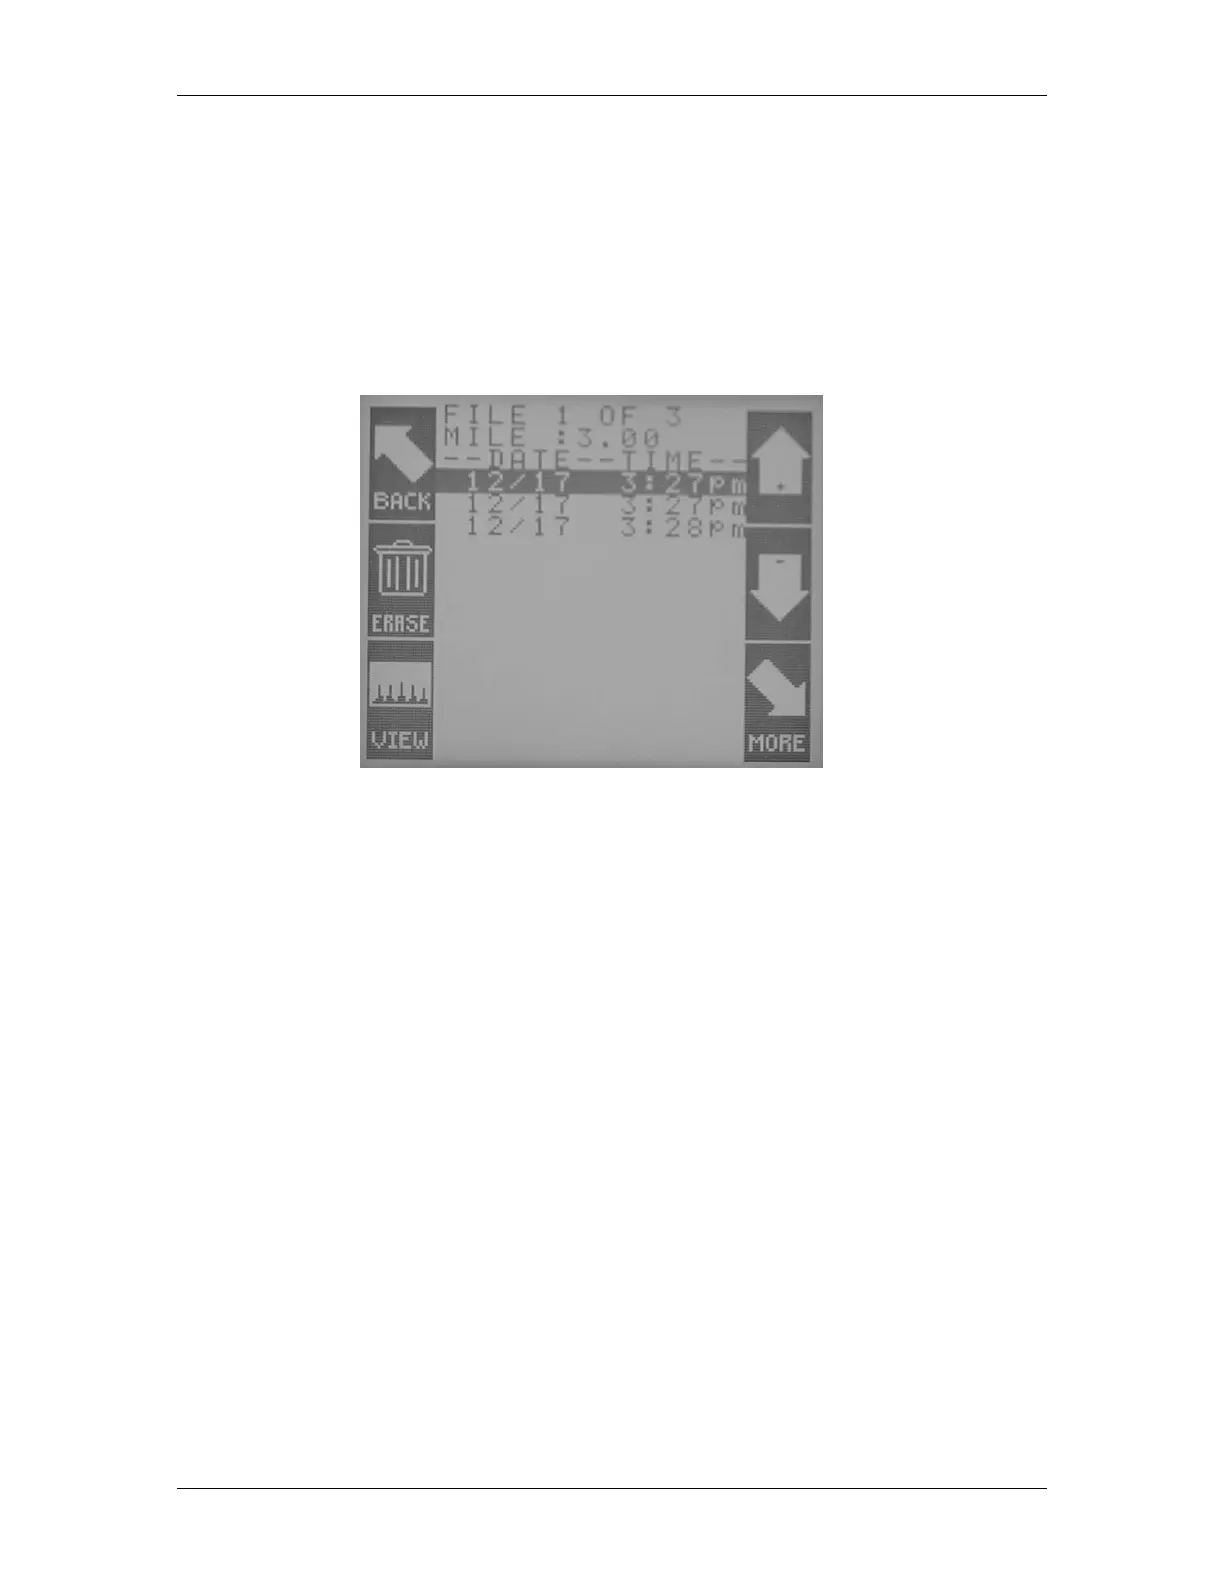
Figure 26 Available File List
The files are organized by the Date and Time of the recording. To navigate through the file list,
press the up or down arrows to advance the highlighted field to the file you wish to select. The
number located inside the up arrow icon is actually part of the TIME field for each file. The TIME
field displays the hours and minutes, and the up arrow icon displays the seconds. This is useful if
two or more recordings are very close in time.
The two lines at the top of the display, above the Date and Time header, are status indicators for
the file that is currently selected. As you move the highlighted bar through each file, the status
indicators update to reflect the information for that individual file. The indicators display the
current file number, the total number of files, and the Location ID for the selected file. This makes
it very easy to locate a stored file based on mile marker information or other easily identifiable
locators.
Erase a Recording File
In order to erase a recording file, a file must first be selected according to the procedures stated
above in the section titled “ Selecting a Recording File”. After the file to be erased is selected, press
the Erase button (Figure 27) on the left side of the screen. When the ERASE button is pressed a
warning box displays, giving you the opportunity to cancel the ERASE function. Figure 28 displays
this warning box.