ENGLISH
25
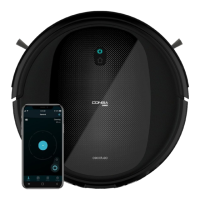
• When the device connects to the Wi-Fi, the white light will turn steady.
• If the device fails to connect, the white light will blink faster.
3. Battery indicator light
• The light will turn red when the battery is low.
• The light will switch from blue to red alternately during charging.
• The light will turn steady blue when it is totally charged.
BATTERY CHARGING
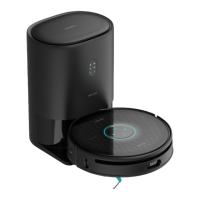
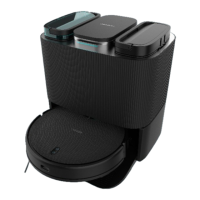
1. Charging base
• Place the charging base against the wall.
• Remove any obstacle from around the charging
base, following the safety distances shown on the
below picture:
• Always turn the robot’s power switch ON before
placing it on the charging base.
2. Connection
• a. Plug one of the adapter ends into the robot’s charging socket and the
other to the power supply. (Fig. a)
• b. While the charging base is connected to the power supply, press on
the remote control for the robot to automatically return to the charging base. (Fig. b).
B
A
Note: if the robot’s battery is low during operation, it will automatically return to the charging
base before running out.
3. Battery’s service life
In order to lengthen the battery’s service life:
• Allow the robot to charge for 5 hours during the rst charge.
• Charge the robot as soon as possible when the battery is low.
• If the robot is not going to be used for a long time: fully charge the battery, switch the
robot off and store it in a cool and dry place.
• If the robot has been stored for a long time, allow it to charge for 5 hours before
operating it again.