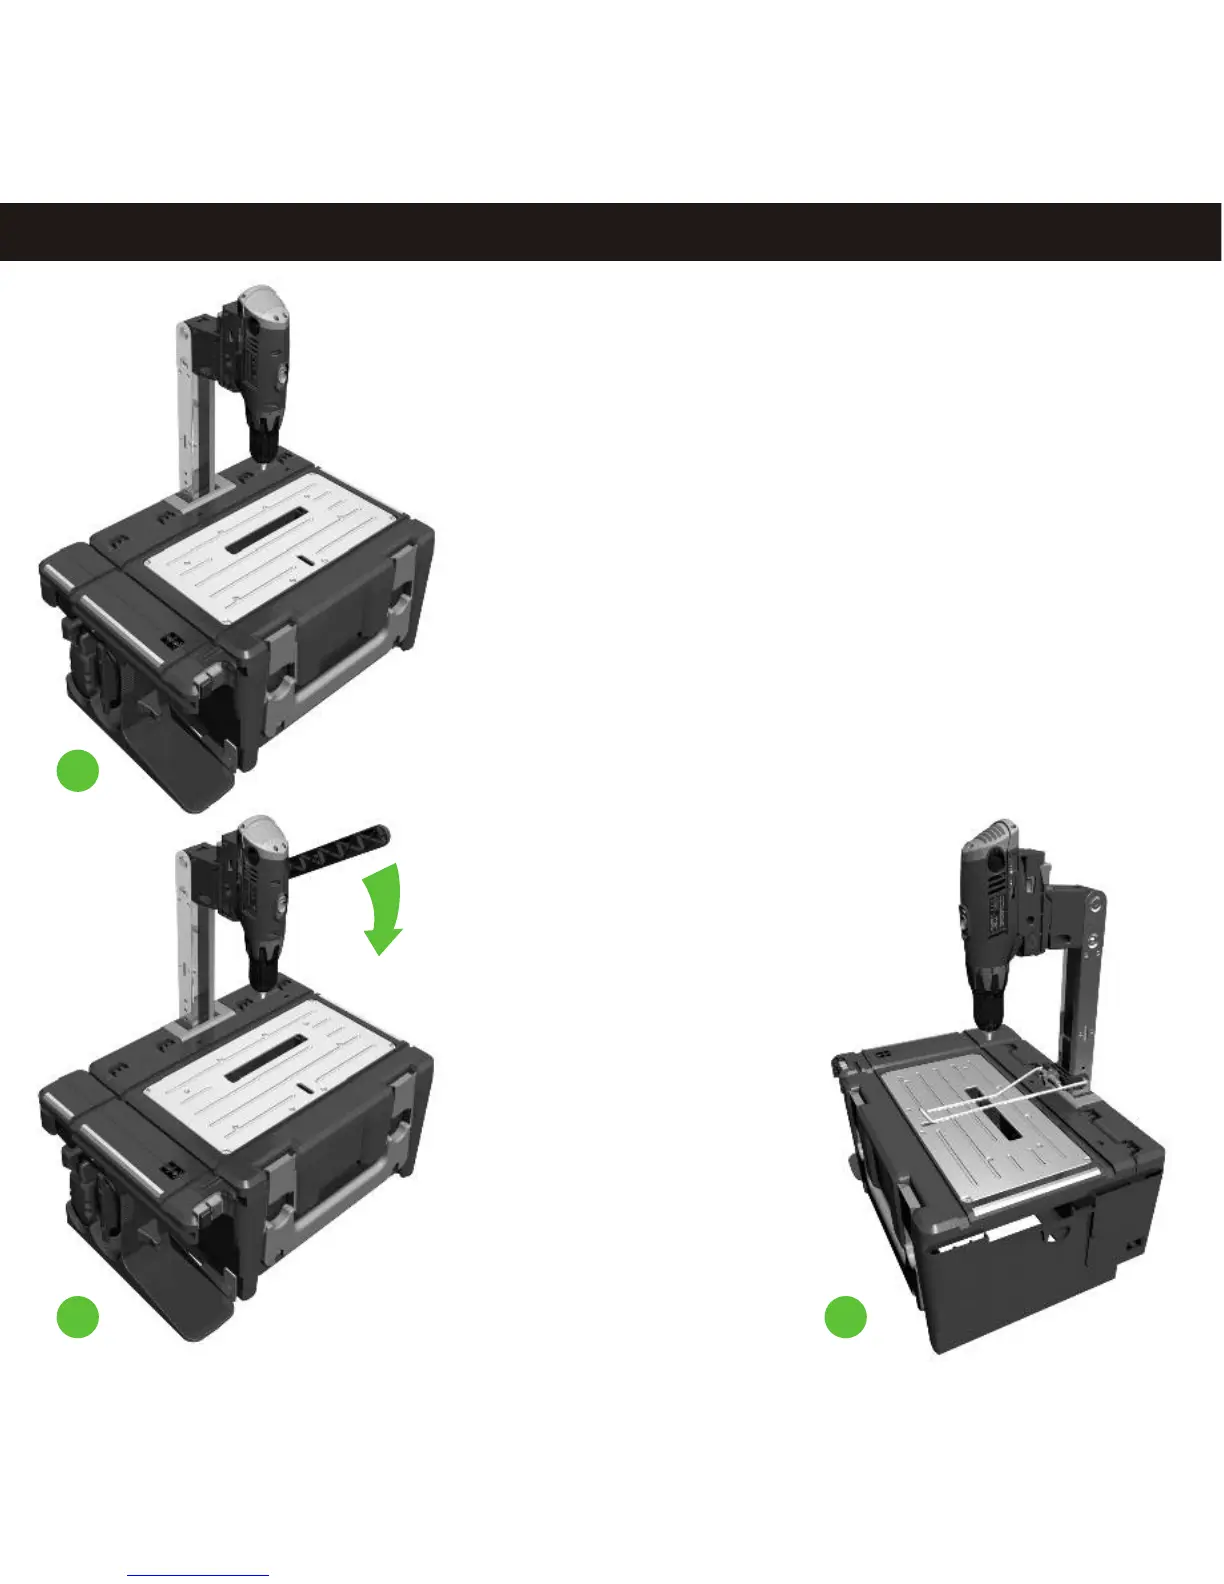
Drill Press - Assembly
11.3
5
4
6
Switching Drill Press On and Off
NOTE: Ensure that all body parts are clear of
the cutting tool before installing a
POWERhandle.
1. To start the machine, press the green
operation button on the main case.
2. The machine will now run continuously.
3. To stop the machine, press the Red operation
Button on the main case.
Making a Cut
Fit a cutting tool such as a drill bit into the chuck
as described in point 4.
Adjust the height of the drill press by lifting the
latches which lock the post in place and slide the
post into the correct location; ensure the latch is
flush with the work surface again before
proceeding.
Select a suitable gear for your cutting tool and
material. Low gear for large drill bits and cutting
metal and high gear for small drills and softer
materials.
NOTE: Make a test cut in scrap wood before
cutting your work.
NOTE: Put scrap material under the work piece
you are cutting to stop damage to the work
surface.
W i
. N
er t th drill
pr s i
h he
arn ng
ev
s
art e
es w
t t
cutting ool t
e e.t on h work
piec
NOT : M
e ure
he j aw
c
r
ul r
aw
E
ak s t igs and
i c a
s
are NOT
ins
al ont
the
e
d and
he
t led o
cas li t
int
plug
s N
T
onnec ed
o pr
t. he ernal
i
O c
t
t a
oduc
T
drill p
s wil
not wor
f the igs or
cir res
l
k
i
j
aw
cular
s
ar
inst
or
he cas
li is s
aw e
alled t
e
d
hut and
lat
hed.c
The i
res is s
art and
st
ped the dr
ll p s
t ed
op by
mai c e
at
on /OFF
butt abov tn as oper i
ON
on
e
he
c ger
khar
doc .
S
ar he
i
he post lev
dow dst t t
dr ll,
pull
t
er nwar
s
,
ali
y
ark
wit t c
t
t
t
p lowly
gn our m ing h
he ut ing
ool
i
con i to
l
he
il s
ow
y t ough our
and
t nue
pul t
dr l l l hr y
k
e.
Let t
dr ll
t wo
; don’t
f
e
wor
piec
he
i do
he rk
orc
t
through
our
ork
will
si
or y w
nag.
ur
t
leve t
it po
ion,
t
s op Ret n
he
r
o
s
upper sit
hen
t
he i
t all i
e y m t
ens
e
r
k
t dr
ll. A
t
m s
ou
us
ur
you wor
is
held
i m a
ns
he ork
s ac
piece
f r
ly
gai t
t w
urf
e.
UTI
N
l ays
ens e hat t t
s
is
CA
O
.
A
w
ur t
he able
aw
wit
hed and he OWER i
em ed s c
of
f t P
handle
s r
ov
or m
ing
us
m
ts
bef
e ak any
adj
t
en
.
Drill Press - Operating Instructions
11.4
4. Add your required cutting tool to the drill’s chuck and tighten
firmly. If further height adjustment is required please refer to
stage 3.
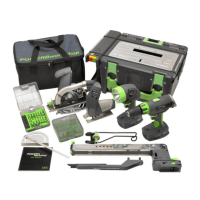
5. The post lever can be fitted to either side to allow for left or
right handed use. Slide the front pin to the moving part of the
post and the other pin into the elongated hole on the stationary
part of the post. The drill should move down when the handle is
pulled downwards.
Use the post handle to pull down the drill press and make sure
the drill bit will not touch the work surface when it is fully pulled
down; at this point you may need to adjust the height again.
6. If using a drill with a tip 10mm or less then it is possible to use
the table clamp to hold your work. Unwind
the clamp knob until the open jaws can fit
over the post and into the holes. Align the
clamp pins into a pair of holes on the post
and tighten the knob again. Place your
work piece on the work surface in the
correct position and further tighten the
clamp until your work is firmly held in
position.