DE
ES
FR
16
IT
EN
Welcome to use this Bluetooth® interphone, BTEASY.
Please read this user’s manual carefully before use.
BRIEF INTRODUCTION
1. Bluetooth® wireless communication technology
Bluetooth® is a standard of close range wireless technol-
ogy that was drawn up by Ericsson, IBM, Intel, Nokia and
Toshiba. With Bluetooth® technology, we can achieve
the highest transmission rate among cell phones, com-
puters, printers, PDAs and other devices. The max trans-
mission range of class II is 10 meters while the max
transmission range of class I can reach up to 100 meters.
2. About BTEASY
BTEASY is a Bluetooth® interphone designed for the
motorcycle rider and passenger who wish to have
clear and reliable wireless communications while rid-
ing. It can also be connected to a Bluetooth® cell phone
for hands-free communication. It has the following
features:
1) Two interphone headsets connect to use intercom
feature:
- Send out intercom
- Answer intercom and reject intercom
- End intercom
- Adjust the volume
2) BTEASY pairs with a Bluetooth® cell phone:
- Answer a call, end a call and reject a call
- Redial last number
- Adjust the volume
3) The interphone can connect to another inter-
phone and a Bluetooth® cell phone at the same
time:
- Dial a number during intercom
- Answer a call during intercom
BEFORE USE
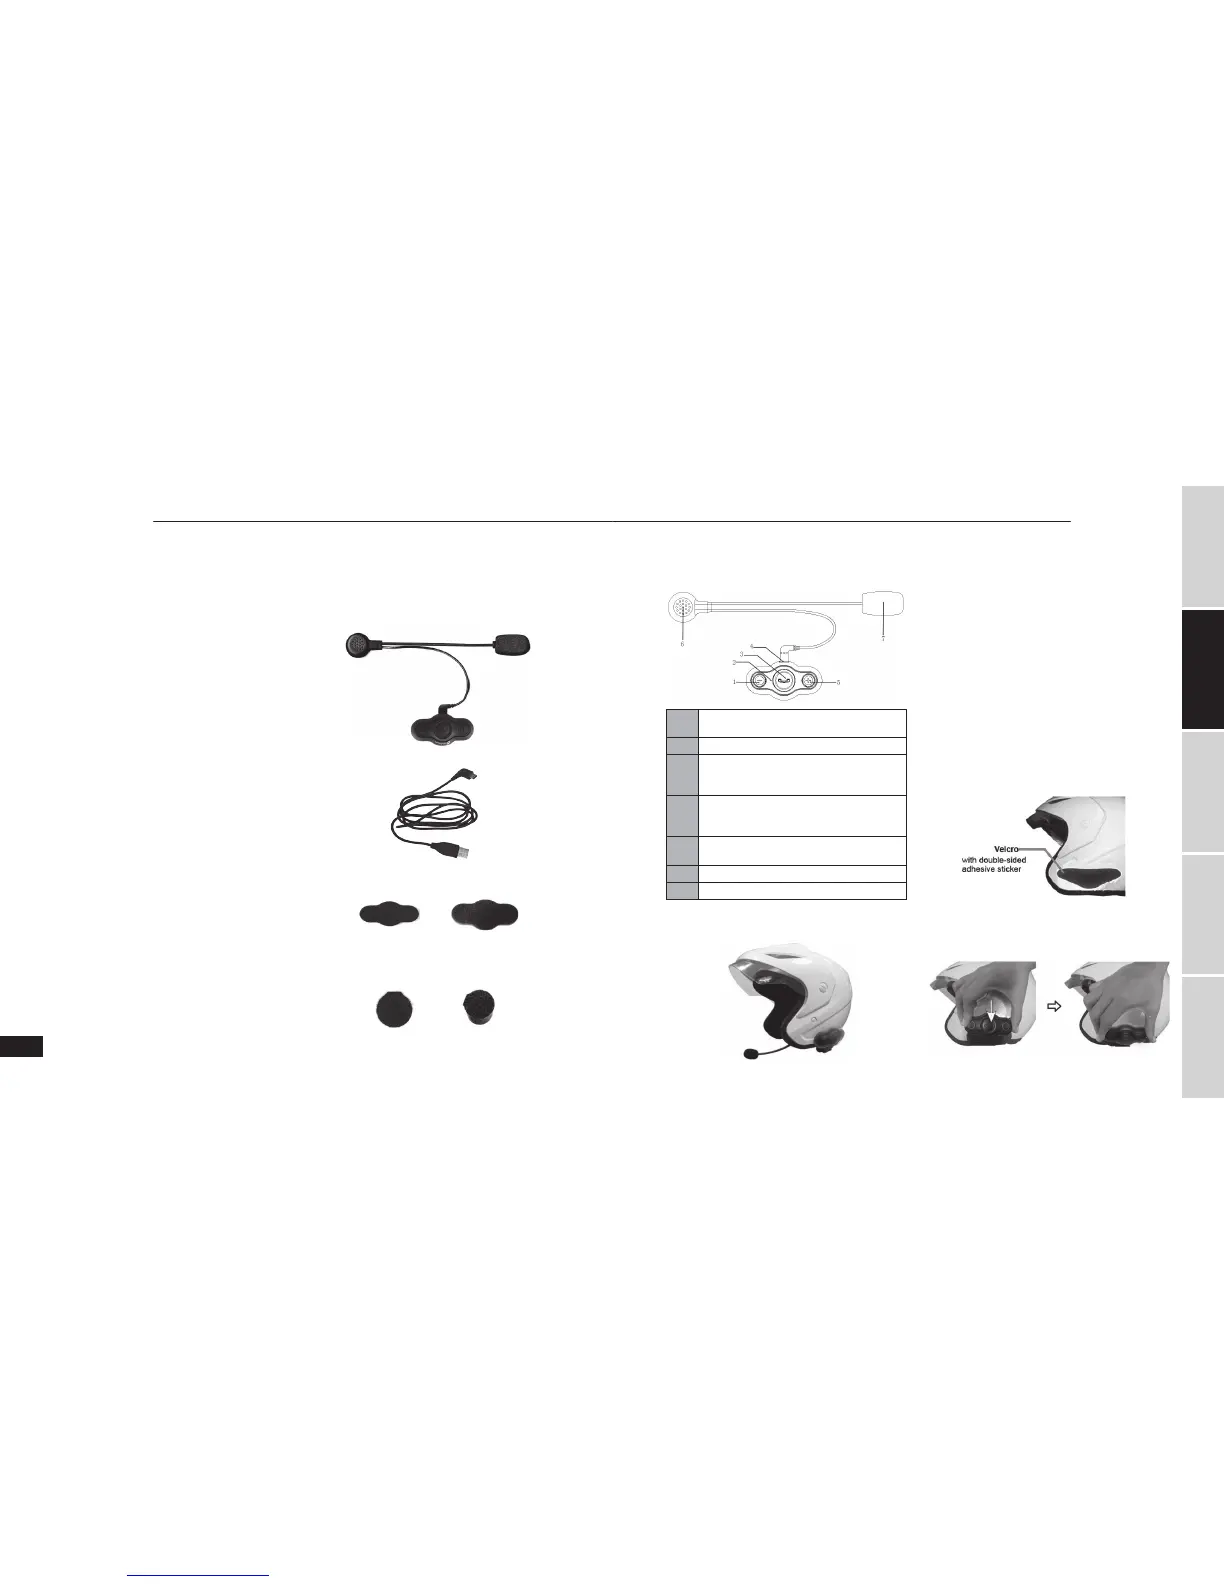
1. Package contents
Bluetooth® Interphone
USB charging cable
(Thin) (Thick)
Velcro attached to Interphone Headset
(Thin) (Thick)
Velcro attached to Ear Speaker
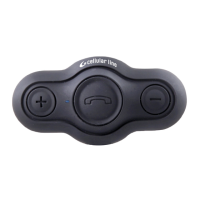
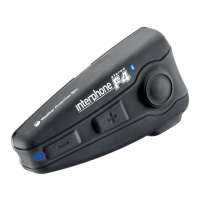
2. Overview
1
VOL– - Turn down the volume and send out
intercom
2 LED indicator
3
MFB button - Power on/off, redial last
number, answer/reject a call, answer/reject
intercom
4
USB port - It is a charging port and is used
as a port for connecting to microphone and
ear speaker
5
VOL+ - Turn up the volume and send out
intercom
6 Ear speaker
7 Microphone
INSTALLING THE INTERPHONE
1. Installing the velcro attached to interphone head-
set
1) Before removing the protective strip from the dou-
ble-sided adhesive, find the best location to place the
velcro.
2) Clean the part of the helmet that the interphone
headset with adhesive will be attached to. Remove
any dirt or grease. Do not use cleaners that may dam-
age the helmet or that will leave an oily residue.
3) Check again the position of the velcro. Once it is fixed,
it will not be possible to move.
4) Make sure the surface is dry before continuing.
Remove the protective strip from the double-sided
adhesive and carefully fix the velcro to the outside
shell of the helmet.
Note: There are two types of velcro, thin and thick. It is
recommendable to use the thick velcro when the curva-
ture in the surface of the helmet is large.
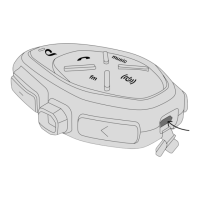
2. Installing the interphone headset
Take your interphone headset, make the USB port
points down and attaches the interphone headset to
the velcro.
BTEASY BTEASY