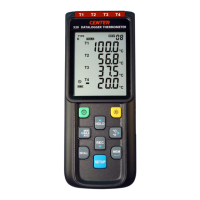
DATALOGGER THERMOMETER
9
(8) After finish installing USB-120 connector driver, it will install SE374 software automatically.
It will copy SE374.exe ( executable file ) and help file to your hard disk ( default is
c:\program files\SE374)
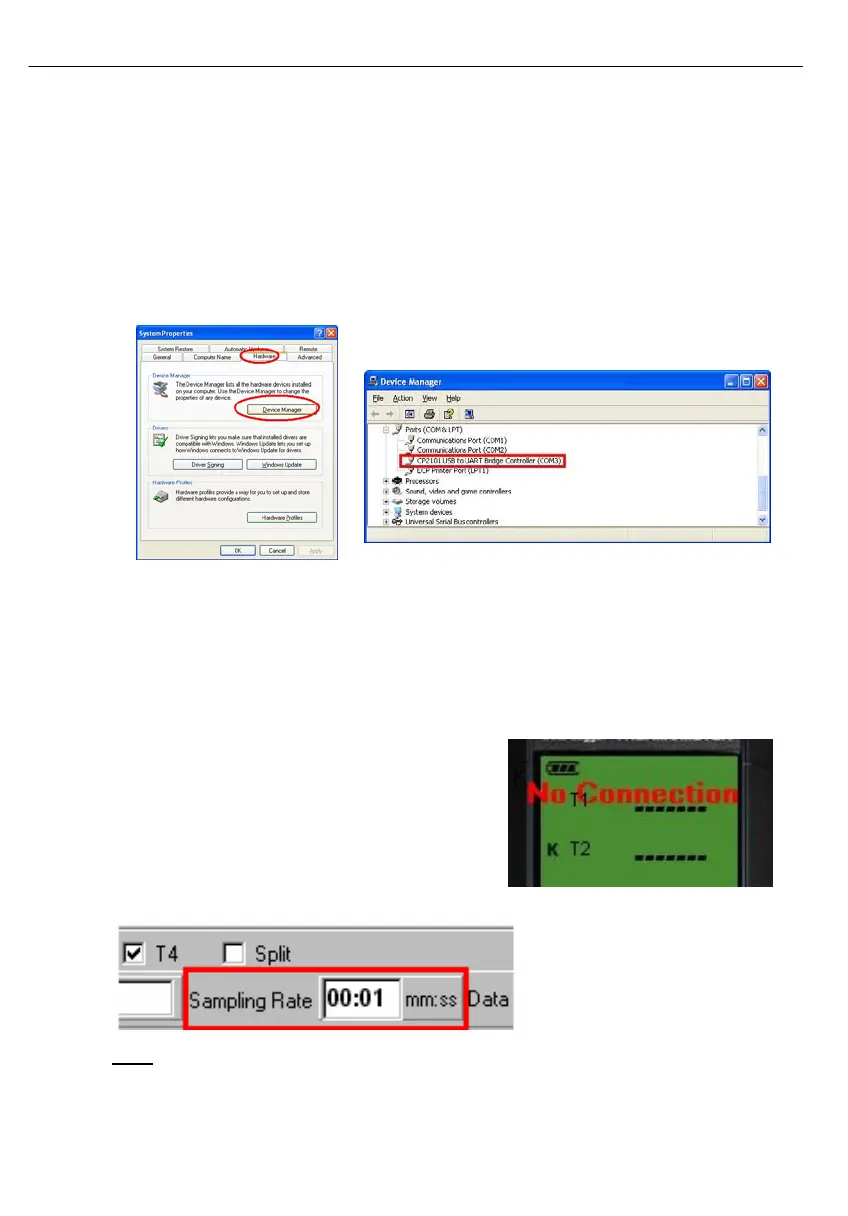
(9) After finish installation, plug USB-120 connector to PC usb port, execute
”start”→ ”My Computer”, then choose “View System Information” on the left top of the
window, the window below will show up.(see Fig.7)
(10) Choose “Hardware” option and click “Device Manager” button, click “+” symbol on the left
side of Ports(COM &LPT), if the device “CP2101 USB to UART Bridge Controller(COMx)”
is in the list, the connector is ready to work.(see Fig.8)
Fig.10 Fig.11
10.5 Tutorial - Quick Start to Use TestLink SE374:
(1) Recording real time data in waveform.
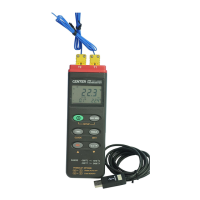
(2) Power on the 4 Channel Thermometer first and connect it to a PC RS-232 serial port wit
the cable(USB-120),
(3) Start SE374 program.
(4) If the connection is successful the panel will
display the same value as the 4 Channel
Thermometer. If fail to connect the meter with PC,
it will display "No Connection" on the panel
window in TestLink SE374.
(5) Select sampling rate from Real-Time Graph
window.
Note:
If PC speed is slow , select sampling rate above 1 second. And if it is going to sample a
large amount data(more than 5000), at least 512 mega bytes ram is recommended to keep
PC running in good performance working well.