Page 6SKU 94605 For technical questions, please call 1-800-444-3353.
OPERATION
Warning: Verify that the paint containers are securely closed before shaking,
to avoid spilling or property damage. Make sure there is oil in Oiler (52)
BEFORE use. See page 6.
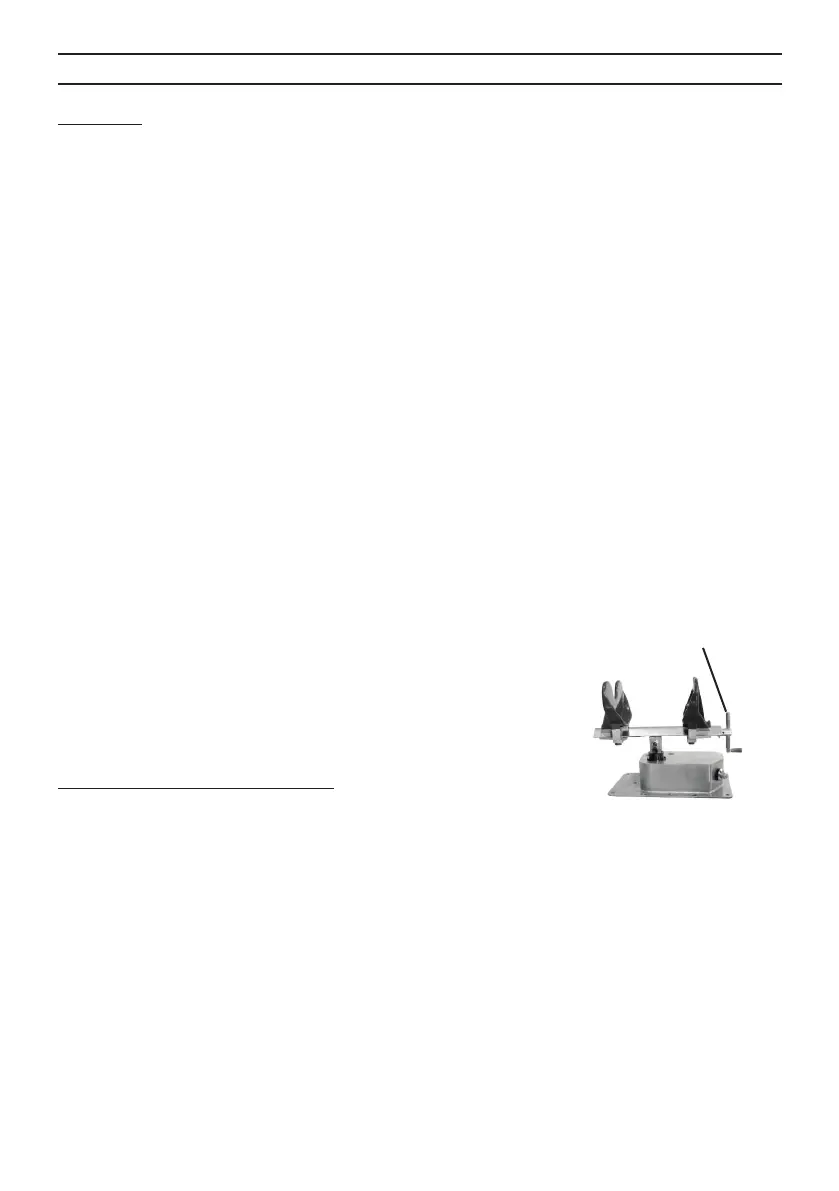
1. Place the paint can within the Jaws (48) and securely tighten Handle (38).
2. Verify that the Control Valve (6) is in the Off position (handle perpendicular
to air flow direction) as shown on page 4.
3. Turn on the air pressure at the air supply tank or compressor. Adjust
pressure to 40 PSI as read on the compressor pressure gauge.
4. Adjust the air pressure up to a maximum of 70 PSI for optimum tool
performance.
5. Turn the Control Valve (6) to the On position. Shaking will begin.
Caution: If the paint can appears to be slipping out from the Jaws (48) during
shaking, immediately turn off the Control Valve (6). Reset the can and retighten
the Jaws.
6. Shake the paint can for two to four minutes, depending on its size.
7. After mixing the paint, turn the Control Valve (6) to the Off
position, and wait for the movement to stop.
8. Disconnect the air hose from the compressor.
9. Loosen Handle (38) and remove the paint can.
Lubricating The Paint Shaker
1. Disconnect the Pneumatic Paint Shaker from the air supply.
2. Locate the Oiler (52). There is a plug and a small screw on the Oiler that
must be removed. Using a small funnel, pour air tool oil into the fill hole
until the oiler is full. Replace the Fill Screw and plug. See photo page 5.
3. Connect the Pneumatic Paint Shaker to the Oiler (52). The oiler will
automatically spray a very small amount of oil into the Paint Shaker as
you use it. Make sure you keep oil in the Oiler (52) to avoid damaging
the Paint Shaker.
4. There is a zerk oil fitting (25) that feeds oil to a Bushing (21). Lubricate the
bushing at least once a month if heavily used. See diagram on page 9.
Handle (38)
07j