14
ASSEMBLY AND USE
OPERATING INSTRUCTIONS:
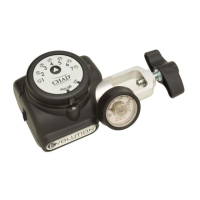
STEP 1: Make sure the EVOLUTION
TM
conserver is set to the “PULSE” position. Battery saving
technology has eliminated the need for an “OFF” position. The unit will go to “Sleep Mode”
after three minutes of non-use. The unit will turn on again when an inspiration is detected
or the Selector Button is pressed.
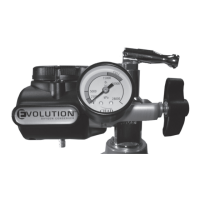
STEP 2: To reduce the risk of rapid oxygen recompression and fire, OPEN THE CYLINDER VALVE
SLOWLY and completely so that the pressure gauge moves slowly as it indicates the
cylinder pressure.
STEP 3: Listen for leaks. If a leak is present, close the cylinder valve, check the seal washer, and
reinstall. If the leak persists, DO NOT USE THE EQUIPMENT. Contact your supplier for repair.
STEP 4:
To select the setting on the
EVOLUTION
TM
conserver (1-7) that corresponds to the appropriate
delivery setting, press and hold the Selector Button in the center of the Selector Knob until the
appropriate LED display light is illuminated.
☛
NOTE: To check your current setting, press and release the Selector Button in the center of the Selector Knob
STEP 5: Place the nasal cannula into position with the prongs in the nostrils and begin breathing.
[Fig. G] The EVOLUTION
TM
conserver will now start to deliver oxygen. The amount of
oxygen delivered is determined by the setting. Adequate oxygen delivery will be achieved
because of the precise time in the breathing cycle that the pulse of oxygen is delivered.
☛
NOTE: To help prevent possible damage to the unit, keep the EVOLUTION
TM
conserver in
a carrying bag. Several bags are available for use with different cylinder sizes and
configurations.
STEP 6: When finished using the system, turn off the oxygen supply cylinder
valve and continue breathing through the nasal cannula until no
further oxygen is detected.
STEP 7: Remove the nasal cannula.
STEP 8: When not in use, store in a clean, dry location.
Fig. G
Proper Positioning of
Nasal Cannula