EasyManua.ls Logo

Chamberlain 1345 - 1HP User Manual

Chamberlain 1345 - 1HP
40 pages
To Next Page IconTo Next Page
Page #1 background imageLoading...
Page #1 background image
The Chamberlain Group, Inc.
845 Larch Avenue
Elmhurst, Illinois 60126-1196
www.liftmaster.com
GARAGE DOOR OPENER
Model Series 1300
For Residential Use Only
Owner’s Manual
Please read this manual and the enclosed safety materials carefully!
Fasten the manual near the garage door after installation.
The door WILL NOT CLOSE unless the Protector System
®
is connected and
properly aligned.
Periodic checks of the opener are required to ensure safe operation.
The model number label is located on the front panel of your opener.
®
Model 1356 - 1/2HP
Model 1346 - 1/3HP
Model 1355 - 1/2HP
Model 1345 - 1/3HP
Question and Answer IconNeed help?

Do you have a question about the Chamberlain 1345 - 1HP and is the answer not in the manual?

Chamberlain 1345 - 1HP Specifications

General IconGeneral
BrandChamberlain
Model1345 - 1HP
CategoryGarage Door Opener
LanguageEnglish

Summary

Introduction

Safety Symbol and Signal Word Review

Explains safety symbols and signal words used in the manual.

Preparing Your Garage Door

Tools Needed

Lists the tools required for assembly and installation.

Planning

Sectional Door Installations

Outlines considerations for sectional garage door installations.

Planning (Continued)

One-Piece Door Installations

Outlines considerations for one-piece garage door installations.

Carton Inventory

Hardware Inventory

Assembly Step 1: Fasten the Rail to the Motor Unit

Assembly Step 2: Attach the Chain to the Sprocket and Install the Sprocket Cover

Assembly Step 3: Fasten the Rail to the Motor Unit

Assembly Step 4: Attach the Chain Spreader and Re-install the Chain

Assembly Step 5: Tighten the Chain

Installation

Important Installation Instructions

Critical safety and procedural warnings for installation.

Installation Step 1: Determine the Header Bracket Location

One-Piece Door Without Track

Installation Step 2: Install the Header Bracket

Installation Step 3: Attach the Rail to the Header Bracket

Installation Step 4: Position the Opener

Installation Step 5: Hang the Opener

Installation Step 6: Install the Door Control

Installation Step 7: Install the Light and Lens

Installation Step 8: Attach the Emergency Release Rope and Handle

Installation Step 9: Electrical Requirements

Installation Step 10: Install The Protector System®

Installing the Brackets

Wall Installation

Guides wall mounting of safety sensor brackets.

Floor Installation

Guides floor mounting of safety sensor brackets.

Mounting and Wiring Safety Reversing Sensors

Aligning Safety Reversing Sensors

Steps to align the safety reversing sensors correctly.

Installation Step 11: Fasten the Door Bracket

One-Piece Doors: Fasten Door Bracket

Installation Step 12: Connect Door Arm to Trolley

One-Piece Doors: Connect Door Arm to Trolley

Adjustment Step 1: Adjust UP and DOWN Travel Limits

Adjustment Step 2: Adjust the Force

Adjustment Step 3: Test Safety Reversal System

Adjustment Step 4: Test the Protector System®

Operation

Important Safety Instructions

Crucial safety guidelines for operating the garage door opener.

Using the Wall-Mounted Door Control

To Open the Door Manually

Care of Your Opener

Maintenance Schedule

Recommended schedule for maintaining the garage door opener.

Troubleshooting Common Problems

Troubleshooting Common Problems (Continued)

Programming

Add or Reprogram Remote Control

Steps to program new or existing remote controls to the opener.

Keyless Entry PIN Management

Repair Parts

Rail Assembly Parts

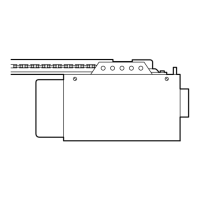
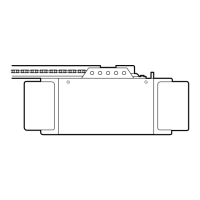
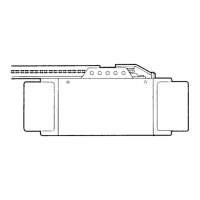
Lists components for the rail assembly.

Installation Parts

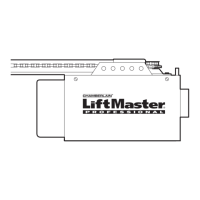
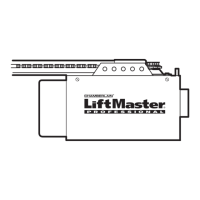
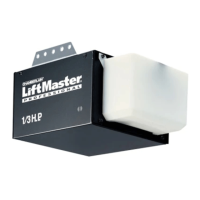
Lists various installation components for the opener.

Motor Unit Assembly Parts

Accessories

Service and Support

How to Order Repair Parts

Information on ordering replacement parts.

Limited Warranty Information

Details the warranty coverage for the garage door opener.

Related product manuals