Do you have a question about the Chamberlain 1425E and is the answer not in the manual?
Lists critical safety warnings and requirements that must be followed during installation.
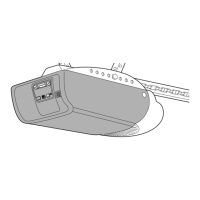
Guides the user in finding the correct location for the header bracket based on door type.
Specific instructions for determining header bracket placement for one-piece doors without a track.
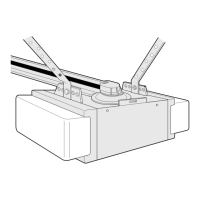
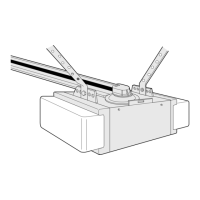
Provides instructions for mounting the header bracket to the wall or ceiling.
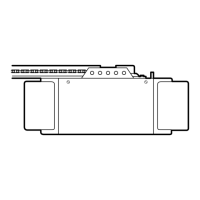
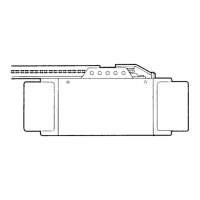
Details how to connect the opener rail to the installed header bracket.
Explains how to set the points where the door stops when opening or closing.
Guides the user on how to adjust the force required to open and close the garage door.
Details how to test the safety reversal system for garage doors and gates.
Lists crucial safety warnings and guidelines for operating the garage door opener.
Addresses issues where the opener doesn't respond to controls or has limited range.
Covers problems like doors opening by themselves, not closing, or reversing unexpectedly.
Instructions for programming hand-held remote controls to the opener.
Guides on setting up and managing personal identification numbers for keyless entry.
| Type | Chain Drive |
|---|---|
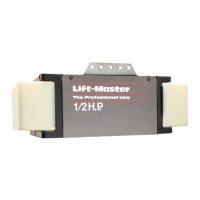
| Horsepower | 1/2 HP |
| Remote Control | Yes |
| Warranty | 1-year limited |
| Security+ 2.0 | Yes |
| Battery Backup | No |
| Max Door Height | 7 feet |
| Safety Features | Safety sensors |
| Voltage | 120V |