EasyManua.ls Logo

Chamberlain 2100 - 1/3HP Series User Manual

Chamberlain 2100 - 1/3HP Series
39 pages
To Next Page IconTo Next Page
Page #1 background imageLoading...
Page #1 background image
Garage Door Opener
Owner’s Manual
For Resident Use Only
Series 5100 - 1/2HP
(Includes Models 7200, 2610-437 & 2002012)
Series 4100 - 1/2 HP
(Includes Model 710C-2)
Series 3100 - 1/3HP
(Includes Models 2610-428
&2002011)
Series 3500 - 1/2HP
(Includes Model 2610 - 446)
Series 2100 - 1/3HP
Please read this manual and the enclosd safety materials carefully!
Fasten the manual near the garage door after installation.
The door WILL NOT CLOSE unless the Protector System® is connected an
properly aligned.
Periodic checks of the opener are required to ensure safe operation.
The model number label is located under the lens on the front end panel of
your opener.

Table of Contents

Question and Answer IconNeed help?

Do you have a question about the Chamberlain 2100 - 1/3HP Series and is the answer not in the manual?

Chamberlain 2100 - 1/3HP Series Specifications

General IconGeneral
BrandChamberlain
Model2100 - 1/3HP Series
CategoryGarage Door Opener
LanguageEnglish

Summary

You'll Need Tools

SECTIONAL Door Installation

ONE-PIECE Door Installation

Opener Carton Inventory

Assembly Section

Assembly Step 1: Assemble the T-rail & Attach the Cable Pulley Bracket

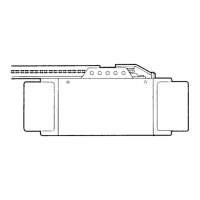
Details on assembling the T-rail and attaching the cable pulley bracket for opener installation.

Assembly Step 2: Install the Trolley on the T-rail

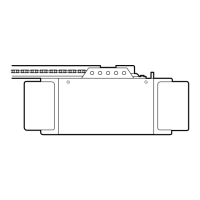
Instructions for installing the trolley onto the assembled T-rail of the garage door opener.

Assembly Step 3: Fasten the T-rail to the Opener

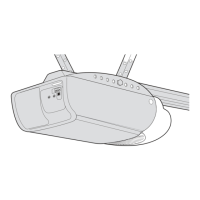
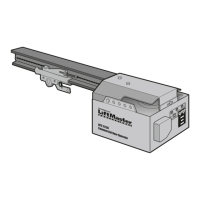
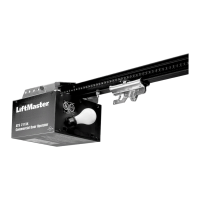
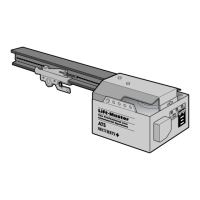
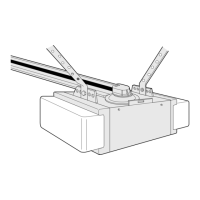
Steps for securely attaching the assembled T-rail to the garage door opener unit.

Assembly Step 4: Install the Chain/Cable & Attach the Sprocket Cover

Procedure for installing the drive chain/cable and securing the sprocket cover.

Assembly Step 5: Tighten the Chain & Cable

Guidance on properly tensioning the chain and cable after assembly.

IMPORTANT INSTALLATION INSTRUCTIONS

Installation Section

Installation Step 1: Determine Header Bracket Location

Guidance on finding the correct location to mount the header bracket for opener installation.

ONE-PIECE Door Without Track

Specific instructions for determining header bracket location for one-piece doors without tracks.

Installation Step 2: Install the Header Bracket

Steps for mounting the header bracket to either the wall or ceiling.

Installation Step 3: Attach the T-rail to the Header Bracket

Procedure for connecting the T-rail assembly to the installed header bracket.

Installation Step 4: Position the Opener

Instructions on how to correctly position the opener unit relative to the garage door.

Installation Step 5: Hang the Opener

Steps for securely hanging the opener unit using appropriate brackets and hardware.

Installation Step 6: Install the Door Control

How to install the wired door control button or panel for operating the opener.

Installation Step 7: Install the Light(s) and the Lens(es)

Procedure for installing the opener's light bulbs and protective lenses.

Installation Step 8: Attach the Manual Release Rope and Handle

Instructions for attaching the manual release rope and handle for emergency operation.

Installation Step 9: Electrical Requirements

Information regarding power connection, grounding, and electrical safety for the opener.

The Protector System®

Installation Step 10: Install the Safety Reversing Sensor

Guide for installing the safety reversing sensor, a critical safety device for the opener.

Installation Step 11: Fasten Door Bracket

Procedure for fastening the door bracket to both sectional and one-piece garage doors.

Installation Step 12: Connect Door Arm to Trolley

Instructions for connecting the door arm assembly to the opener's trolley.

All ONE-PIECE Doors

Specific procedures for assembling and adjusting the door arm for one-piece doors.

Adjustment Section

Adjustment Step 1: Adjust the UP and DOWN Limits

How to set the travel limits for opening and closing the garage door.

How and When to Adjust the Limits

Guidance on when and how to adjust the door opener's travel limits.

Adjustment Step 2: Adjust the Force

Steps for adjusting the force settings for opening and closing the garage door.

Adjustment Step 3: Test The Protector System®

Procedure for testing the safety reversing sensor system.

Adjustment Step 4: Test the Safety Reverse System

How to test and ensure the safety reverse system functions correctly.

IMPORTANT SAFETY INSTRUCTIONS

Operation of Your Opener

Receiver and Remote Control Programming

Having a Problem?

Repair Parts

Rail Assembly Parts

List of replacement parts for the opener's rail assembly.

Installation Parts

List of replacement parts used during the installation process.

Opener Assembly Parts

List of replacement parts for the main opener unit and its components.

Accessories Available for your Opener

How to Order Repair Parts

Chamberlain Garage Door Opener One-Year Limited Warranty

Related product manuals