EasyManua.ls Logo

Chamberlain C410 User Manual

Chamberlain C410
44 pages
To Next Page IconTo Next Page
Page #1 background imageLoading...
Page #1 background image
Garage Opener
Garage Opener
Contents
Preparation ..................................... 2–5
Assembly ...................................... 6–10
Installation ..................................11–28
Install the Door Control ............21–22
Install the Protector System® ....23–26
Power ......................................27–28
Adjustments .................................29–31
Operation .....................................32–37
Features .......................................33
Using your Garage Door Opener .....34
Using the Multi-Function
Control Panel ...........................34–35
Remote Control .............................36
Homelink® ...................................36
To Erase the Memory .....................37
To Open the Door Manually ...........37
Maintenance .....................................38
Troubleshooting ...........................39–40
Accessories ........................................ 41
Warranty ........................................... 42
Repair Parts .................................43–44
Owner’s Manual
C203 • C400 • C410
Chain Drive Garage Door
Opener
FOR RESIDENTIAL USE ONLY
PRE-PROGRAMMED REMOTE CONTROL
INCLUDED
www.chamberlain.com
www.mychamberlain.com
Please read this manual and the enclosed safety materials carefully!
Fasten the manual near the garage door after installation.
The door WILL NOT CLOSE unless the Protector System
®
is connected
and properly aligned.
Periodic checks of the garage door opener are required to ensure
safe operation.
The model number label is located on the front panel of your garage
door opener.
This garage door opener is compatible with myQ® and
Security+b2.0® accessories.
DO NOT install on a one-piece door if using devices or features
providing unattended close. Unattended devices and features are
to be used ONLY with sectional doors.
TO WATCH VIDEOS GO TO:
tinyurl.com/lgh5x3h

Table of Contents

Question and Answer IconNeed help?

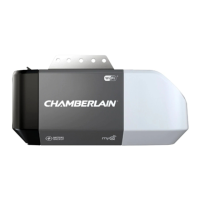
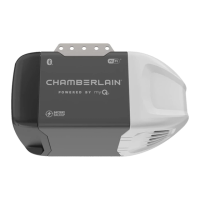
Do you have a question about the Chamberlain C410 and is the answer not in the manual?
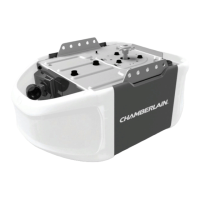
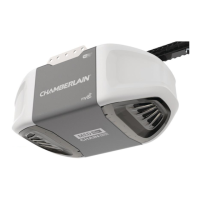
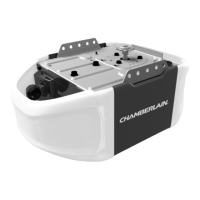
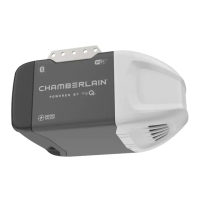
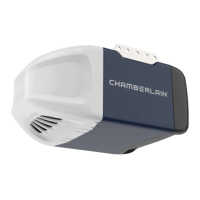
Chamberlain C410 Specifications

General IconGeneral
TypeChain Drive
Horsepower1/2 HP
Max Door Height7 feet
Smart FeaturesYes
Battery BackupNo
Remote ControlYes
Wi-Fi ConnectivityYes
Voltage120V
Motor TypeAC
Remote Controls Included1
Wireless TechnologyWi-Fi
SecurityRolling Code Technology

Summary

Preparation

Assembly

STEP 1 Assemble the rail and install the trolley

Guides through assembling the rail and attaching the trolley.

STEP 2 Fasten the rail to the motor unit

Instructions for securely attaching the assembled rail to the motor unit.

STEP 3 Install the idler pulley

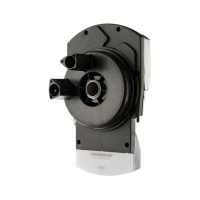
Details the process of installing the idler pulley on the rail.

STEP 4 Install the chain

Steps for installing and connecting the drive chain to the trolley and motor.

STEP 5 Tighten the chain

Instructions for properly tightening the drive chain to the correct tension.

Installation

IMPORTANT INSTALLATION INSTRUCTIONS

Critical safety warnings and instructions to follow before starting installation.

STEP 1 Determine the header bracket location

Guides on finding the correct location for the header bracket.

STEP 2 Install the header bracket

Detailed steps for installing the header bracket on the wall or ceiling.

STEP 3 Attach the rail to the header bracket

How to connect the garage door opener rail to the header bracket.

STEP 4 Position the garage door opener

Instructions for safely positioning the opener unit for mounting.

STEP 5 Hang the garage door opener

Steps for securely hanging the garage door opener unit.

STEP 7 Attach the emergency release rope and handle

Instructions for attaching the emergency release rope and handle.

STEP 8 Install the door bracket (Sectional Doors)

Attaches the door bracket to sectional garage doors.

STEP 8 Install the door bracket (One-Piece Doors)

Attaches the door bracket to one-piece garage doors.

STEP 9 Connect the door arm to the trolley (Sectional Doors)

Connects the door arm to the trolley for sectional doors.

STEP 9 Connect the door arm to the trolley (One-Piece Doors)

Connects the door arm to the trolley for one-piece doors.

STEP 10 Install the door control

Instructions for installing the wall-mounted door control unit.

Adjustments

Operation

IMPORTANT SAFETY INSTRUCTIONS

Crucial safety guidelines for operating the garage door opener.

Troubleshooting

Related product manuals