Do you have a question about the Chamberlain Elite 3585S 3/4 HP and is the answer not in the manual?
Explains safety symbols and signal words used in the manual.
Lists all necessary hand tools for assembly and installation.
Connects the opener rail to the motor unit assembly.
Adjusts the belt tension for proper opener operation.
Secures the belt cap retainer to the motor unit sprocket.
Locates the optimal position for the header bracket on the wall or ceiling.
Fastens the header bracket to the structural support.
Connects the opener rail to the installed header bracket.
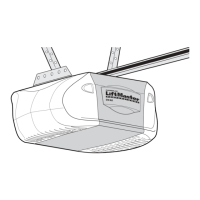
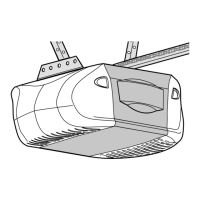
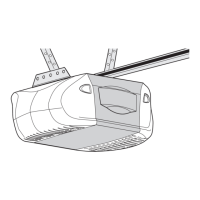
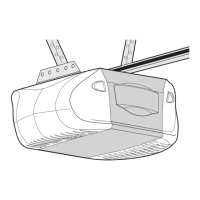
Places the opener unit in its final position for mounting.
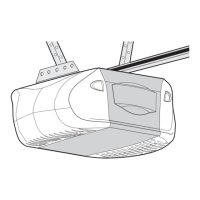
Securely mounts the opener unit to the ceiling or wall supports.
Mounts the wall-mounted door control unit and connects wiring.
Installs the light bulb and lens into the opener unit.
Connects the emergency release handle to the trolley.
Addresses electrical connections and grounding for the opener.
Details methods for mounting sensor brackets to tracks, walls, or floor.
Covers connecting sensor wires to the opener and securing them.
Explains how to align sensors for proper beam detection.
Specific instructions for attaching the door bracket to one-piece doors.
Details connecting the door arm to the trolley for one-piece doors.
Sets the door's open/close positions and operating force.
Verifies the auto-reverse safety feature functions correctly.
Confirms the safety reversing sensors are functioning properly.
Explains basic operation, wall control, remote, and manual door movement.
Covers maintenance schedules and common issues with solutions.
Provides a chart for interpreting diagnostic codes and panel messages.
Instructions for pairing new or existing remote controls.
Steps to program and manage keyless entry personal identification numbers.
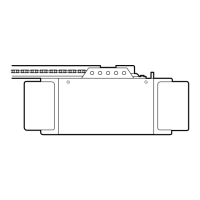
Lists components for the opener rail assembly and installation.
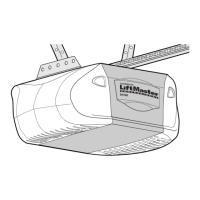
Lists components of the motor unit assembly.
Provides contact details for LiftMaster service and ordering parts.
Outlines the five-year limited warranty for the garage door opener.
| Brand | Chamberlain |
|---|---|
| Model | Elite 3585S 3/4 HP |
| Category | Garage Door Opener |
| Language | English |