Do you have a question about the Chamberlain 3595S 3/4 HP and is the answer not in the manual?
Explains safety symbols and signal words used in the manual.
Steps to prepare the garage door for opener installation.
Lists tools required for installation and adjustment.
Details considerations for installing on sectional garage doors.
Lists all parts and hardware included for installation.
Instructions for attaching the rail to the motor unit.
Steps to attach the chain spreader to the motor unit.
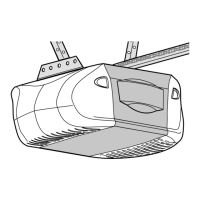
How to attach the chassis support bracket to the rail assembly.
Procedure for tightening the chain on the opener.
Key safety and procedural guidelines before installation.
How to find the correct location for the header bracket.
Instructions for installing the header bracket on the wall or ceiling.
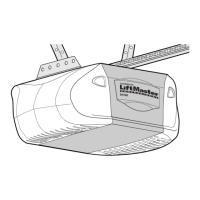
Connects the rail assembly to the header bracket.
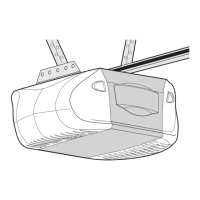
Guides on how to position the opener motor unit.
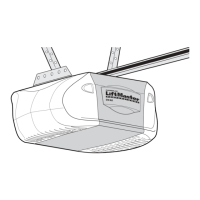
Instructions for securely hanging the opener motor unit.
Steps for installing the wall-mounted door control unit.
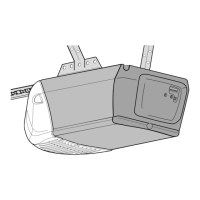
How to install the light bulb in the opener unit.
Attaching the emergency release rope and handle to the trolley.
Details electrical requirements and connections for the opener.
How to install the safety reversing sensors.
Covers track, wall, and floor mounting for sensor brackets.
Covers wiring options for safety reversing sensors.
How to align the safety reversing sensors for proper operation.
Common issues and solutions for safety reversing sensors.
Instructions for attaching the door bracket to the garage door.
Steps to connect the door arm to the opener trolley.
How to set the door's open and close travel limits.
How to adjust the force settings for opening and closing the door.
Procedure to test the door's safety reversal system.
How to test the safety reversing sensor system.
General instructions on how to use the opener and its features.
Details the functions and features of the Smart Control Panel.
How to operate the opener using the remote control.
Procedure for manually opening the garage door.
Maintenance and adjustment information for the opener.
Covers general operation failures, remote/control communication problems, and unintended operation.
Addresses issues related to door not opening/closing completely, or stopping.
Covers noise disturbance, short remote range, and power failure troubleshooting.
Troubleshoots issues with the door reversing or safety sensor lights.
Addresses problems with opener lights not turning on/off and chain sagging.
Discusses opener straining due to door imbalance or broken springs.
Explains messages related to sensor alignment, blockage, or miswiring.
Describes messages for remote programming and lock feature status.
Instructions for pairing additional remote controls.
Procedure to remove all learned remote control codes.
Guides on managing Keyless Entry PINs.
Lists parts for the rail assembly.
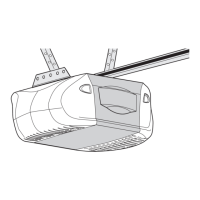
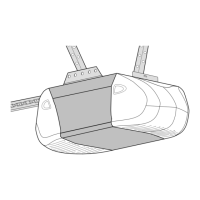
Lists parts for the main unit and accessories.
Detailed breakdown of parts within the motor unit.
Lists various remote and keyless entry accessories.
Details wall controls, garage door monitors, and park assist.
Lists surge protectors and fingerprint keyless entry.
Contact details for service and installation.
Details the product warranty terms and conditions.
| Horsepower | 3/4 HP |
|---|---|
| Drive Type | Chain Drive |
| Remote Control | Yes |
| Remote Controls Included | 2 |
| Security | Rolling Code |