EasyManua.ls Logo

Chamberlain Power Drive Security+ PD610 User Manual

Chamberlain Power Drive Security+ PD610
40 pages
To Next Page IconTo Next Page
Page #1 background imageLoading...
Page #1 background image
GARAGE DOOR OPENER
Series PD610 • PD612 • PD612K - 1/2 HP
For Residential Use Only
®
Owner’s Manual
Please read this manual and the enclosed safety materials carefully!
Fasten the manual near the garage door after installation.
The door WILL NOT CLOSE unless the Protector System
®
is connected
and properly aligned.
Periodic checks of the opener are required to ensure safe operation.
The model number label is located on the front end panel of your opener.
The Chamberlain Group, Inc.
845 Larch Avenue
Elmhurst, Illinois 60126-1196
www.chamberlaingroup.com
Question and Answer IconNeed help?

Do you have a question about the Chamberlain Power Drive Security+ PD610 and is the answer not in the manual?

Chamberlain Power Drive Security+ PD610 Specifications

General IconGeneral
BrandChamberlain
ModelPower Drive Security+ PD610
CategoryGarage Door Opener
LanguageEnglish

Summary

Assembly Step 1: T-Rail and Pulley Bracket

Assembly Step 2: Install the Trolley

Assembly Step 3: Fasten T-Rail to Motor Unit

Assembly Step 4: Install Chain/Cable and Sprocket Cover

Assembly Step 5: Tighten Chain and Cable

Important Installation Instructions

Installation Step 1: Header Bracket Location

Sectional & One-Piece Door Track Mounting

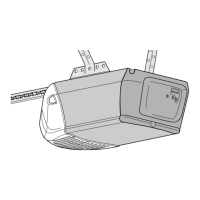
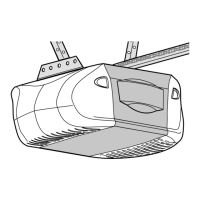
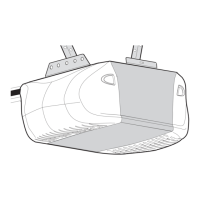
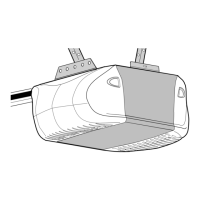
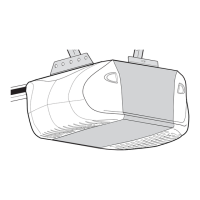
Mounting header bracket for doors with tracks.

Installation Step 2: Install the Header Bracket

Wall Header Bracket Installation

Detailed steps for wall mounting the header bracket.

Ceiling Header Bracket Installation

Detailed steps for ceiling mounting the header bracket.

Installation Step 3: Attach T-Rail to Header Bracket

Installation Step 4: Position the Opener

Opener Positioning for Tracked Doors

Positioning opener for sectional/one-piece doors with tracks.

Installation Step 5: Hang the Opener

Installation Step 6: Install the Door Control

Installation Step 8: Attach Emergency Release Rope and Handle

Installation Step 9: Electrical Requirements

Installation Step 10: Install The Protector System®

Installing the Brackets for Safety Sensors

Mounting and Wiring Safety Sensors

Aligning the Safety Sensors

Procedures for aligning the sending and receiving sensor eyes.

Installation Step 11: Fasten the Door Bracket

Installation Step 12: Connect Door Arm to Trolley

Adjustment Step 1: UP and DOWN Travel Limits

Adjustment Step 2: Adjust the Force

Adjustment Step 3: Test Safety Reversal System

Adjustment Step 4: Test the Protector System®

Operation

Troubleshooting Common Opener Problems

Programming Your Opener

Add Additional Remote Control

Steps to add new remote controls to the opener.
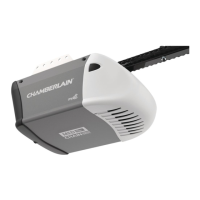
Add or Change Keyless Entry PIN

Related product manuals