R
Randall CastilloJul 27, 2025
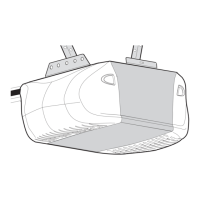
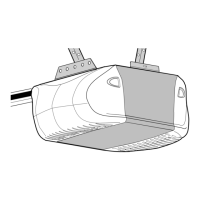
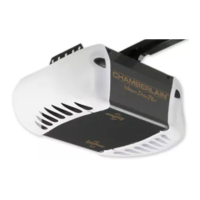
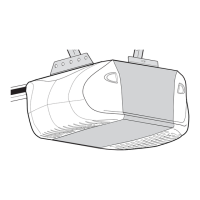
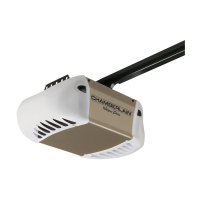
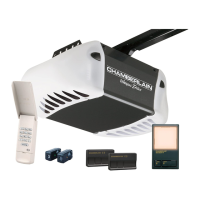
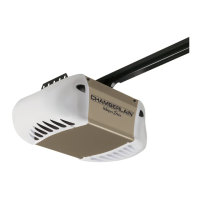
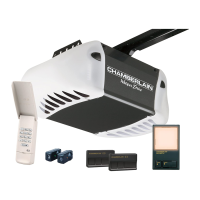
How to fix dim receiving eye indicator light on Chamberlain Whisper Drive Security+ HD900D Garage Door Opener?
- KKristen VazquezJul 27, 2025
If the receiving eye indicator light is dim on your Chamberlain Garage Door Opener, try to realign either sensor.