Do you have a question about the Chamberlain Whisper Drive Security+ HD800D and is the answer not in the manual?
Review of safety symbols and signal words used in the manual to understand potential hazards.
List of necessary hand tools for assembly and installation of the garage door opener.
Guidelines for planning installation on sectional garage doors, including reinforcement needs.
Guidelines for planning installation on one-piece garage doors, considering reinforcement and gap requirements.
Crucial safety warnings and instructions to follow before and during garage door opener installation.
Instructions for mounting the header bracket to the wall above the garage door.
Instructions for mounting the header bracket to the ceiling structure.
Guidance on positioning the opener for sectional doors or one-piece doors with tracks.
Guidance on positioning the opener for one-piece doors without tracks.
Instructions for connecting outside keylock accessories to the opener's quick-connect terminals.
Details on the safety reversing sensor, its function, and installation requirements.
Methods for installing sensor brackets on door tracks, walls, or floors.
Detailed steps for mounting and wiring the safety reversing sensors and aligning them.
Instructions for fastening the door bracket to sectional garage doors, including reinforcement.
Instructions for fastening the door bracket to one-piece garage doors, including reinforcement.
Steps for connecting the door arm to the trolley for sectional garage doors.
Steps for assembling and connecting the door arm to the trolley for one-piece garage doors.
Key checks and conditions requiring re-testing of the safety reversal system.
Critical safety guidelines to follow during garage door opener operation.
Overview of how to operate the opener using remotes, door controls, and keyless entry.
Details operation of the wall-mounted control, including motion detection, light, lock features, and manual door operation.
Instructions for mounting the battery backup unit directly onto the motor unit.
Instructions for mounting the battery backup unit to a ceiling structural support.
Steps to connect the battery backup unit's power cord to the motor unit.
Explanation of BBU indicator lights (LEDs) and their meanings for troubleshooting.
Recommended monthly and annual maintenance tasks for the garage door opener.
Instructions for replacing the battery in the remote control, including safety warnings.
Resolving issues related to power, controls, and door movement not functioning correctly.
Addressing problems with remote range, operational noise, and potential interference.
Diagnosing and resolving problems related to the safety reversal system and sensors.
Resolving issues where opener lights do not turn on or do not turn off.
Troubleshooting guide for safety reversing sensors when indicator lights do not glow steadily.
Steps to diagnose and fix issues where the door control panel's LED is not illuminated.
Troubleshooting for safety reversing sensors where the receiving indicator light is dim or flashing.
Diagnosing motor unit problems like a stuck trolley or potential RPM sensor failure.
Guidance on troubleshooting when the motor unit fails to operate, suggesting logic board replacement.
Instructions for programming or reprogramming handheld remote controls to operate the opener.
Procedure to erase all programmed remote control codes from the motor unit.
Information on programming additional buttons on 3-button remotes for other openers.
Managing personal and temporary PINs for Keyless Entry access.
How to activate or deactivate the one-button close feature for the keypad.
List and diagram of parts related to the opener's rail assembly.
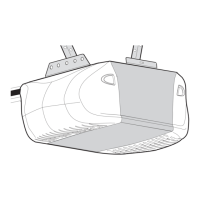
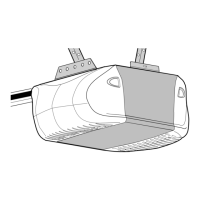
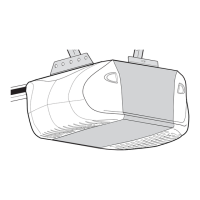
List and diagram of parts required for the installation of the garage door opener.
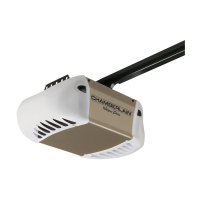
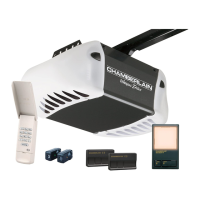
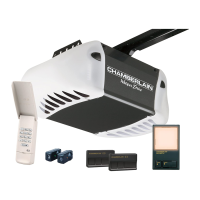
| Horsepower | 1/2 HP |
|---|---|
| Drive System | Chain Drive |
| Security | Security+ 2.0 |
| Voltage | 120V |
| Motor Type | DC Motor |
| Wall Console | Included |
| Max Door Height/Lift Capacity | 7 ft |
| Battery Backup | No |