Do you have a question about the Chamberlain WHISPER DRIVE WD822KD and is the answer not in the manual?
Explains safety symbols and signal words used in the manual.
Steps and checks before installing the garage door opener.
Considerations for installing the opener based on garage door type and area.
Connects rail sections and installs the trolley assembly.
Attaches the assembled rail to the motor unit using a bracket.
Installs the idler pulley at the front of the rail assembly.
Connects the drive belt to the trolley and motor sprocket.
Adjusts belt tension using the nut ring mechanism.
Locates and marks the position for the header bracket.
Secures the header bracket to the wall or ceiling.
Connects the rail assembly to the installed header bracket.
Places the motor unit onto a ladder or support for mounting.
Secures the motor unit to the mounting brackets.
Mounts the wall control panel and runs the wiring.
Installs light bulbs and lenses into the motor unit.
Connects the release rope and handle to the trolley.
Discusses power connection and grounding requirements.
Mounts and aligns the safety reversing sensors.
Details mounting bracket options for safety sensors.
Connects sensor wires to the opener.
Attaches the door bracket to the garage door.
Specific instructions for installing door brackets on one-piece doors.
Attaches the door arm sections to the trolley.
Assembles and adjusts door arms for one-piece doors.
Sets the open and close limits for the door.
Sets the force required to open and close the door.
Verifies the door reverses upon hitting an obstruction.
Checks the functionality of the safety reversing sensors.
Crucial safety warnings for operating the opener.
General guidance on operating the opener with remotes and controls.
Explains features like push button, light, and lock.
Instructions for disconnecting and manually operating the door.
Guidance on re-adjusting limits and force due to weather.
Recommended monthly and yearly maintenance tasks.
Information on replacing the battery in the remote control.
Addresses common issues and potential solutions for opener malfunctions.
Interprets diagnostic LED flashes for troubleshooting.
Instructions for programming remotes and keyless entry systems.
Lists and illustrates parts for the rail assembly.
Lists and illustrates parts used during installation.
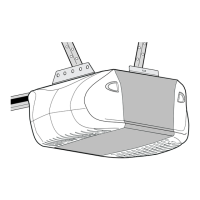
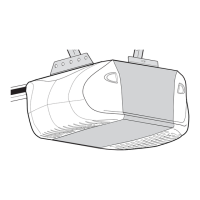
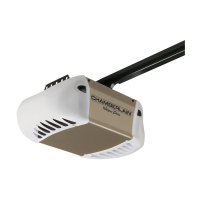
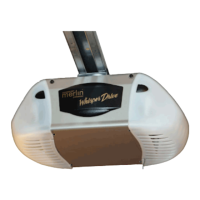
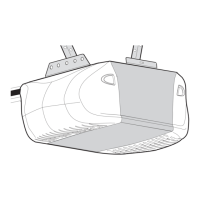
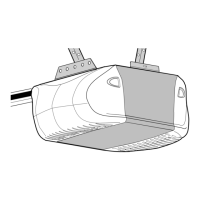
Identifies components of the motor unit.
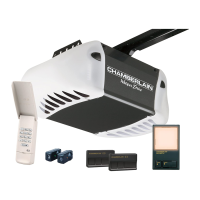
Lists optional accessories for the garage door opener.
Contact details for service and warranty terms.
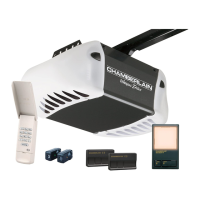
| Brand | Chamberlain |
|---|---|
| Model | WHISPER DRIVE WD822KD |
| Category | Garage Door Opener |
| Language | English |