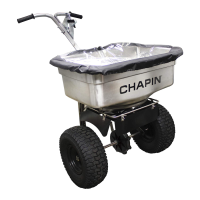
GRATE
• If salt or spreading material is too large for the grate, remove grate before use.
Suggested Tools:
Wrench and/or Ratchet Set
Approximate assembly time is 5-10 minutes
CHAPIN INTERNATIONAL, INC. P.O. BOX 549 700 ELLICOTT ST. BATAVIA, NY 14021-0549 www.chapinmfg.com 800-950-4458
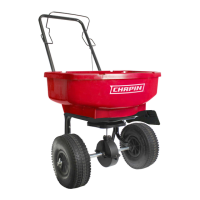
• Assemble handle to uprights with Hex bolts and nuts.
• Tighten M6 nuts completely.
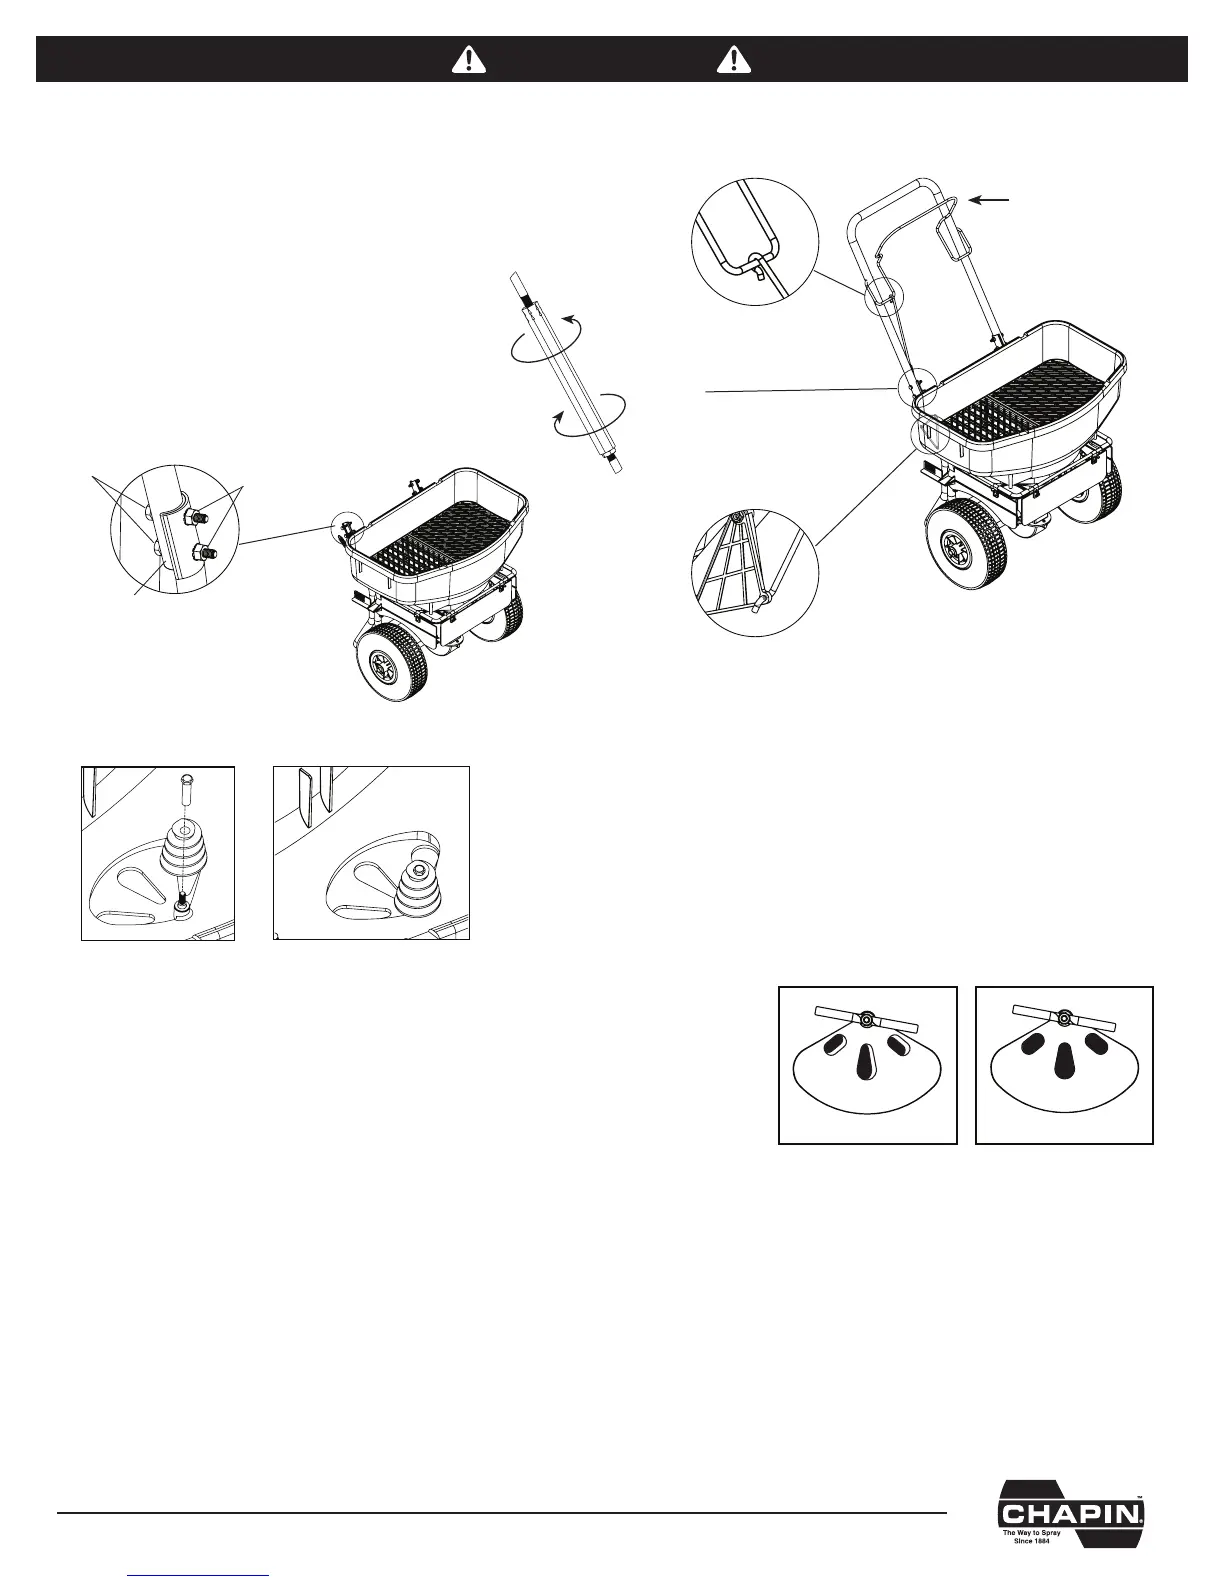
• Assemble linkage to bail assembly (Fig. A).
• Assemble linkage to rotate link (Fig. B).
• Rotate the turnbuckle to adjust the gate (Fig. C).
WARNING
Auger is designed to work in forward motion. Excessive reverse motion could cause binding. If resistance is felt while pulling
spreader backwards, stop and clear salt from auger.
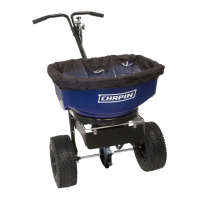
ASSEMBLY INSTRUCTIONS
• Be sure gate control is in the closed position. Do not hold bail down when lling. If gate is not fully closed see
Figure C above for adjustment.
• Determine appropriate setting for material being used by reading the suggested setting on the material’s bag.
Be sure to read the instructions on the bag/box of the material you’re spreading to identify accurate setting needed).
• To begin spreading, start walking (about 3 mph pace) and pull the bail system down to open gate.
• To stop spreading simply let go of the bail and the gate will close.
GENERAL OPERATING INSTRUCTIONS
STORAGE AND MAINTENANCE
• When nished spreading empty hopper of any remaining material
• oroughly wash spreader and allow to dry before storing
• To fold down handle:
- Simply remove the bottom two bolts on the handle
- Loosen two M6 Hex nuts and fold down handle
- Replace two bottom bolts
- Tighten M6 Hex nuts completely
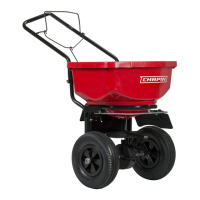
• Screw auger onto impeller sha. Screw auger retaining nut into auger hole with M6 socket driver.
Tighten completely with wrench to secure.
AUGER INSTALLATION
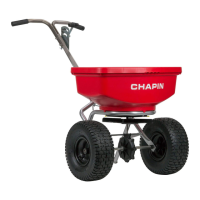
BAFFLE OPERATING INSTRUCTIONS
• Adjust bae by hand to block distribution accordingly.
• Use wing nuts to adjust tension on baes.
Handle
Bolts
M6 Hex
Nuts
Not Fully Closed Fully Closed
Bail Position for adjusting Gate:
1) Bail must be in rest position for Gate Closed.
2) Bail must be depressed for Gate Open.
Figure A
Fully Assembled
Figure B
Figure C
To Close Gate
(Increase Length)
To Open Gate
(Decrease Length)
Bail
(rest position)