

A
Ashley SaundersAug 17, 2025
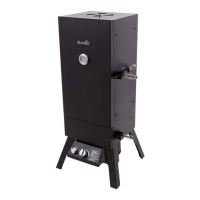
What to do if my Char-Broil 12701705 Smokers burner won't light?
- TTerrance SandersAug 17, 2025
If the burner on your Char-Broil Smoker won't light using the ignitor, make sure the LP cylinder isn't empty. If it isn't, the issue might be a sudden drop in gas flow. Also, ensure the coupling nut and LP cylinder valve are fully connected. If not, turn off the knobs, disconnect the coupling nut, reconnect it, and try again. You may also try tightening the coupling nut approximately one-half to three-quarters additional turn until solid stop. Remember to tighten by hand only, without using tools.