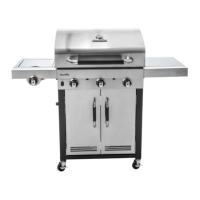
CHARBROIL.COMPage 4
PLANNING FOR INSTALLATION
LOCATION PLANNING
The following should be considered when determining where to place your new
built-in grill outdoor grill enclosure construction. It is best to identify the location
of the grill prior to beginning any set up.
• Plan for easy access to the house considering weather conditions like
frequent rain or snow that would make it more convenient to have the grill
located close to an entryway.
• Be sure to allow space for entertaining around the sides of the grill as it will
become a gathering area during outdoor events.
• Ventilation is a key to the grill’s performance and smoke exhaust should be
considered when identifying a location.
• The grill will smoke so consider the prevailing wind direction and position the
grill so wind blows toward the front of the grill to move the smoke away and
provide adequate airflow.
• Do not place the grill under or near windows that may be opened to your
house as smoke will enter easily.
Ensuring proper Combustion Air and Cooling Airflow
• Proper airflow MUST be maintained for the grill to perform as it was
designed. If airflow is blocked, overheating and poor combustion will result.
GRILL INSTALLATION
WARNING
FOR LP GAS CONVERSION:
• Conversion to LP gas must be performed by a certified gas technician.
• LP Conversion Kit Model must be used. Specific details for enclosure
construction are included in the conversion kit instructions.
• Additional enclosure venting construction is required.
NOTE: ENCLOSURE MUST BE CONSTRUCTED OF NON-COM-
BUSTIBLE MATERIALS.
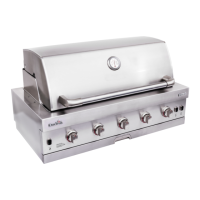
BUILDING THE ENCLOSURE:
• NOTE: If this grill is to be used as a replacement grill in an existing grill
enclosure, consult your local contractor to determine if the grill will work
correctly with your existing enclosure.
• Four “L” brackets are supplied for securing the grill to the enclosure.
• If grill enclosure design permits fastners only, four holes are provided on
bottom flange.
• Consult the table below for enclosure cut-out dimensions.
• The left rear corner of the enclosure must be open for gas connection
clearance. See Figures below.
NOTE: Area directly beneath the grill must be open. No solid surface.
Grill Model Dim. A Dim. B Dim. C Dim. D Dim. E
463278519
4 Burner
34 7/8”
885mm
21.5/8”
548mm
11”
279mm
14 9/16”
370mm
33 7/16”
848
463277519
5 Burner
41.75”
1060mm
21.5/8”
548mm
11”
279mm
14 9/16”
370mm
40 5/16”
1023mm
Dim. C
2.0” (50MM)
FRONT OF ENCLOSURE CUTOUT SHOWN
Dim. B
1.75” (44mm)
TOP OF ENCLOSURE CUTOUT SHOWN
Dim. A
2.5” (63mm)
1” minimum
Dim. D
Dim. E
BOTTOM OF GRILL SHOWN
 Loading...