Start Surveying Work
22
Radio antenna: This socket is for fixing CHC made antenna on the
Radio.
Battery: This socket is for using CHC made power cable to link
the Radio to the Car battery (insuring the red point match the red
point).
Data: This socket is for using CHC made data cable to link the Radio
to the receiver.
WARING: There is sequence for the cables linking to DL3: firs please
fix the radio antenna, and then power cable, and last the data cable.
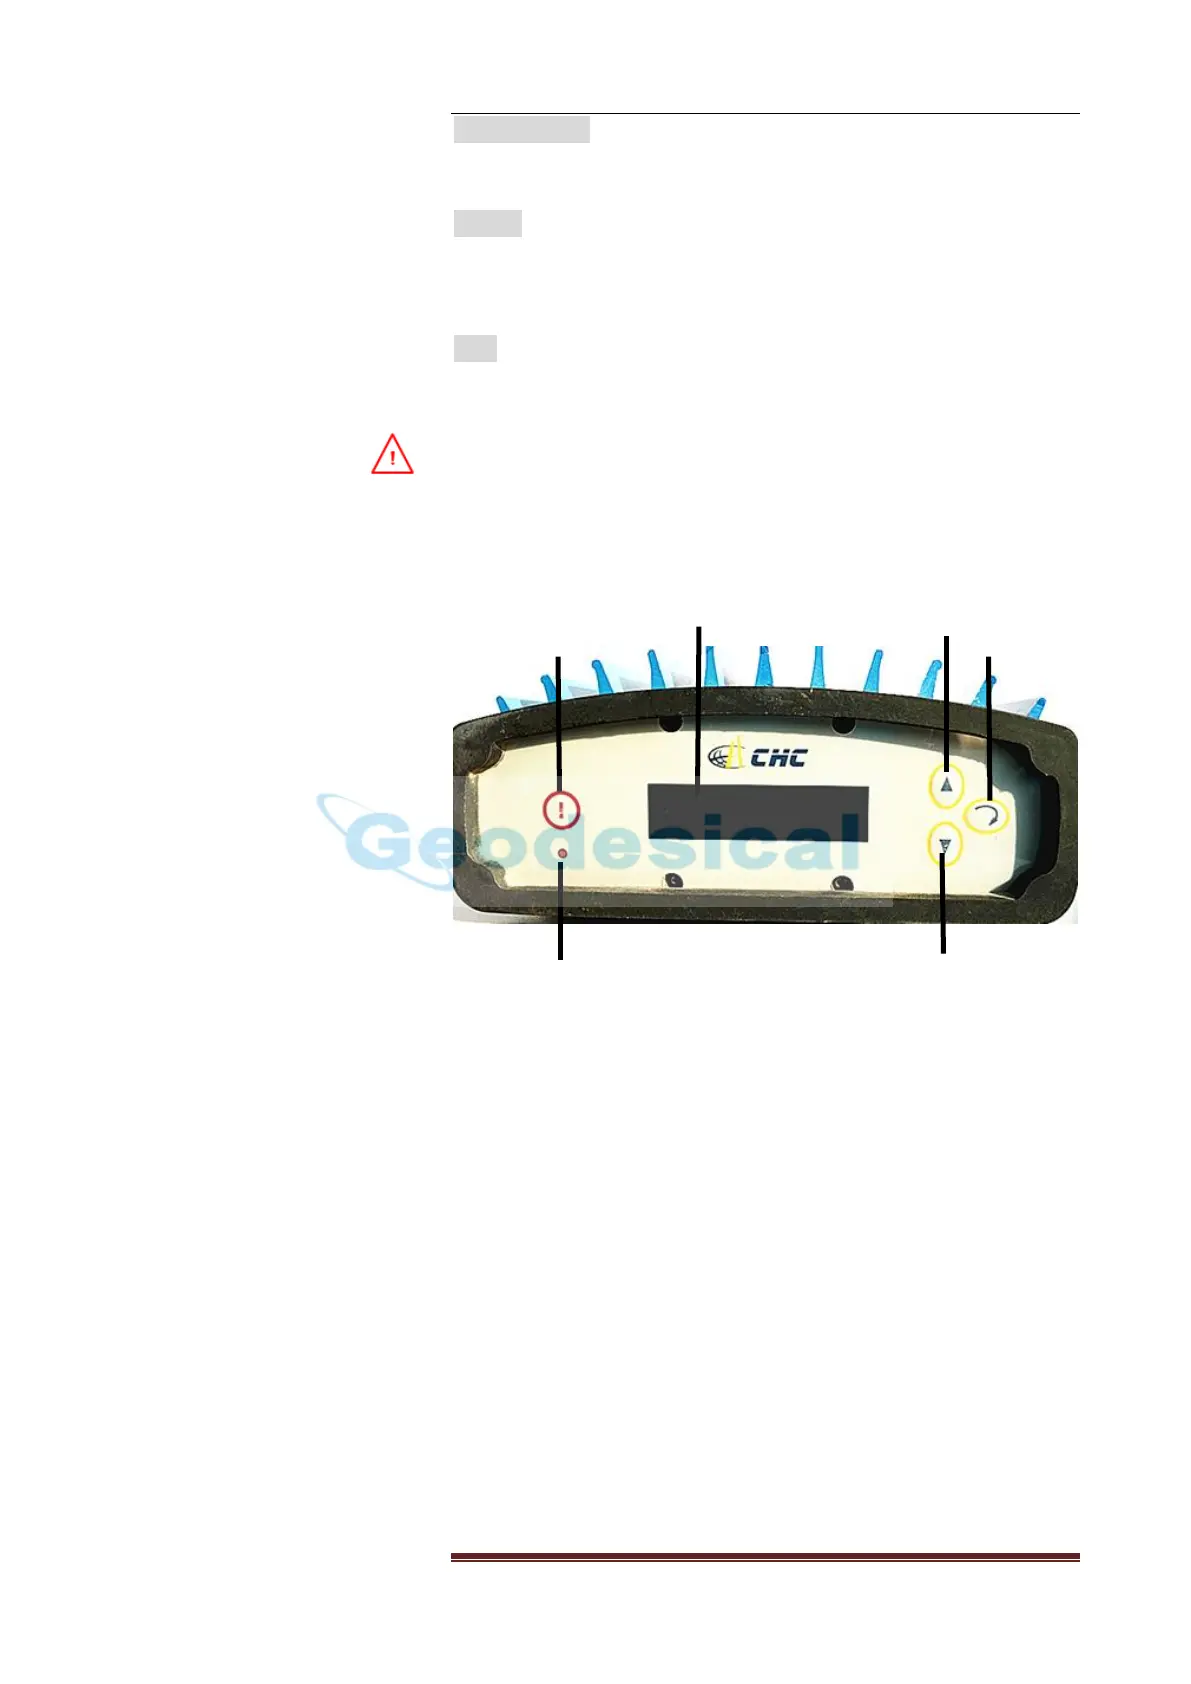
3. Control panel
Power Button: When you press this button, the front page will show
on the screen
LED: This LED will flash once per second when the radio successfully
sends out the correction data.
Screen: The system information and setting information of the
datalink would be showed inn the LED screen.
Up Button: when you press this button, the cursor on the screen will
move up
Down Button: when you press this button, the cursor on the screen
will move down.
Enter Button: when you press this button, it will make the
configuration work.