Start Surveying Work
23
4. Configuration
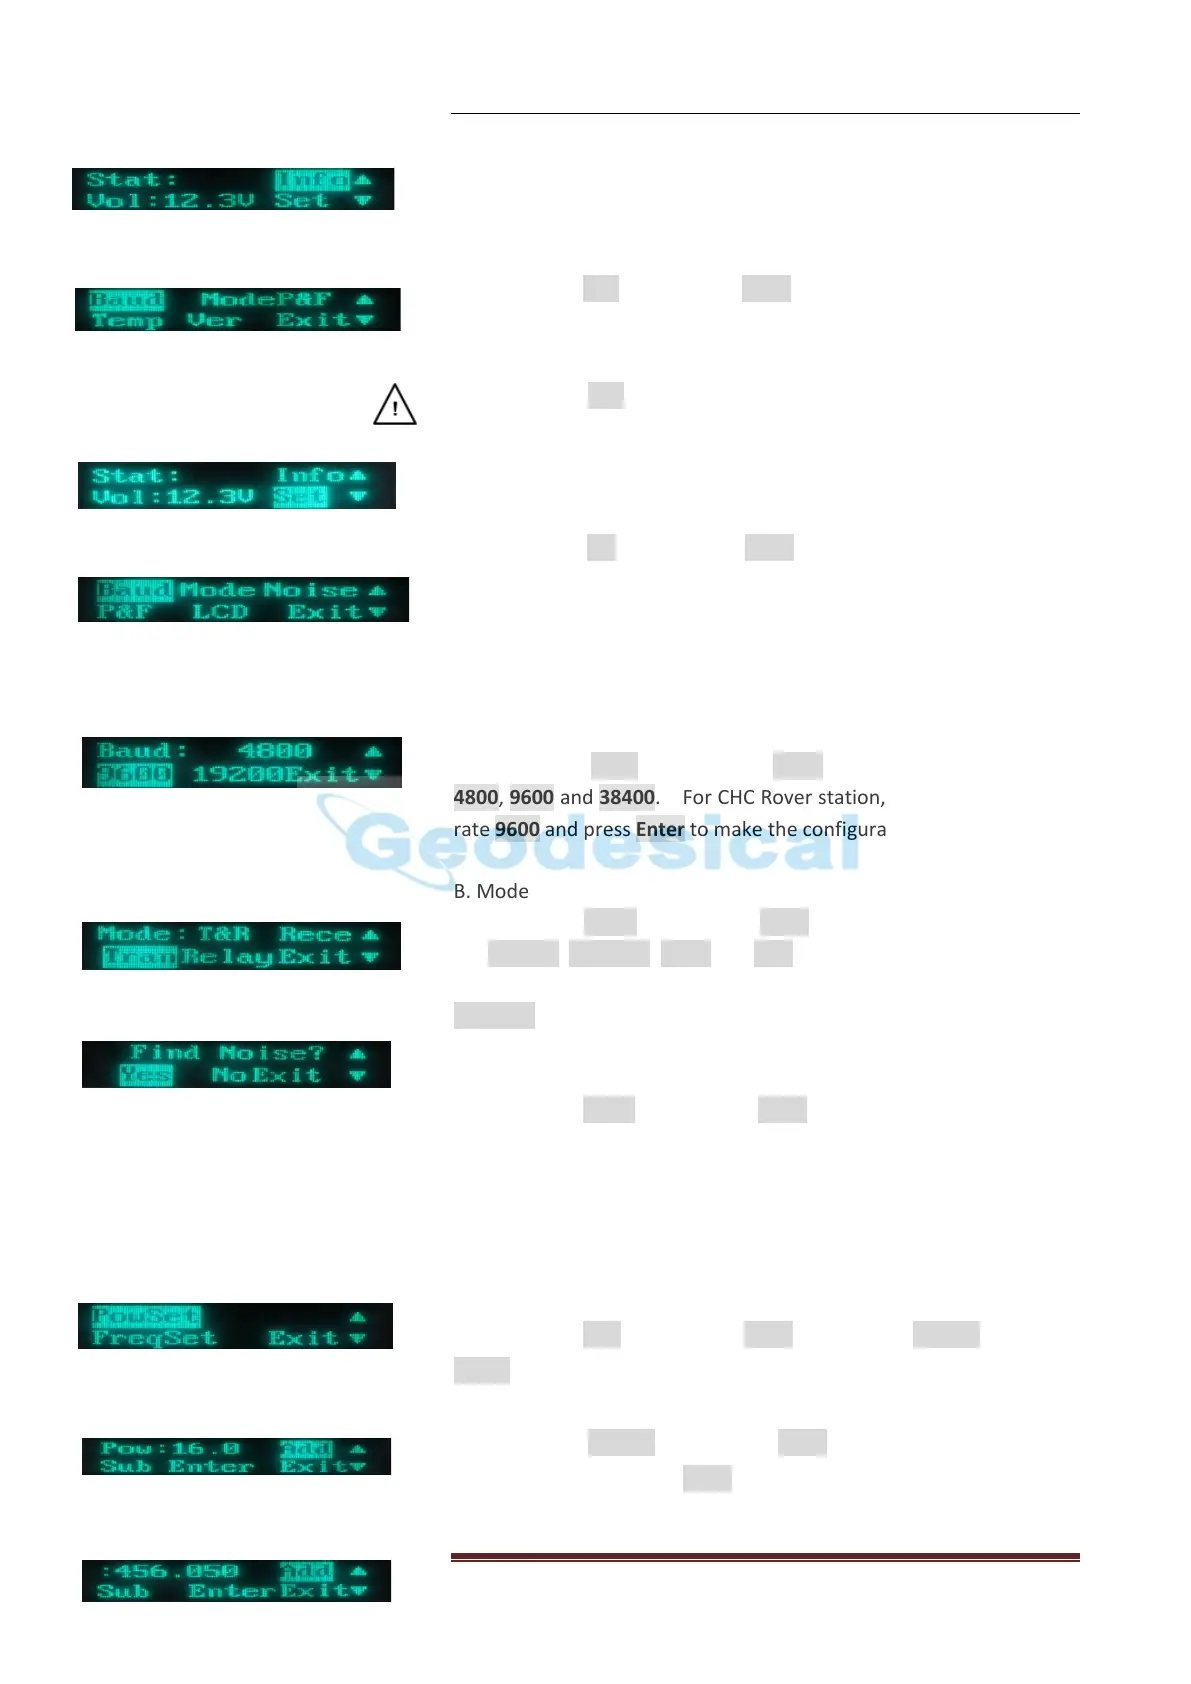
When you switch on DL3, you will see this picture
1) Reading the current configuration of Radio
Choosing icon info and pressing Enter, you will see the current
configuration Baud, Mode, P &F, Temp and Version of the Radio.
CAUTION: The info can be used in the checking after changing the
Radio parameters.
2) Setting the configuration of Radio
Choosing icon Set and pressing Enter, you will see this picture, and
then you can start to set up DL3
A. Baud
Choosing icon Baud and pressing Enter, you will see 3 Baud rate
4800, 9600 and 38400. For CHC Rover station, please choose Baud
rate 9600 and press Enter to make the configuration work.
B. Mode
Choosing icon Mode and pressing Enter, you will see 4 modes, they
are Receive, Transmit, Relay and R&T, if using Radio to transmit the
correction data from Base station to the Rover, please choose
Transmit and press Enter to make the configuration work.
C. Noise
Choosing icon Noise and pressing Enter, you will see it asking you to
find Noise YES or NO to detect where there is one radio station
having the same Frequency.
D. P &F
Choosing icon P&F and pressing Enter, you will see Powset and
Freset.
First, choosing Powset and pressing Enter, setting how much watt
you want then press icon Enter. For CHC DL3 power is from 1W to
20W, and each adding value is 1W.