18
WARNING: Pull the seat belts tight to check that they are
assembled correctly.
WARNING: Once the seat lining tting is complete, reposi-
tion the comfort kit as indicated in point 9.
RAIN COVER
19. The stroller is equipped with a rain cover.
To install, place the rain cover on the hood and attach it to
the tubes of the stroller with the appropriate straps (Fig. 19).
Complete the operation by fastening the elasticated strap
near the backrest adjustment button (Fig. 19A).
After use, if wet, let the rain cover dry o before folding and
storing it. The rain cover can be used both forward facing
and parent facing.
WARNING: The rain cover cannot be used on the stroller
without the hood being extended, as it may cause suo-
cation. When the rain cover is tted on the stroller, never
leave it exposed to direct sunlight with the child inside, as
the temperature will rise considerably.
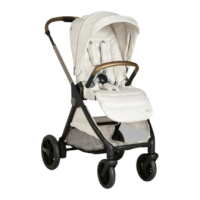
USING THE CAR SEAT AND CHILD CARRY COT
The following products can be attached to the CHICCO
BELLAGIO stroller:
• CHICCO KORY / CHICCO FIRST-SEAT RECLINE car seat by using
special adapters on the frame.
• CHICCO FLEXI carry cot.
• CHICCO GRAN COMFORT carry cot.
For instructions on assembling and disassembling the car seats
refer to the manual for the CHICCO BELLAGIO ADAPTORS.
For assembly and disassembly of the child carry cots, please
refer to the child carry cot manual.
WARNING: Before using the stroller with a carry cot or car
seat, always check that the attachment devices are correct-
ly engaged by pulling up.
WARNING: Both car seats and the carry cot may only be
attached to the chassis in the parent-facing position.
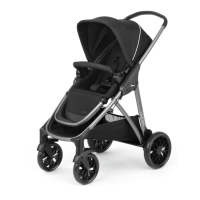
CHICCO BELLAGIO SEAT ATTACHMENT ON THE CHIC-
CO LULLAGLIDE STAND
WARNING: Do not attach/remove the seat when your
child is sitting in it.
20. To connect the seat, make sure that the stand is in a
xed mode. (Fig. 20)
In order to mount the stroller seat on the Lullaglide stand,
the seat must be hooked onto the side plastic clips (g. 20A
components A-B) until hearing the click (g. 20B)
The seat can be assembled in either direction.
WARNING: Before using, make sure that the seat is proper-
ly locked on by pulling it upwards.
WARNING: Always use the restraint system.
The use of the crotch strap and safety harness is necessary
to guarantee the safety of your child.
Always use the safety harness together with the crotch strap.
CHICCO BELLAGIO SEAT RELEASE FROM CHICCO
LULLAGLIDE STAND
WARNING: The child must never be sitting in the seat
when fastening/unfastening it
21. To release the seat press the buttons located on the seat
joints simultaneously and pull up (Fig. 21).
LEG COVER
22. The cover of the CHICCO FLEXI/CHICCO GRAN COMFORT
Carry cot also acts as a leg cover for the stroller. Unfasten
the two snap buttons found inside the cover (Fig. 22)
and fasten them at the sides of the stroller’s footrest
(Fig. 22A). Secure the upper ap to the bumper bar by
fastening the two snap buttons (Fig. 22B), or, for greater
protection, fasten it to the two snap buttons found at
the sides of the canopy (Fig. 22C).
WARRANTY
The product is guaranteed against any lack of conform-
ity under normal use as specied in the instructions. The
warranty shall not therefore apply in the case of damage
caused by improper use, wear or accidental events. For the
duration of warranty on conformity defects, please refer to
the specic provisions of national laws applicable in the
country of purchase, where provided.