35
MI300T 220V
qj
3.3 - Clearing an SD card:
Clearing the card will erase all completed spot reports recorded on the SD card.
To clear an SD card, insert the SD card into the PC card reader and then, in the menu, click on Options and purge the SD card.
Be careful, when clearing, the spot reports completed that have not yet been imported will be automatically imported.
3.4 - To complete the information in a report:
Each report can be lled in with the following information:
Operator,
Type of vehicle,
Repair order,
Registration,
Date of rst registration,
Intervention,
Comments.
To enter this data, select a report and enter the information in the report header.
3.5 - Printing a report :
To print a report, select a report and click on the button
. A preview of the edition is displayed. Click on the button .
3.6 - Exporting the edition in PDF format:
To export an edition in PDF format, select a folder, then click on the button
. A preview of the edition is displayed. Click on the button .
An example of saving the parameters printed using the GYSPOT software is given below.
4 - Spot parameters
To switch to «Spot Parameter» mode, click on Spot Parameter in the Options menu.
The «Spot parameter» mode allows to use the operator to use spots set by the manufacturers. This mode also allows the user to choose his own
welding parameters.
- Insert the SD card supplied with the GYSPOT spot welder into the reader of your PC and select the correct disk in the drop-down menu.
- GYSPOT spot welders support up to 16 les that can contain up to 48 spot settings.
- The rst le called «USER» cannot be deleted. It allows the user to add, modify or delete a spot parameter.
- The other les are reserved for the spot set by the manufacturers. It is not possible to add, modify or delete a spot parameter taken from a manu-
facturer le.
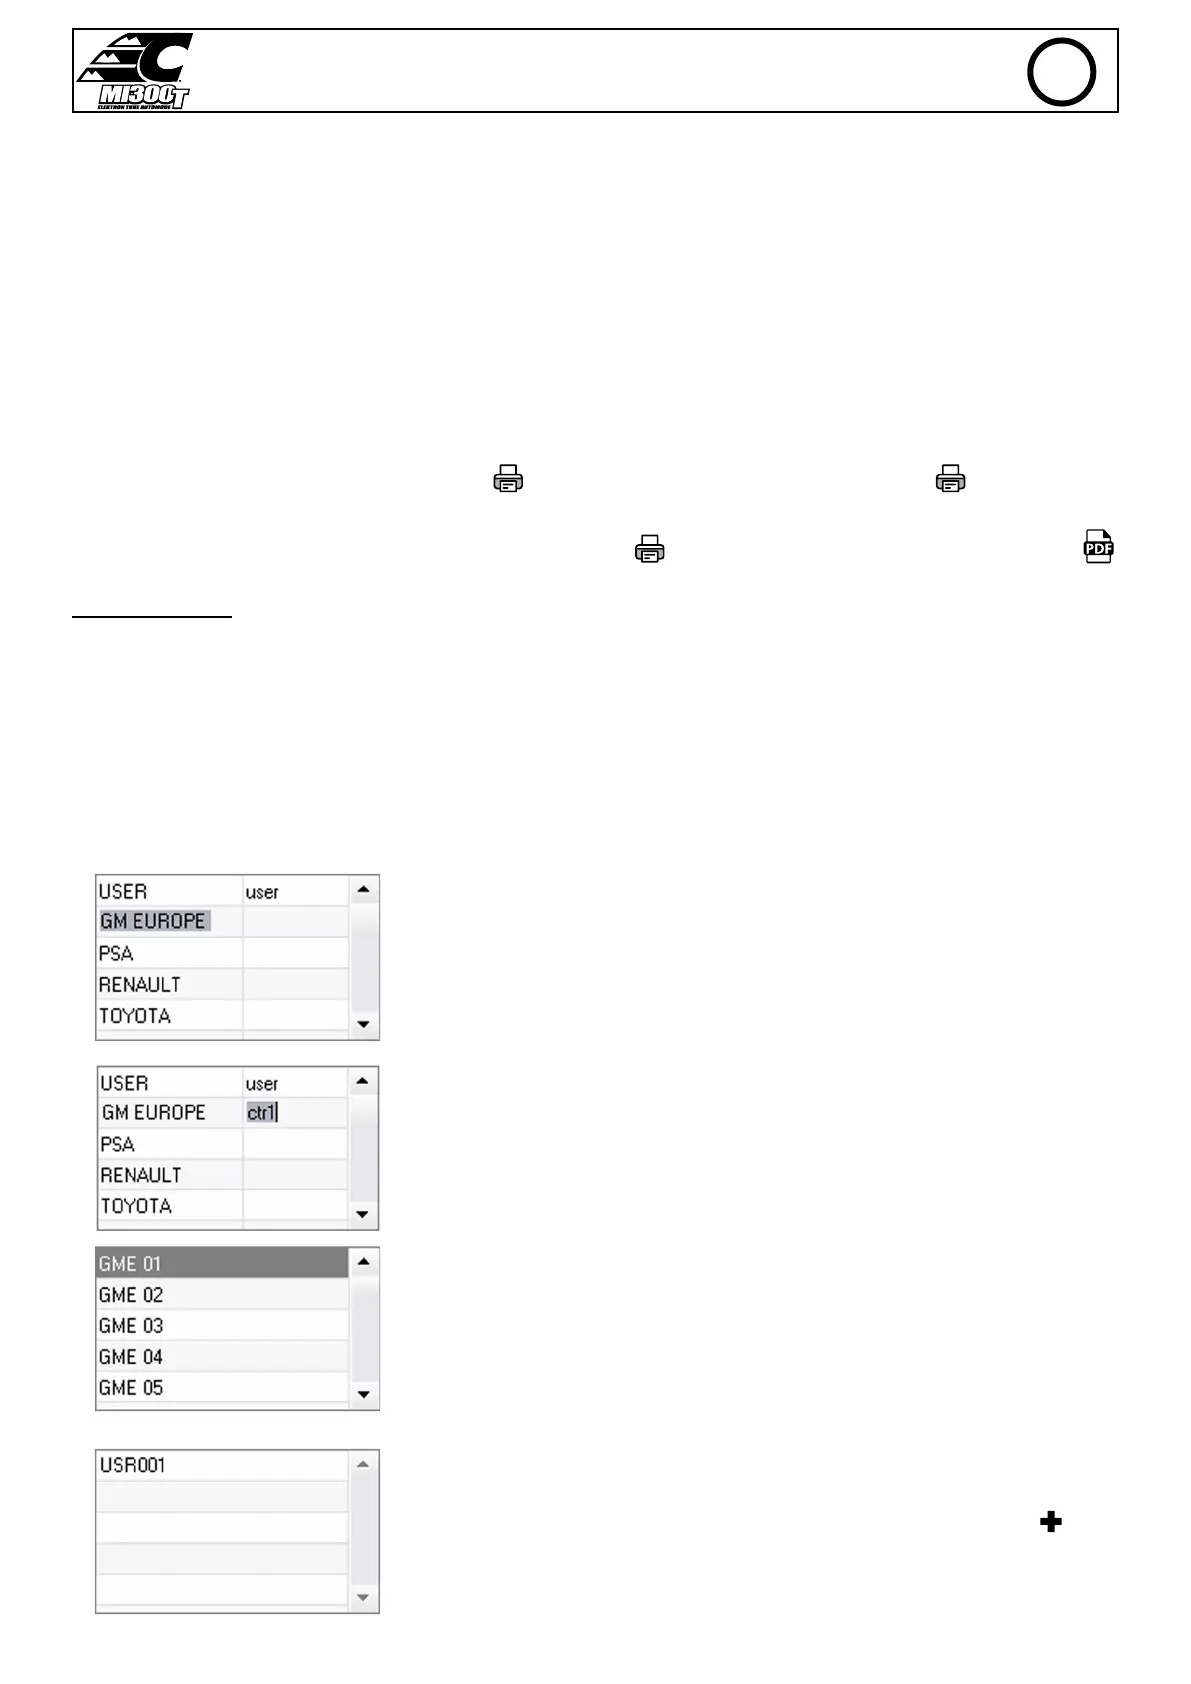
4.1 - Import a manufacturer spot parameter le :
Double-click in the rst column and enter a manufacturer name.
Then double-click in the second column to select a manufacturer le previously downloaded from our
website.
The list of spots set by the manufacturer is displayed in the second list. Select a congured point to
view the chronogram and congured parameters.
4.2 - Add a congured spot in the USER le :
To add a spot to the USER le, select the USER le from the le list and click on the button to the
right of the list of congured spots. Enter the name of the spot and press the TAB key or click outside
the list of congured spots to congure the welding parameters.
EN