GETTING TO KNOW YOUR VEHICLE 51
TILT SIDE MIRRORS IN REVERSE —
I
F EQUIPPED
Tilt Side Mirrors In Reverse provides automatic outside
mirror positioning which will aid the driver’s view of the
ground rearward of the front doors. The driver's outside
mirror will move slightly downward from the present
position when the vehicle is shifted into REVERSE. The
driver's outside mirror will then return to the original
position when the vehicle is shifted out of the REVERSE
position. Each stored memory setting will have an
associated Tilt Side Mirrors In Reverse position.
NOTE:
The Tilt Side Mirrors In Reverse feature can be enabled or
disabled through the Uconnect system
Ú page 157.
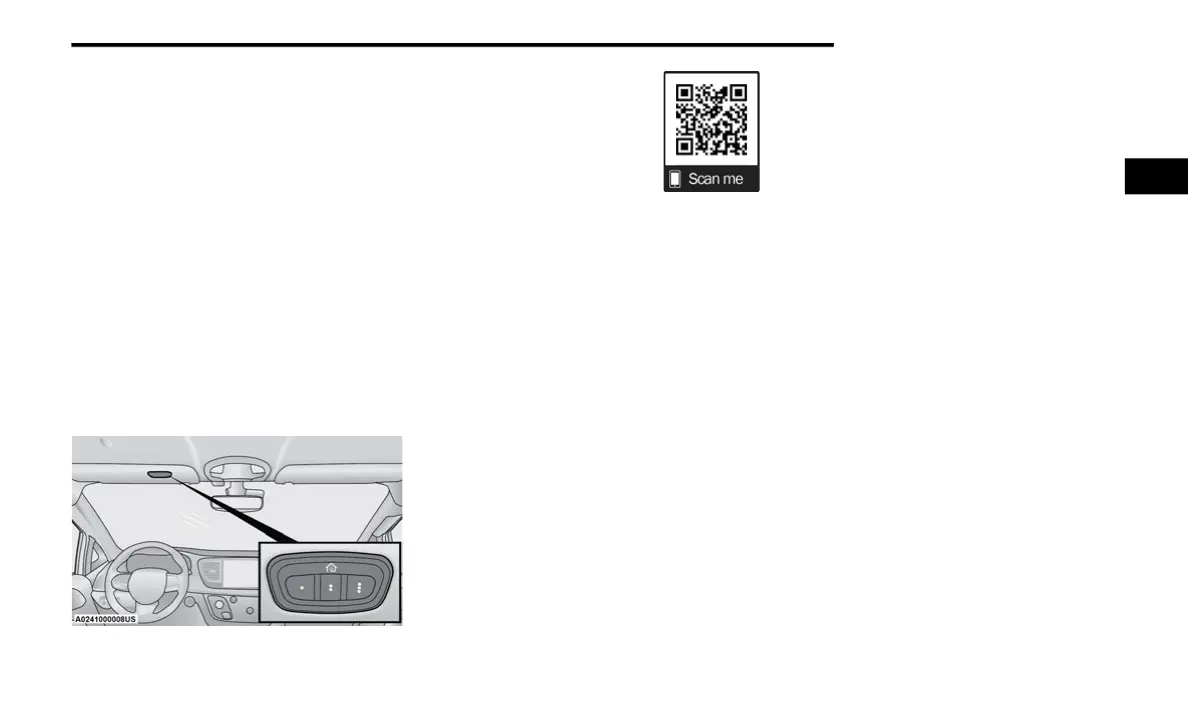
UNIVERSAL GARAGE DOOR OPENER
(HOMELINK®) — IF EQUIPPED
HomeLink® Buttons And Indicator Light
Use this QR code to access your digital
experience.
HomeLink® replaces up to three
hand-held transmitters that operate
devices such as garage door
openers, motorized gates, lighting,
or home security systems. The
HomeLink® unit is powered by your
vehicle’s 12 Volt battery.
The HomeLink® buttons that are located in the over-
head console or sun visor designate the three different
HomeLink® channels.
To operate HomeLink®, push and release any of the
programmed HomeLink® buttons. These buttons will
activate the devices they are programmed to with each
press of the corresponding HomeLink® button.
The HomeLink® indicator light is located above the
center button.
NOTE:
HomeLink® is disabled when the Vehicle Security system
is active
Ú page 312.
BEFORE YOU BEGIN PROGRAMMING
H
OMELINK®
For efficient programming and accurate transmission of
the Radio Frequency (RF) signal, it is recommended that a
new battery be placed in the hand-held transmitter of the
device that is being programmed to the HomeLink®
system. Make sure your hand-held transmitter is
programmed to activate the device you are trying to
program your HomeLink® button to.
Ensure that your vehicle is parked outside of the garage
before you begin programming.
It is recommended that you erase all the channels of your
HomeLink® before you use it for the first time.
ERASING ALL THE HOMELINK®
C
HANNELS
To erase the channels, follow this procedure:
1. Place the ignition switch into the ON/RUN position.
2. Push and hold the two outside HomeLink® buttons
(I and III) for up to 20 seconds, or until the
HomeLink® indicator light flashes.
NOTE:
Erasing all channels should only be performed when
programming HomeLink® for the first time. Do not erase
channels when programming additional buttons.
2
23_RUP_OM_EN_USC_t.book Page 51