GETTING TO KNOW YOUR VEHICLE 67
Front Temperature Control
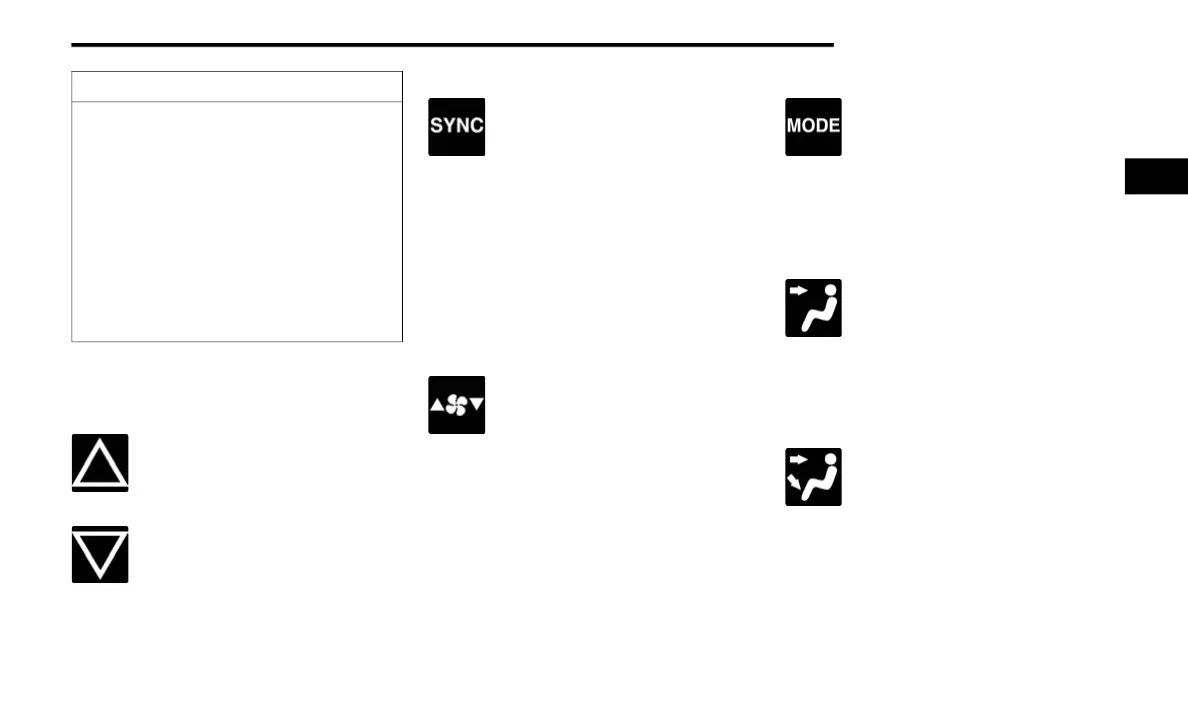
These buttons provide the driver and passenger with
independent temperature control.
Push the red button on the faceplate or
touchscreen or press and slide the
temperature bar towards the red arrow
button on the touchscreen for warmer
temperature settings.
Push the blue button on the faceplate or
touchscreen or press and slide the
temperature bar towards the blue arrow
button on the touchscreen for cooler
temperature settings.
SYNC Button
Press the SYNC button on the touchscreen to
toggle the Sync feature on/off. The SYNC
indicator is illuminated when this feature is
enabled. SYNC is used to synchronize the front
and rear passenger temperature settings with the driver
temperature setting. Changing the front or rear passenger
temperature setting while in SYNC will automatically exit
this feature. Pressing SYNC on the touchscreen while in
the Front Climate screen synchronizes the driver and
passenger temperatures only. In order to SYNC rear
temperature to driver temperature, the touchscreen must
be on the Rear Climate screen.
NOTE:
The SYNC setting is only available on the touchscreen.
Blower Control
Blower Control is used to regulate the amount
of air forced through the Climate Control
system. There are seven blower speeds
available. The speeds can be selected using
either the blower control knob on the faceplate or the
buttons on the touchscreen.
Faceplate: The blower speed increases as you turn the
blower control knob clockwise from the lowest blower
setting. The blower speed decreases as you turn the
blower control knob counterclockwise.
Touchscreen: Use the small blower icon to reduce the
blower setting and the large blower icon to increase the
blower setting. Blower speed can also be selected by
pressing the blower bar area between the icons.
Mode Control
The airflow distribution mode can be adjusted
so air comes from the instrument panel outlets,
floor outlets, defrost outlets and demist
outlets.
Faceplate: Push the button in the center of the knob to
change the airflow distribution mode.
Touchscreen: Select Mode by pressing one of the Mode
Buttons on the touchscreen.
Panel Mode
Air comes from the outlets in the instrument
panel. Each of these outlets can be individually
adjusted to direct the flow of air. The air vanes
of the center outlets and outboard outlets can
be moved up and down or side to side to regulate airflow
direction. There is a shut-off wheel located below the air
vanes to shut off or adjust the amount of airflow from
these outlets.
Bi-Level Mode
Air comes from the instrument panel outlets
and floor outlets. A slight amount of air is
directed through the defrost and side window
demister outlets.
NOTE:
Bi-Level mode is designed under comfort conditions to
provide cooler air out of the panel outlets and warmer air
from the floor outlets.
CAUTION!
Failure to follow these cautions can cause damage to
the heating elements:
Use care when washing the inside of the rear
window. Do not use abrasive window cleaners on the
interior surface of the window. Use a soft cloth and a
mild washing solution, wiping parallel to the heating
elements. Labels can be peeled off after soaking
with warm water.
Do not use scrapers, sharp instruments, or abrasive
window cleaners on the interior surface of the
window.
Keep all objects a safe distance from the window.
2
23_RUP_OM_EN_USC_t.book Page 67







 To Next Page