
H
hamza özışıkApr 20, 2025
PDF çıktı alamadım çok zor, farklı kaydet yapmam lazım ayarları
PDF çıktı alamadım çok zor, farklı kaydet yapmam lazım ayarları
Procedure for verifying the equipment upon delivery to ensure it matches specifications and is undamaged.
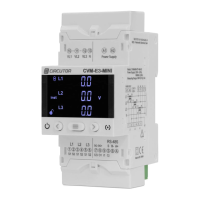
Overview of the CVM-MINI's capabilities as a programmable measuring instrument for industrial systems.
Details the over 100 electrical parameters the CVM-MINI can display and communicate.
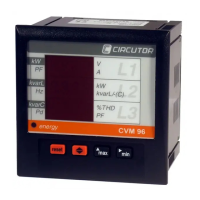
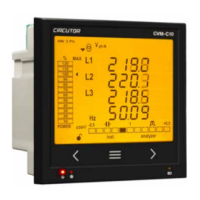
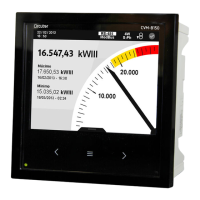
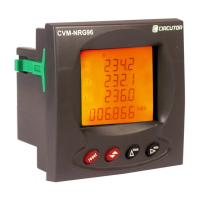
Highlights key features like compact size, TRMS measurement, energy counting, and RS485 communication.
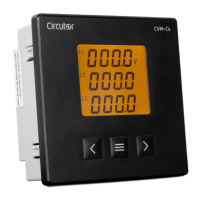
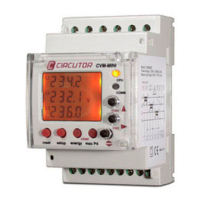
Lists the different CVM-MINI models available with their respective codes and references.
Considers essential features before powering the equipment, ensuring proper installation.
Specifies the voltage requirements, tolerance, and consumption for the CVM-MINI power supply.
Details the maximum permissible voltage for phase-neutral and phase-phase measurements.
States the maximum continuous current ratings for IN/1A and IN/5A scales.
Describes the specifications for the NPN transistor output, including voltage and current limits.
Provides details on the built-in temperature sensor accuracy, range, and its relation to ambient temperature.
Defines the environmental parameters: operating temperature, relative humidity, and altitude.
Outlines safety standards (Category III, Class II) and protection against electric shock.
Guidance on mounting the equipment and general notes before powering on.
Detailed list of terminal functions for current inputs, voltage measurements, power supply, and communication.
Illustrations showing different connection configurations for voltage and current transformers.
Details the function of each of the seven silicon buttons on the keypad for operation and setup.
Explains that factory default settings for display, communication, and measurement often require user configuration.
Illustrates the default screens showing various electrical parameters like voltage, current, and power.
Explains the meaning of the CPU and COMM LEDs for indicating operational status and communication.
Details how to access and modify measurement parameters like voltage, current ratios, and energy meters.
Menu for changing voltage and current transformer ratios for primary and secondary values.
Procedure to set the primary voltage value for the voltage transformer.
Procedure to set the secondary voltage value for the voltage transformer.
Procedure to set the primary current value for the current transformer.
Procedure to select the current secondary scale, either IN/1A or IN/5A.
Explains how to configure the analyzer for measuring power consumption only (2 quadrants) or consumption/generation (4 quadrants).
Configuration options for the power demand meter, including the integrated parameter and integration period.
Selection of the parameter (e.g., Active Power, Current) to be integrated for Maximum Demand calculation.
Setting the time duration, from 1 to 60 minutes, for the power demand meter's integration period.
Option to clear or save the maximum demand value recorded by the power demand meter.
Configuration settings for the display, including screen selection and backlight.
Allows users to select which screens are displayed by default or create a personalized display.
Procedure to choose the preferred screen that appears upon startup.
Setting the duration for which the backlight remains on after the last keypad use.
Option to clear the values of the consumed or imported energy meters (kWh).
Configuration for harmonic distortion measurements, choosing between effective (RMS) or fundamental values.
Configuration of the digital transistor outputs for energy impulses or alarm conditions.
Setting energy meter codes to generate impulses for consumed or generated energy.
Associating parameters with digital outputs for alarm conditions, including limits and delays.
Guides on connecting the CVM-MINI to computers or PLCs via RS-485 for automated control systems.
Option to automatically select predefined communication parameters or use non-standard settings.
Procedure to set the unique address (0-255) for each CVM-MINI instrument on the RS-485 bus.
Selection of the RS485 communication baud rate from available options (1,200 to 19,200 bps).
Setting the parity type (even or odd) for data transmission error checking.
Selection of the number of data bits for serial communication, either 7 or 8.
Selection of the number of stop bits for serial communication, either 1 or 2.
Enabling password protection for Measurement Set-up parameters to prevent unauthorized changes.
Illustrates the procedure and display screens for viewing harmonic content in voltage and current.
Provides a detailed map of Modbus registers for reading electrical parameters, including instant and maximum values.
Diagram illustrating the physical connection of the CVM-MINI via RS-485 to a PC, potentially through a converter.
| Brand | Circutor |
|---|---|
| Model | CVM-MINI SERIES |
| Category | Measuring Instruments |
| Language | English |