EasyManuals Logo

Cisco 1600 series User Manual

Cisco 1600 series
8 pages
To Next Page IconTo Next Page
To Previous Page IconTo Previous Page
Page #6 background imageLoading...
Page #6 background image
6
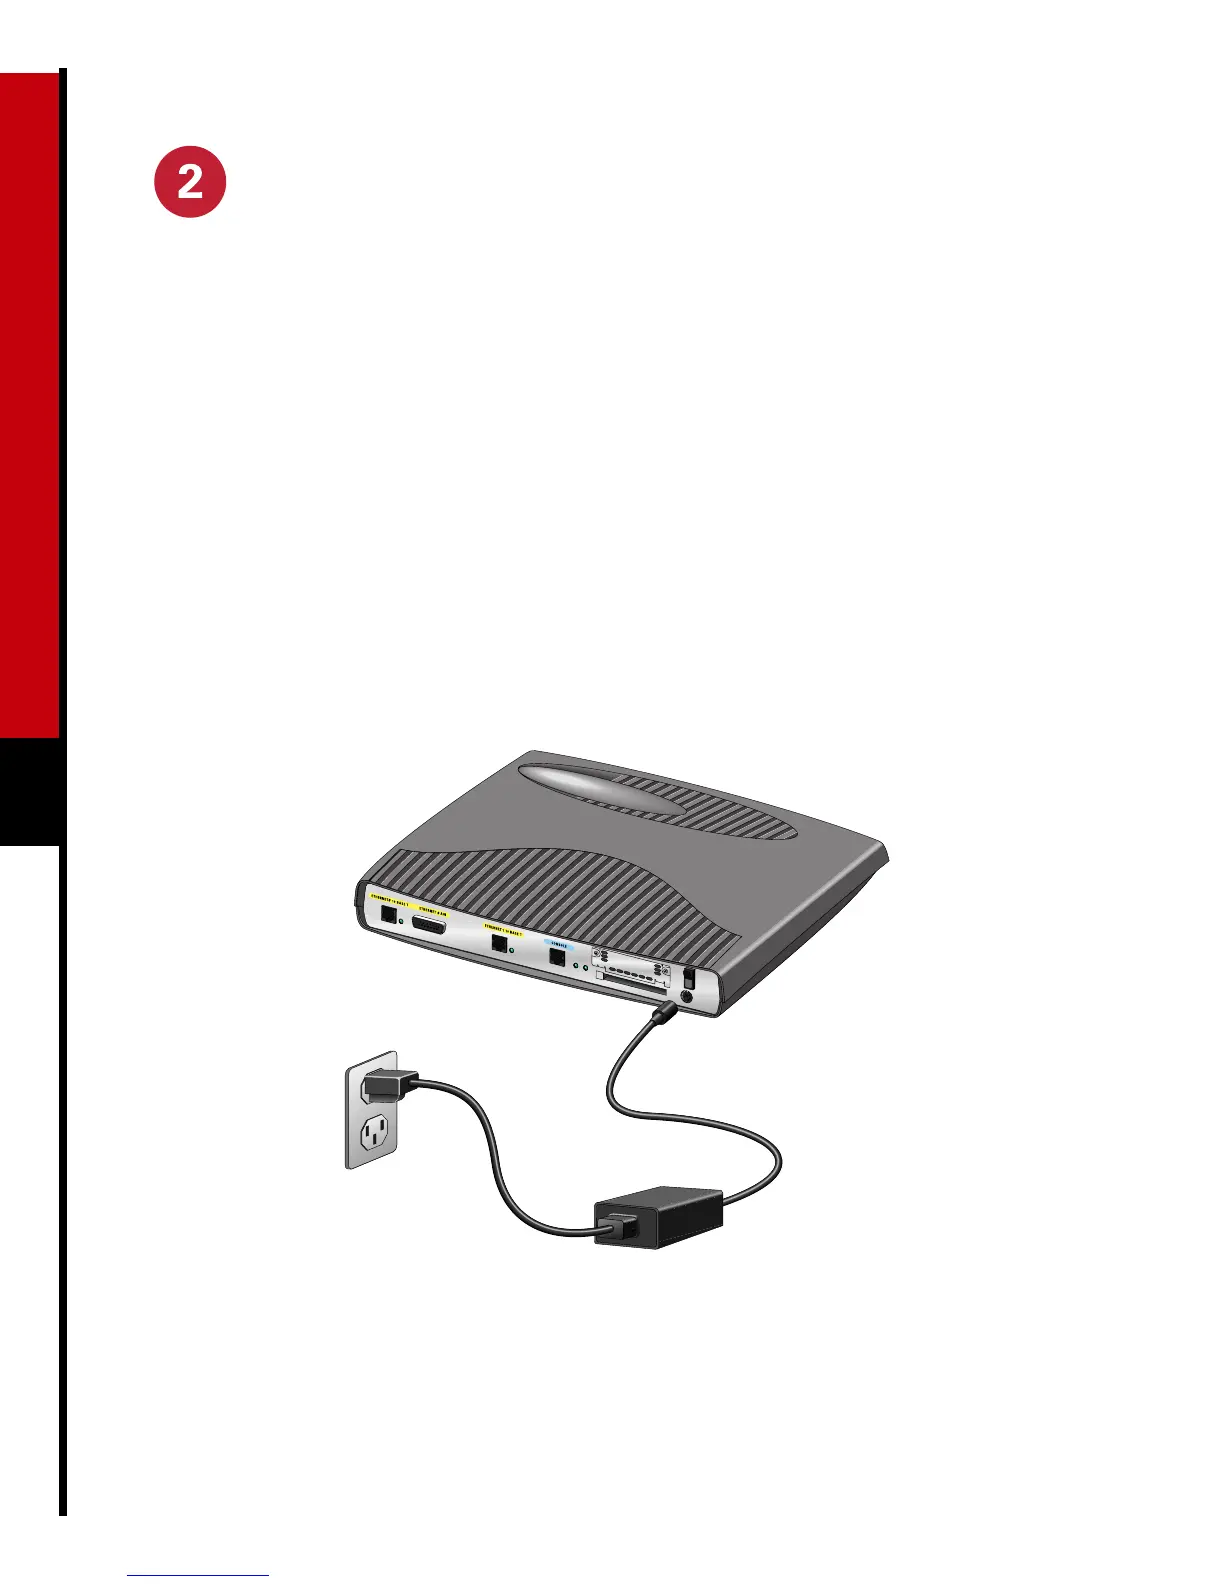
C. Connect the power supply.
Install the Router (continued).
After connecting the router to power and turning it on, you can confirm that you have installed the router
correctly by checking certain LEDs. Connect the router to the power supply as shown below. Depending on
where you are installing the router, your power supply and power outlet could be different from those in the
picture.
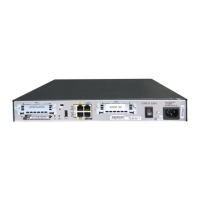
Step 1 Connect the power supply cord to the power socket on the rear panel.
Step 2 Connect the power supply to a power outlet.
Confirm that the router has power by checking that the SYSTEM PWR LED on the front panel is on.
Step 3 Confirm that the router has power by checking that the SYSTEM PWR LED on the front panel is on.
DO NOT INSTALL ANY WAN
MODULE WITH POWER ON

Other manuals for Cisco 1600 series

Questions and Answers:

Question and Answer IconNeed help?

Do you have a question about the Cisco 1600 series and is the answer not in the manual?

Cisco 1600 series Specifications

General IconGeneral
CategoryNetwork Router
Connectivity TechnologyWired
Network / Transport ProtocolTCP/IP, IPX/SPX, AppleTalk
Model1600 series
LAN Ports1
Data Link ProtocolEthernet, Fast Ethernet
Remote Management ProtocolSNMP, Telnet
Status IndicatorsPower
FeaturesFirewall, VPN, NAT
Power SupplyExternal AC adapter
Flash Memory8 MB

Related product manuals