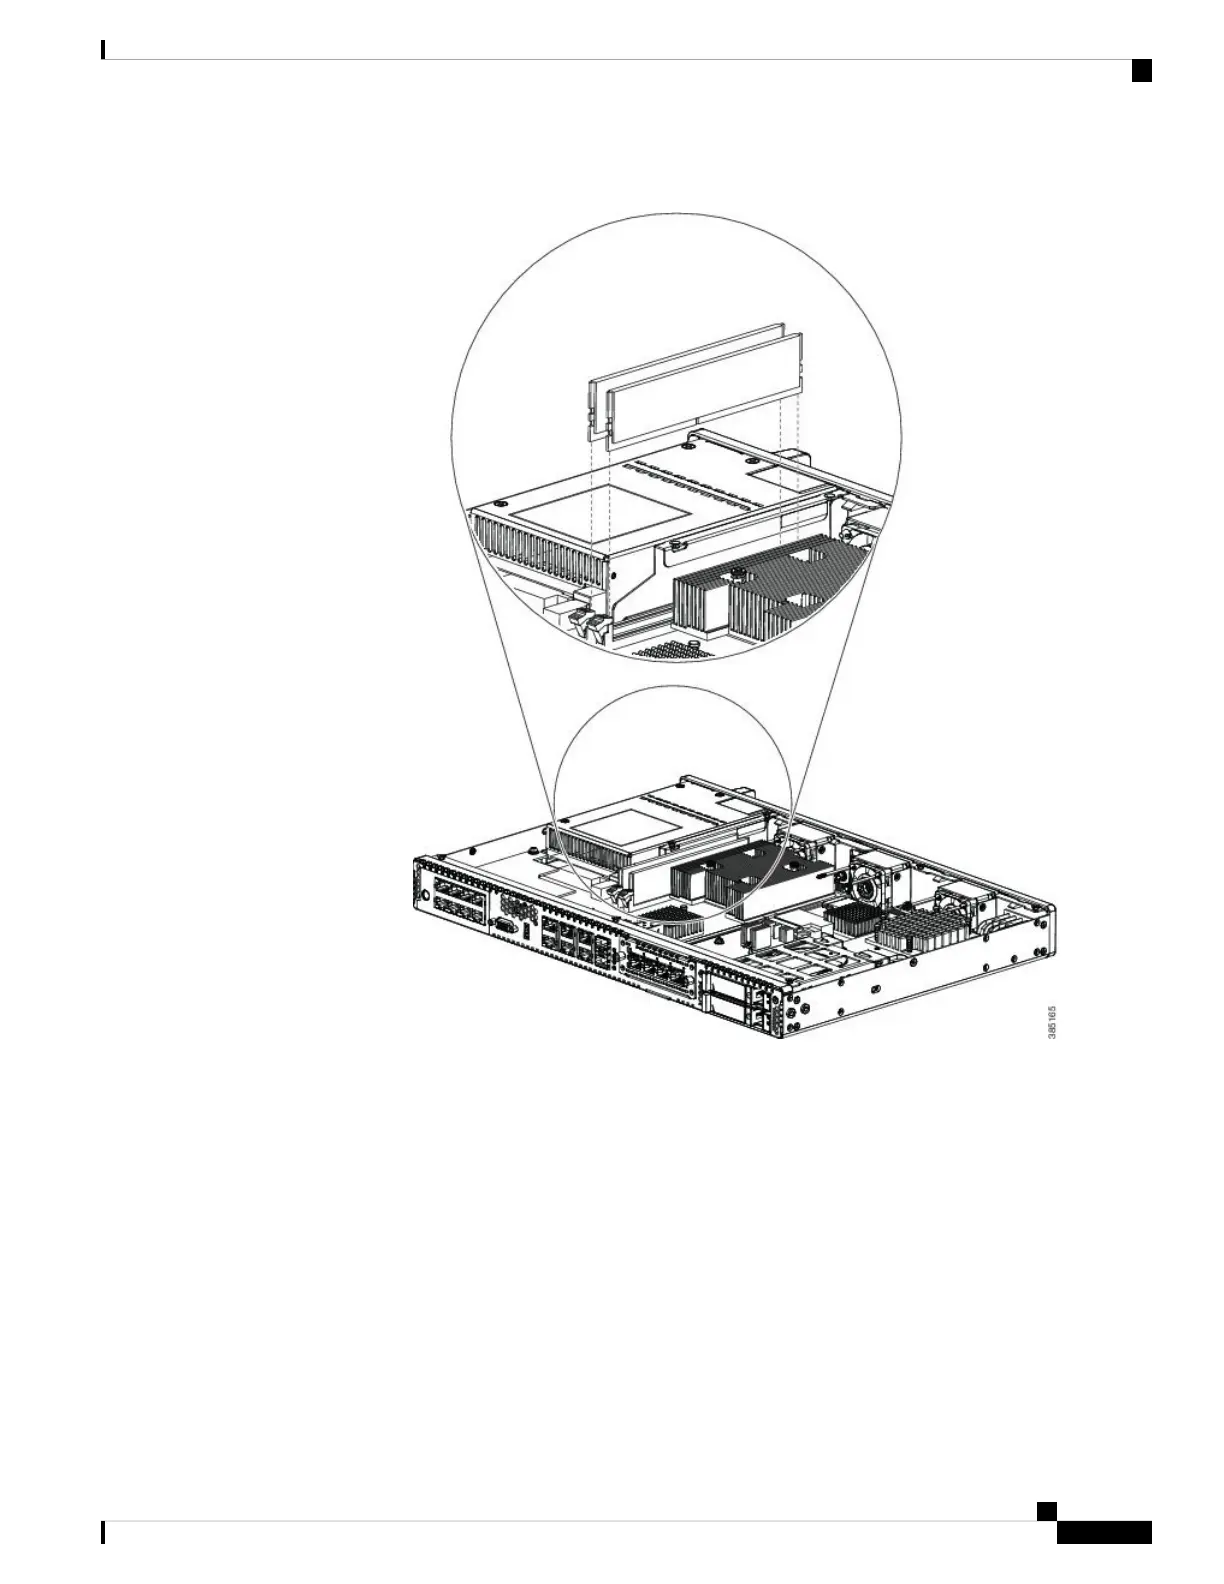
Figure 6: DIMM Module
3. Make sure that both latches on the DIMM connector are in the open position.
4. Orient the DIMM so that the polarization notch lines up with the polarization key on the connector.
5. Insert the DIMM into the connector.
Installing and Upgrading FRUs
5
Installing and Upgrading FRUs
Installing and Removing a DIMM